views
Carving a Whole Ham

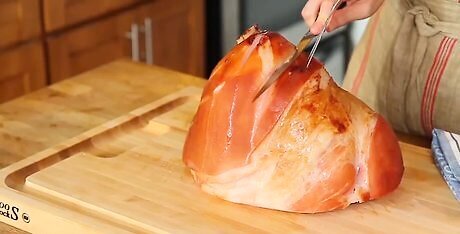
Place your ham on a cutting board. Take a large knife and trim off two or three slices from the thin side of the ham, cutting parallel to its length. Then turn the ham so it rests on the flat surface you just created by trimming off the slices. Use a very sharp knife. Having a sharp knife will help you to cut your ham in thin, perfect slices. Be sure the knife is long enough to cut through the width of the ham and use long smooth strokes to slice the ham more easily.

Use a large fork to stabilize the ham. Pierce the top of the ham with a large fork and insert the fork as far down into the meat as you can. If you hit the bone right away, try moving the fork slightly up or to either side and insert it again. Once the tines are all the way inside the ham, you should have a nice stable handle to hold while making your cuts. The key to carving a ham safely and successfully always starts with the right tools. The best fork to use is a chef's fork. It has two long tines and measures about 11 inches long, with a handle that features a base to rest your forefinger and thumb. Whether you’re left or right-handed, a chef’s fork is a great tool for holding the meat down while you slice with your other hand.
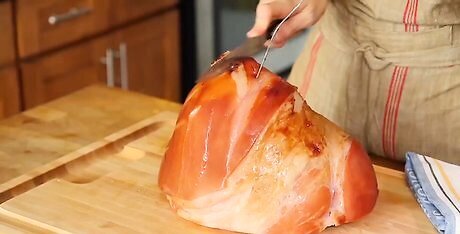
Carve the shank end. Hold the ham with a large fork, start slicing at the shank end (which should be more pointed/tapered than the butt end). Cut thin, vertical slices across the ham, sinking the knife all the way down to the bone for maximum effect. If possible, use a chef's knife for this. It has a long blade, usually measuring between 8 and 14 inches. It is the perfect tool for easily slicing through ham.

Remove the slices. Once the slices are cut, make a horizontal cut that is parallel to the bone. This will release the slices you've made. Place these slices on a serving platter. Turn the ham and continue carve slices using this method until there is no meat left on the bone. Only carve the ham that you need to serve. Leave the remainder on the bone so that it stays warm and retains more of its juiciness. Be sure to hang on to the ham bone and any scraps. You can use them to make a delicious soup.
Carving the Shank Half
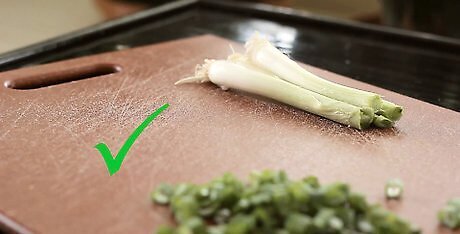
Place the ham on a cutting board. Take a large knife and trim off two or three slices from the side of the ham, creating a flat surface. Turn the ham so it rests on this flat surface.
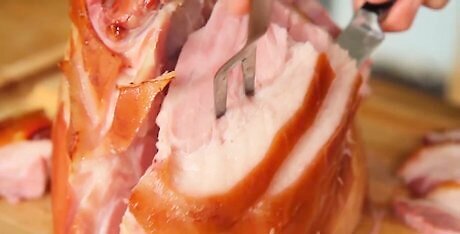
Slice at the narrow end of the ham. Stabilize the ham using a large fork. Start cutting quarter-inch slices down the ham. Use long, smooth knife cuts to make slicing easier. Cut these slices down to the bone. Cut along the bone to release the slices and place them on the serving platter.

Turn the ham. Once the slices are all cut on the first side, place the ham on the new flat side. Continue to cut more slices down through the ham, still keeping close to the bone. Slice along the bone to free the slices. When you're finished cutting these slices, they can also be served.

Slice the sides of the ham. Cut a few thin slices off one of the remaining sides of the ham. Set the ham on this newly flat surface and slice the uncut side, beginning at the narrow end of the ham.
Remove the slices. With the ham set on its flat base, make a cut close to the bone. This should release the slices; repeat the cut on the two remaining sides of the ham. Put these slices with those you've already cut and you are finished.
Carving the Butt Half
Place your ham on a cutting board. Cut down through the ham, cutting as close to the bone as you possibly can, and then cut off the largest section of boneless meat from the ham. Set the boneless section aside for now--you will slice it once finished with the rest of the ham.
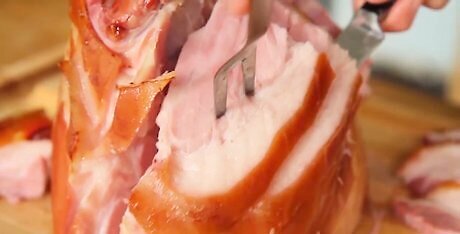
Slice the ham. Keeping the flat end on the cutting board, cut quarter-inch slices. These should be parallel to the flat end of the ham to maximize the tenderness of the slices. Cut from the top and work downward. When you are finished, cut through the ham close to the bone to detach the slices.
Slice the other boneless portion of the ham in the same way. After cutting the boneless portion, your ham is completely sliced and ready to serve.
Carving a Spiral Cut Ham

Find the natural lines of the muscle in the ham. Turn the ham so the cut side is up to see the natural lines. Cut along the line all the way down to the bone. Spiral sliced hams come pre-sliced, with each slice about the same in thickness. There are generally three basic cuts needed in order to remove the slices from the bone.

Cut around the bone until the muscle line curves upwards. Follow the line all the way up until the knife comes back out the outside edge, providing the first section of slices.

Cut along the next natural line of the muscle. This will provide another section of slices. The last section of the ham needs to be cut along the bone in a way that will release it, creating the last section of slices.


Comments
0 comment