views
Building a Simple Lighthouse
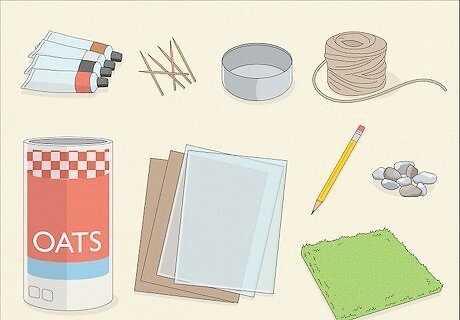
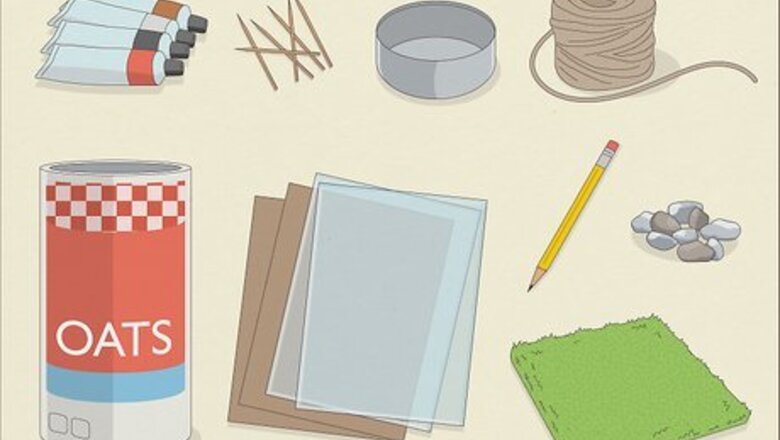
Collect your materials. This project requires brown, black, and white acrylic paint (and other colors, if you wish), an empty tuna can, an empty cylindrical oatmeal container, toothpicks, string, a transparency sheet, brown construction paper, a pencil, and some small rocks and pieces of grass (artificial grass, if you wish).
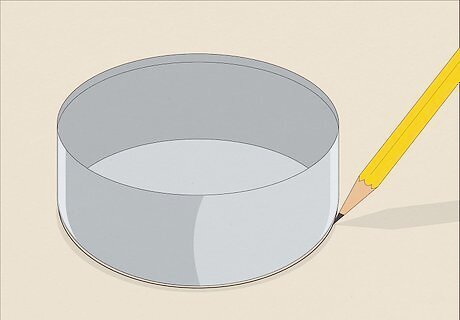
Trace a circle on a piece of brown construction paper using an empty tuna can. Wash the can and dry it so it doesn’t drip on the paper. Place the can on the paper and trace around its perimeter. Set the can and paper aside.
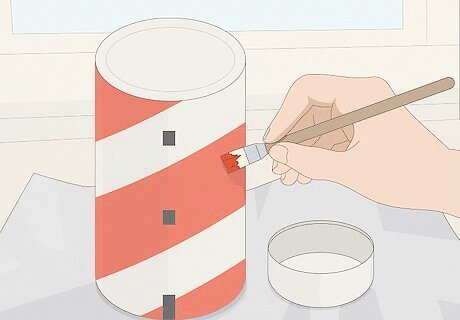
Paint the tuna can and oatmeal container. Paint the tuna can completely white. Paint the oatmeal container white, too, including its bottom. The oatmeal container will represent the main body of the lighthouse, so use other colors to paint windows and a door on it. You could also paint diagonal stripes around the oatmeal container if you wish. Put down newspaper when painting. Paint in a well-ventilated area. After painting them, set the tuna can and oatmeal container aside to dry.
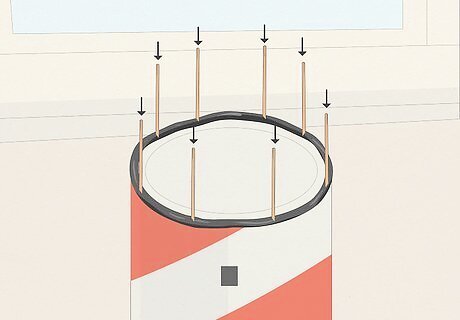
Roll the clay into a long, thin string and place it on the oatmeal container. Press the clay into the top edge of the oatmeal container, then stick the toothpicks in it. Place the toothpicks at equal distances from one another. The toothpicks should come straight up and out of the clay. You could roll the clay between your hands or against a flat surface to shape it into a string.
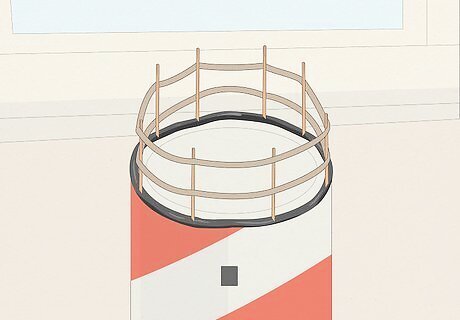
Glue the string into place around the toothpicks. Cut two pieces of string just slightly longer than the circumference of the oatmeal container. At the top of each toothpick, apply a small dab of glue with your glue gun, then press one string into the glue. Apply glue to the mid-points of each toothpick and stretch the second string along this second set of points.
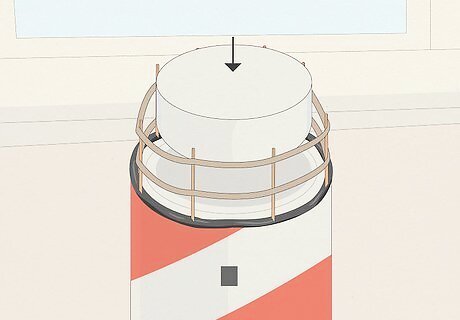
Glue the tuna can upside-down onto the top of the oatmeal container. Apply glue along the top edge of the tuna can, then turn it upside-down and press it gently onto the oatmeal container. The tuna can will be inside the ring of toothpicks, so be careful not to bump them. The length of time required for the glue to dry depends on the type of glue you’re using. Consult manufacturer directions for more information.
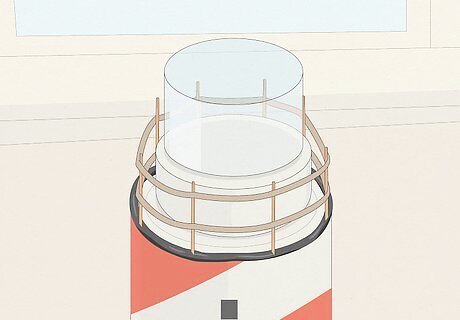
Place a transparency cylinder on top of the tuna can. Cut a piece from your transparency sheet that is 2 inches (5.1 cm) wide and just slightly shorter than the circumference of the tuna can. Tape the two ends of the transparency piece together so that it forms a cylinder and apply a thin line of glue along one edge. Center the glued edge over the tuna can and press it down gently. A transparency cylinder is a rolled-up cylinder made of a transparency sheet. The purpose of the transparency cylinder is to lend the lighthouse model a realistic look and provide a base for the model’s roof. If you do not have a transparency sheet to make a transparency cylinder, get one from your local arts and crafts store.
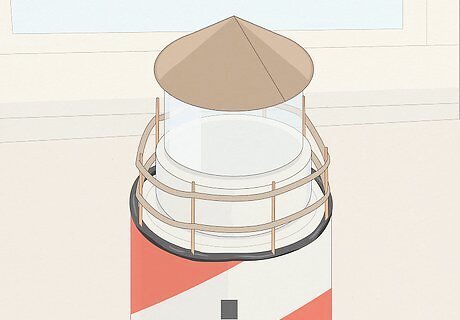
Cut out the brown construction paper to make roof for the lighthouse. Cut out the circle you drew earlier. Make a single cut in the circle from one edge directly toward its center. Gently pull the two sides of the cut toward each other so that they overlap slightly, making a shallow cone. Apply a piece of tape to the underside of the cone so that the paper retains this shape, then apply a few dabs of glue to the top edge of the transparency cylinder and set the brown paper cone on it.
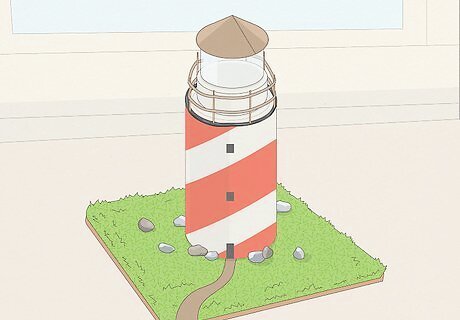
Add some embellishments like grass and rocks. Place the oatmeal container on a piece of plywood and arrange a few small pebbles and some loose grass around its base. If you have small animal figurines, you could incorporate them into the scene, too. You could also paint the wooden base the lighthouse is standing on to give it the appearance of dirt or create a winding path.
Building a Light-Up Lighthouse Model
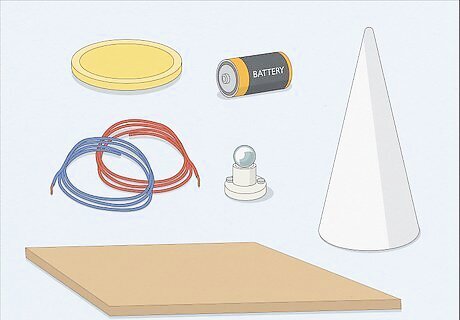
Gather the materials you’ll need. To build the lighthouse, you’ll need some materials you probably already have, including various acrylic paints and paintbrushes, tacky craft glue, a pencil, scissors, 6 brass paper fasteners, a knife, a ruler, old newspapers, a plastic lid from a small margarine container that measures 3.5 inches (8.9 cm) in diameter, and a D battery. You’ll also need to go to the craft store for some materials, including: A 9 x 3-7/8 in (22.9 x 9.8 cm) styrofoam cone A thick piece of cardboard measuring 12 by 12 inches (30 by 30 cm) Two 16-inch (40.6 cm) pieces of #18 insulated wire A small socket with a lightbulb
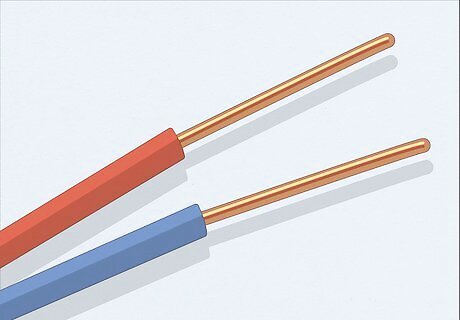
Remove 1 inch (2.5 cm) of coating from the ends of each wire. Using wire strippers, grip the wire at the point where you want to strip the coating away, then pull the wire strippers toward the end you’re stripping. If you don’t have wire strippers, use a sharp knife to cut slowly into the wire 1 inch (2.5 cm) from the end. Cut all the way around the wire without cutting through it, then pull the coating off the end.
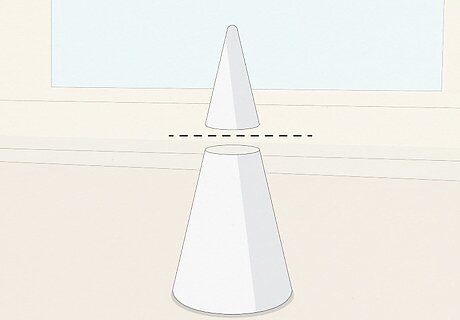
Cut 2 inches (5.1 cm) off the top of a 3 ⁄8 inches (5.4 cm) styrofoam cone. Lie the cone on its side, then use a sharp knife to cut straight through it. If you’re worried about making a straight cut, use a pencil to lightly draw the line along which you’ll cut the cone.
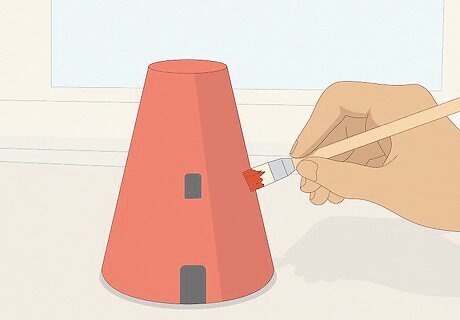
Paint the lighthouse in a manner that you desire. You can paint the lighthouse a solid color, or give it stripes. There is no right or wrong way to paint your model lighthouse, so paint it as you like. Acrylic craft paint is the best type of paint to use on styrofoam. Styrofoam is absorbent, so paint on a few thick layers to ensure the paint is visible. Before you start painting, protect your work surface by placing a few old newspapers on it.
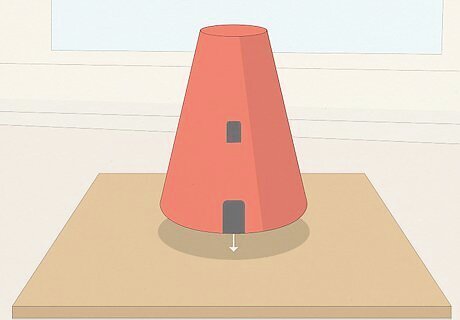
Glue the cone on a piece of 12 by 12 inches (30 by 30 cm) cardboard. The cardboard should be thick enough that it does not bend when you wave it up and down.
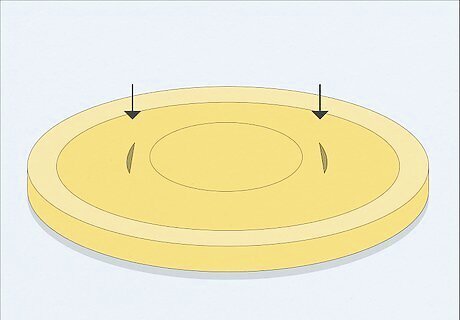
Cut two slits in the plastic lid. Place the lid face-down on your work surface. Position the socket in the center of the lid and trace a circle around it with your pencil. Set the socket aside and slice two small slits through the lid with your knife or the tip of one arm of your scissors.
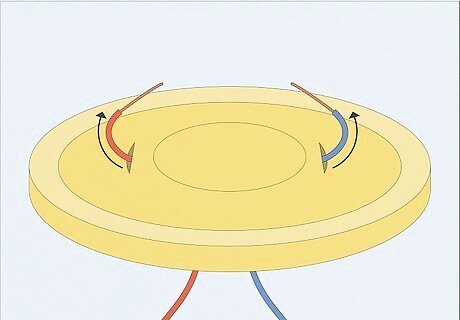
Feed the wires through the holes in the lid. Push one piece of wire through the lid from below, then feed the other piece of wire through the other hole. If you’re having trouble getting the wire through, use one hand to hold the slit open and your other to push the wire through.
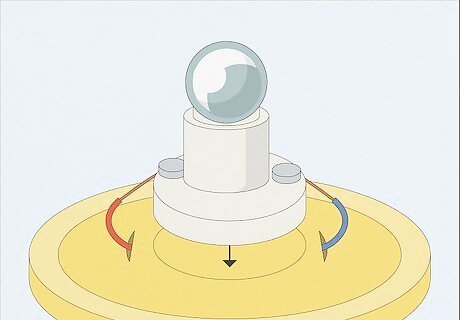
Glue the socket to the lid using the circle you marked earlier. You shouldn’t need more than a few dabs of glue. Hold the socket in place for several seconds, then allow it to dry for about 10 minutes.
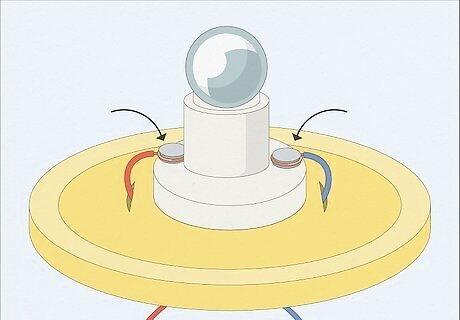
Connect the wires to the socket. The socket should have one lead on one side and another lead on the other side. Wrap the wires around the leads they’re closest to. If the wires are not staying wound tightly around the socket’s leads, use tape to secure them.
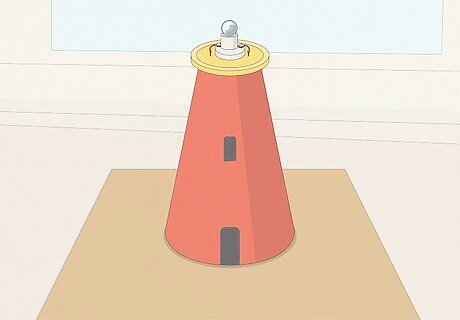
Glue the lid to the top of the cone. Position the cone in an upright position and apply a few dabs of glue to its flat top. Position the lid in the center of the cone and press it down lightly for a few seconds. Wait about 10 minutes for it to dry.
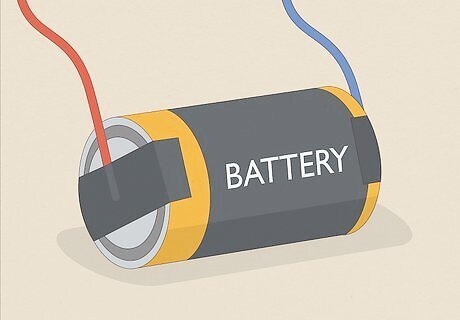
Connect the battery to the ends of the wire. Wrap the remaining ends of wire to one of the leads on the D battery. It does not matter which lead you attach which wire to. If the light doesn’t light up, check your connections to make sure they are secure, or try another battery. You can turn the light off by loosening any of the wire connections.
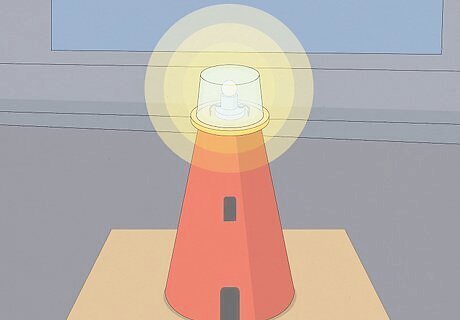
Place a lid over your light. The final step in creating your model lighthouse is to cover the light with a clean, clear fruit or applesauce container. The container should have a diameter slightly smaller than that of the lid the light socket is on. Place the container loosely over the light, ensuring that it does not touch the bulb itself.










Comments
0 comment