views
Building a Dance Floor for a Carpeted Room
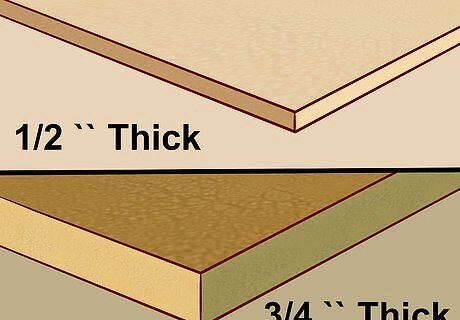
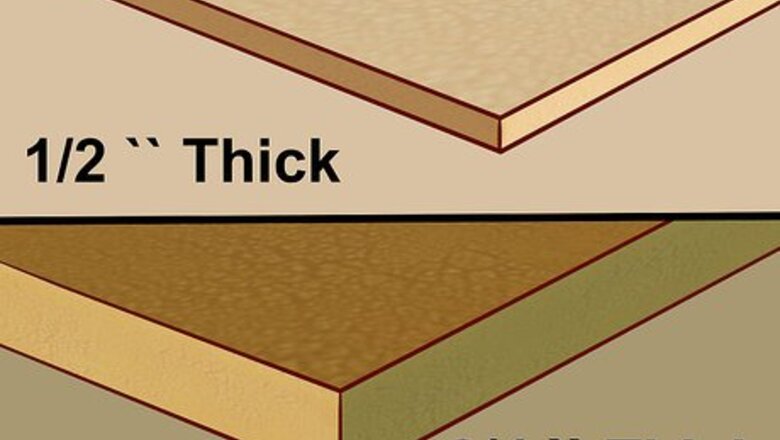
Select plywood. Plywood comes in several different types of wood and thicknesses. The type of wood does not matter too much. A ¾ in (2 cm) thickness is ideal, especially if you live in an apartment and there are folks who live beneath you. If noise is not an issue, ½ in (1.3 cm) thick plywood will work. Plywood usually comes in 4x8 ft (1.2x2.4 m) boards. Two of these boards positioned side-by-side is usually ideal for a home dance floor.

Get a polyurethane sealant. Sealing your dance floor will help make it much more resilient and help it last longer. You’ll apply sealant to the wood you’re using for the dance floor's surface before assembling the dance floor. Sealants are available at the hardware store or online.
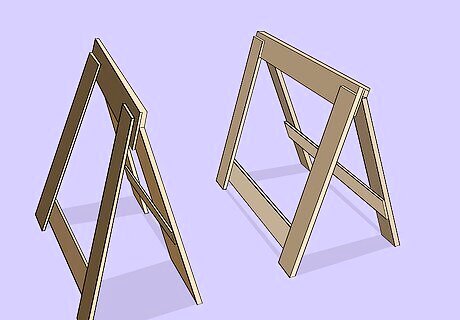
Set up a space to seal the boards outside. The easiest option is laying the boards down flat on a tarp. If you have a couple saw horses, you can also position the board on the saw horses with a tarp on the ground to catch any dripping sealant.
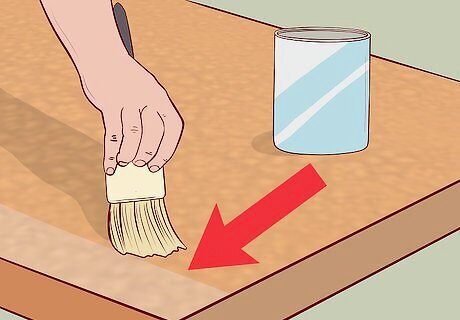
Follow the specific directions on the sealant. Most likely, you will be directed to sand the board, clean it with mineral spirits, apply a coat of the sealant with a brush, allow it to dry, and do it all again. Be sure to follow the directions of your sealant closely, as they will help ensure a good, smooth seal. Apply three or four coats and sand the surface before each coat. Once a coat has dried, walk around the board and look at from several angles. Pay extra attention to any patches that aren’t shiny when applying the next layer.
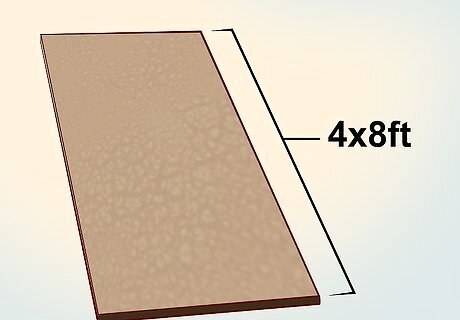
Get two pieces of 4x8 ft (1.2x2.4 m) plywood. When assembled side by side, two sheets of plywood will make the perfect sized dance floor for home use in a carpeted room. If you want the dance floor to be lighter and a bit easier to move, have the hardware store cut each sheet down to 3.5x8 ft (1x2.4 m).
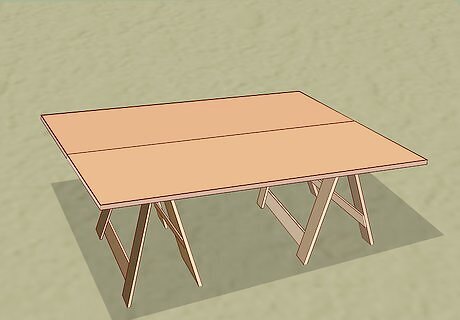
Determine which sides will be your dance surface. Before fastening the boards to one another, inspect each side of your plywood boards. Position the boards on the floor with the side that will be the dancing surface facing down. The sides of the boards facing up will be the bottom of your dance floor, which will allow you to attach a hinge and fasten the two boards together. When positioned snugly side by side, the boards will make an 8x8 ft (2.4x2.4 m) dance floor.
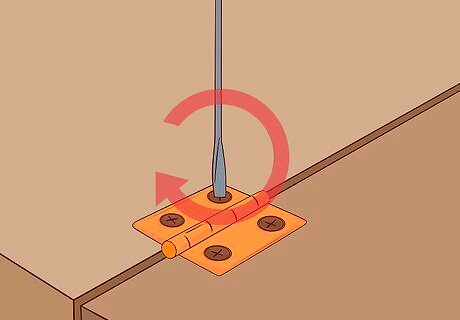
Attach the plywood sheets to one another with a hinge. Including a hinge on your dance floor will keep each half together and will make the floor easy to move and store. A five or six foot piano hinge is ideal, but you can also use multiple smaller hinges instead. Use wood screws to fasten the hinges to the sheets of plywood. Make sure the screws are shorter than the thickness of the plywood. Position the hinges so that the boards rest snugly side by side when the hinges are open.
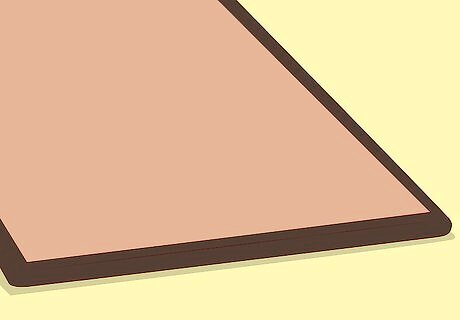
Consider adding rounded trim. Rounded trim on the edges of your dance floor will improve its appearance, reduce stubbed toes, and allow you to more comfortably step on the edge of the floor. When selecting pieces of trim, make sure individual pieces are slightly longer than the sides of the floor, and that they are the same thickness as the plywood you used.
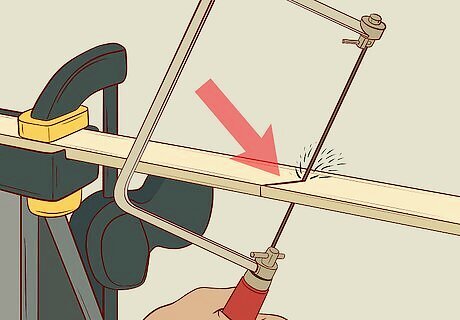
Cut the trim to meet at the corners. In order for the pieces of trim to meet snugly at the corners of your dance floor, they need to be cut at 45-degree angles. Take care to account for this angle when measuring your piece. For instance, for a 8 ft (2.4 m) side of the dance floor, you’ll need a piece of trim that’s 8 ft (2.4 m) long not including the angled portion of the trim. If you’re using ½ in (1.3 cm) plywood and ½ in (1.3 cm) rounded trim, the outside edge of the trim (which will include the angled portion) will be 8 ft (2.4 m) and 1 in (2.5 cm) long. Note that you’ll need to cut the trim in half on the sides that have the split to allow the dance floor to fold.
Glue the trim to the dance floor. Use wood glue to fasten the trim to the edges of the dance floor. Make sure you’re putting the halved pieces of trim on the right sides of the floor.
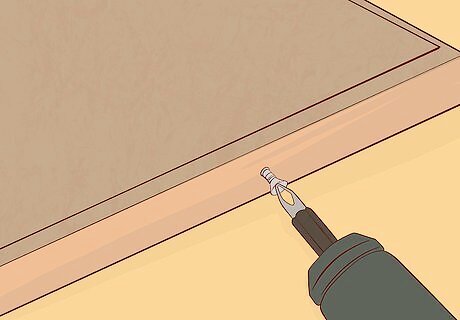
Nail the trim down. Once the glue has dried, hammer finishing nails into the trim about a foot apart. Make sure to position the nails to angle slightly downwards, so they don’t angle up and penetrate the surface of the dance floor. Don’t skip the nailing step. Even if the trim seems extremely well-attached after the glue has dried, it will eventually come off if you don’t nail it down.
Assembling a Cushioned Dance Floor
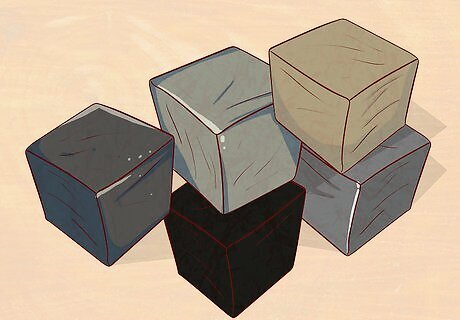
Get a shock absorbing subfloor. If you’re hoping to install a dance floor on a hard surface, such as concrete, the dance floor will need to be “sprung” or otherwise cushioned for comfort and safety. There are many ways to do so for professional floors. The easiest option for a home dance floor employs a layer of dense foam that is often referred to as “closed-cell” subflooring. There are lots of options even within closed-cell foam subflooring. The foam can be purchased in individual, connectable squares, or in a roll. Contact your local hardware store or look for dance floor subflooring online.
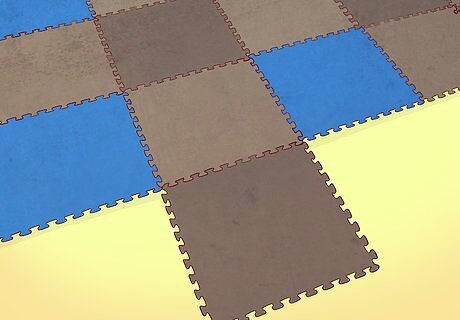
Try foam mats with a stiff middle layer of flooring. Some flooring companies provide especially easy-to-install materials that are designed for use in cushioned dance floors. Look online for close-cell foam subflooring and clip-together athletic tiles that provides a middle layer between the foam and whatever dance surface you finish your dance floor with. The cost of both of these layers together comes up to about $5/sqft (roughly $15/sq meter).
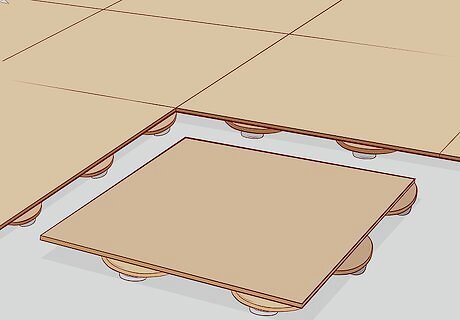
Buy pre-built sprung floor panels. You can by panels of “sprung” flooring, such as that found in high-tier dance studios and performance halls, that can be attached together and covered with a dance flooring surface. They are easily assembled and can be taken apart and moved. This is an especially convenient route if you plan to build a commercial dance floor yourself.
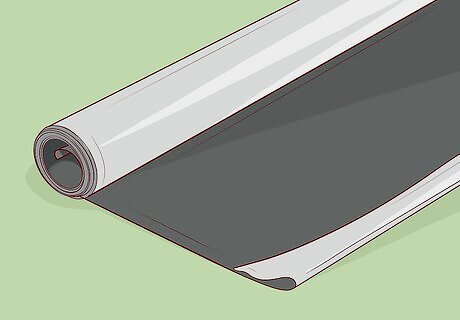
Select a dance surface to top your subflooring. Subflooring simply provides the cushioning necessary to absorb the impact from dancers, provide elasticity, and prevent injuries. However, you still need a layer of dance flooring to go on top of the subflooring. Depending on the type of subflooring you use, you may also need a stiff middle layer in between. There are plenty of different dance flooring materials to choose from, such as Marley flooring. Most will be a thin, durable material similar to that of a yoga mat. This top layer usually costs $2-4 per sqft (0.2-0.4 meters squared).





Comments
0 comment