
Preparing to Add Rolled Roofing
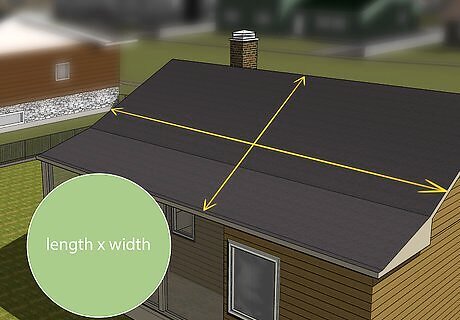
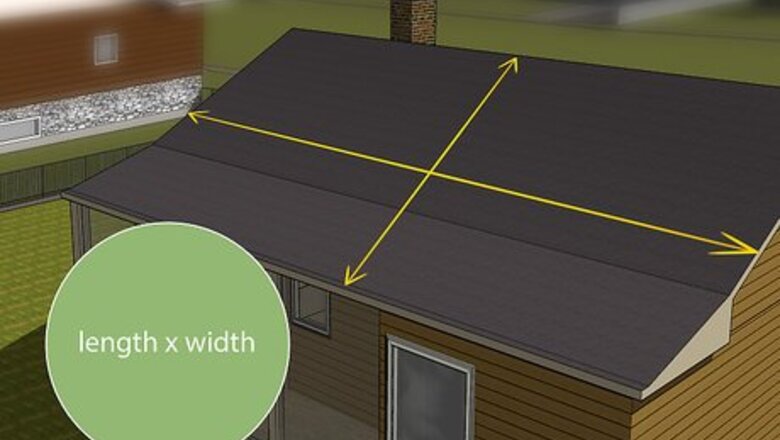
Measure your roof to find out how much material you need. If you can, get a friend or someone else to help you. Use a long measuring tape. If your roof is rectangular or square on either side, it's easy to work out the measurements. Measure the length and width and multiply them to find the area of the roof. If your roof is not uniform and has different sections of different sizes, measure 1 section at a time. Multiply each length and width to find the area of each section. Add the section areas together to find the total area of the roof. Get an extra 5-10% of material to account for overhangs and overlap.

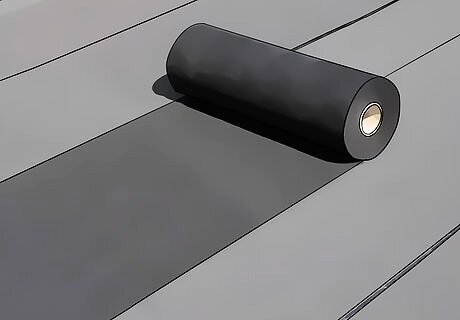
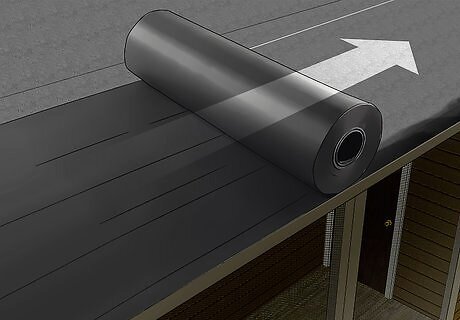
Purchase the appropriate amount of rolled roofing. Go to your local hardware or building supplies store and ask for enough rolled roofing to fit the area of your roof. Rolled roofing comes in rolls, much like carpet. You can cut the roll to fit corners and other areas.
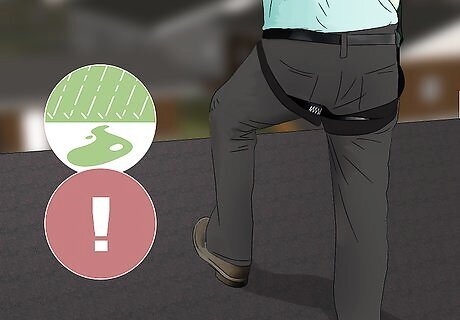
Take proper safety precautions when you're on your roof. For safety purposes, it's a good idea to have someone with you when you're walking around on a roof. Never go up on your roof when it's wet or if rain is forecast. Roofs become very slippery when wet. Even when it's dry, watch your footing and move slowly when walking on a slanted roof. Wear footwear with proper grip on the soles. Don't go up on your roof with canvas shoes or sneakers on.
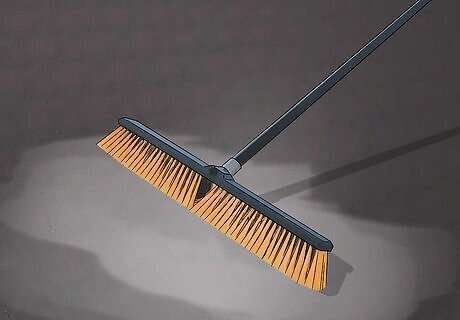
Clean the roof before starting the roofing. Before you apply your rolled roofing, you should make sure it's free of excess dirt, grime, or any other substance. Use a brush to sweep away any leaves and dirt or use a leaf blower to blow debris from the top down to the edges. If you can, hose down the roof from the ground or a ladder. Wear long pants, work gloves, and shoes with deep ridges so they have a good grip. Never go on top of the roof to hose it. Hose it from a safe area where you are in no danger of falling from the roof. Make sure your roof is completely dry before installing your roofing. Have a friend with you to help or alert other people in case you lose your footing on the roof. If you have gutters, clear them out with gloves and a bucket.
Lay all of your materials out on the floor. So you don't get confused later in the process, it's a good idea to take stock of all your items before you start. Roll out the roofing sheets and lay them flat on the ground. Place bricks in the corner to keep it down and reduce resistance later. If you're doing this in the winter, roll your roofing sheets out in a garage. Cold weather damages roofing sheets. Cut pieces into 12–18 feet (3.7–5.5 m) sections and lay them out flat in your yard. Let them flatten in the sun for a day. If the temperature drops below 45 °F (7 °C), keep the roofing in your garage or inside.
Installing the Rolled Roofing
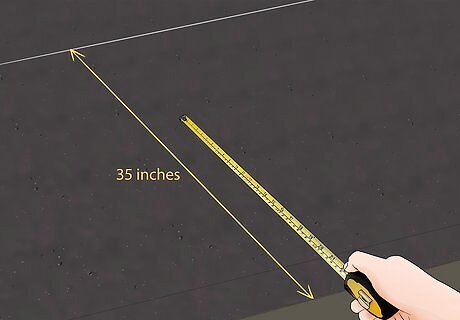
Mark a chalk line to identify the end of your first layer. Using a measuring tape, measure 35 inches (89 cm) up from the bottom of the roof and make a mark with chalk. The measurement of 35 inches (89 cm) is the default measurement used by most roofing professionals. Use a ruler or meter stick to draw the chalk line across the roof. Avoid using eaves as guides as they are not necessarily placed at the same height across the roof.
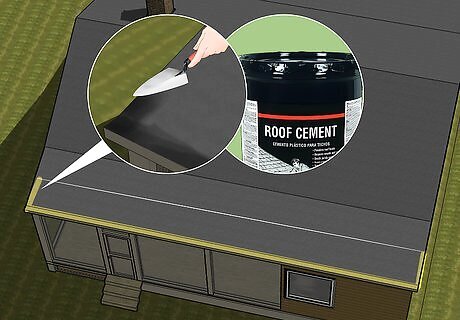
Apply roofing cement to the roof. Use a trowel to scoop up the roofing cement. Spread the roofing cement along the edges of your roof so it’s about ⁄8–⁄4 inch (3.2–6.4 mm) thick. You can get roofing cement at the local hardware or building supplies store. Apply the cement in stages. Do the bottom part of the roof before you start working on that section, apply it to the middle before you start working there, and so on. Use the chalk lines as the borders of each section. Always wear gloves when working with roofing cement. Read the instructions on the side of the roofing cement container before you begin.
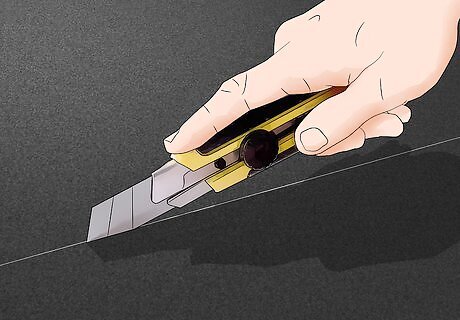
Cut the rolled roofing to the right size using a razor knife. The rolled roofing should reach the chalk line when you lay it down and should stretch from 1 side of the roof to the other. You'll need to use plenty of pressure with the razor knife to cut the rolled roofing material.
Place the first layer of rolled roofing on the roof. As you place the rolled roofing down, stretch it to get rid of wrinkles and creasing. Push the rolled roofing down into the wet cement to secure it to the roof. The first layer should cover the roof as far as the chalk line.
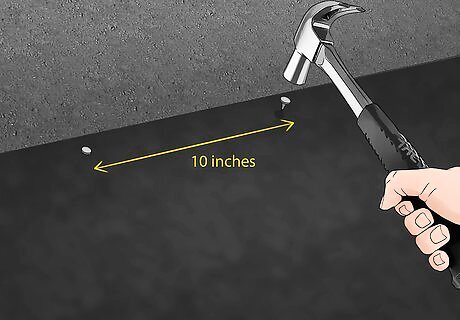
Hammer nails into the rolled roofing to secure it. Make sure you use a strong hammer and 1 inch (2.5 cm) roofing nails. Hammer the nails in at 10 inches (25 cm) intervals across the roof. Ensure that you hammer the nails properly into the roof, don't leave the nails sticking up above the layer. Be careful when working with a hammer and nails on a roof. Make sure you have a stable grip on the roof.
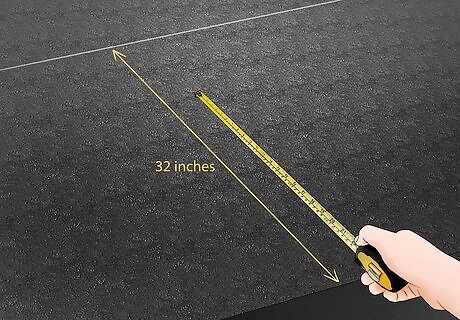
Measure and mark another chalk line above the first layer. Use your measuring tape again to measure up 32 inches (81 cm) above the first layer. The shorter length is because you'll be laying part of the second layer on top of the first layer. Draw the chalk line across the length of the roof.

Apply roofing cement and secure the second layer to the roof. Get your trowel and another scoop of cement and apply it on the roof below the second chalk line. Once the cement is spread across the roof, it's time to place the second layer down. As mentioned above, place the first 6 inches (15 cm) of the second layer on top of the first layer. When nailing the second layer into the roof, make sure you nail the first and second layers together. Repeat this process for the rest of the roof.

Cover the nails with cement to secure them in place. When you have all of your layers applied and your roof is covered in rolled roofing, use cement to cover your nails. This will seal the nails into the rolled roofing.
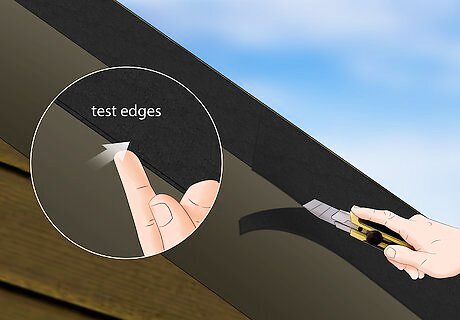
Trim the edges of the layers and seal the edges. Use your razor knife to remove any excess rolled roofing. Take special note of the corners and edges of the roof. When you're finished trimming, test the edges to see if you can lift them. If you can lift the edges, use some more cement to seal them in place.

Clean the rolled roofing before you finish. Have another look at the roofing and use a brush to remove any excess dirt or other materials. There shouldn't be that much dirt on the roof at this point of the process. Once the roof is clean, you're finished.


Comments
0 comment