views
Choosing and Preparing the Wood
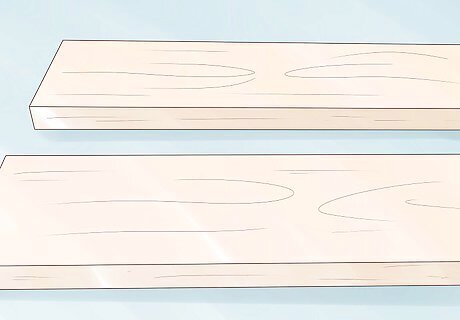
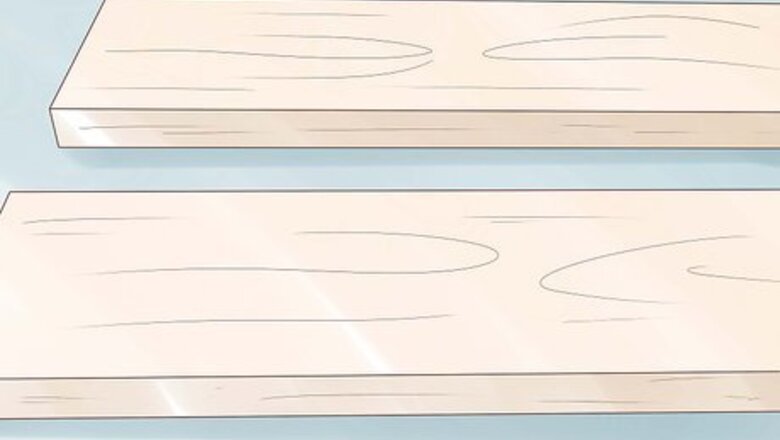
Choose a wood variety with tannins for the most noticeable impact. Baking soda reacts chemically with tannins, which are acidic compounds found in plants, including trees. Some types of wood have greater concentrations of tannins than others, though. These include cedar, pine, red oak, redwood, and mahogany, among others. Woods that are harder and darker have more tannins. The concentration of tannins varies from tree to tree—this means that 2 cedar boards may age differently when treated with baking soda. Consider these differences and imperfections part of the aging process. You can use baking soda on woods with low concentrations of tannins, but the results will be much less noticeable. You’re better off trying a different aging technique.
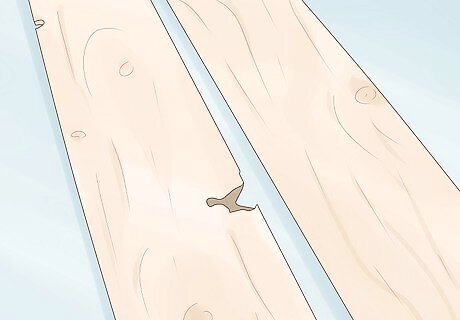
Turn flaws into highlights by aging imperfect wood. You can certainly age pristine, freshly-cut wood with baking soda. However, to save some money or make use of wood you already have around, try using cast-off, damaged, or otherwise imperfect wood. The aging process will make beauty of the wood’s imperfections. If you want to “rough up” wood that is pristine, you can beat it up with tools, such as a bag of screws or a hammer. Hit it repeatedly or drag the sharp ends across the wood’s surface.
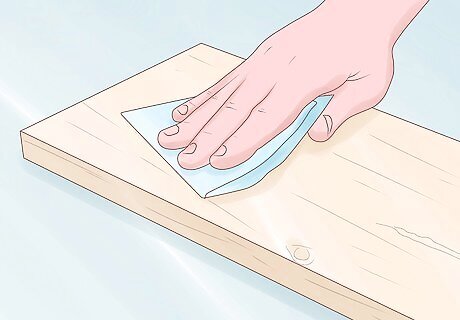
Sand the wood (and strip it if necessary) if it has been finished. If the wood you want to age has been previously painted or stained, sand off the top layer to expose the untreated wood below. For wood that has been painted more than once, you may need to use a chemical stripper. Wear safety goggles, long-sleeved work clothes, and gloves when you use a sander or chemical stripper. Work in a ventilated area, such as an open shop or garage, when using chemicals. If you want your project to look older and more distressed, you can leave some paint on portions of the wood.
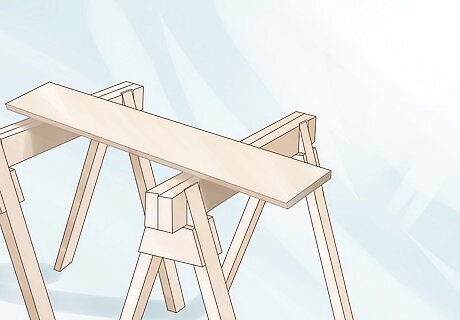
Lay the wood on sawhorses or a dropcloth in a sunny spot. If you’re aging 1 or several individual boards, set up 2 sawhorses so that you can lay the wood on top of them. If you’re working on a piece of furniture or something else that won’t easily rest on sawhorses, lay out a dropcloth on the ground. Exposing the wood to direct sunlight will speed up the baking soda aging process. It will still work without sunlight, but the baking soda application will take longer to dry, and you’ll probably need to reapply the baking soda more times to get the look you want. If you want to age both sides of a board, finish aging 1 side, then turn it over and do the other side.
Applying the Baking Soda Paste
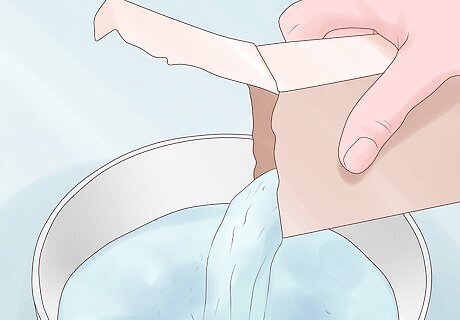
Mix a solution of 1 part baking soda to 1 part water. Add the baking soda to a large bowl or medium bucket, then pour in the water and stir it thoroughly with a spoon. The goal is to create a paste of medium thickness that you can apply with a paintbrush. If you’re aging a few smaller boards, you might start with 1 c (240 ml) of water and 1 c (240 g) of baking soda.
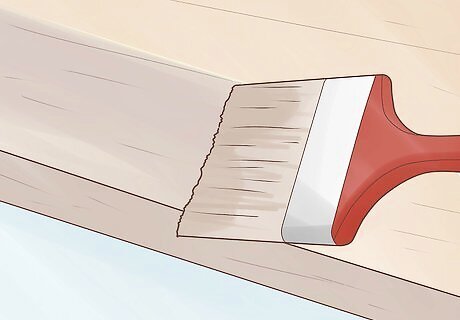
Paint on the baking soda paste in a thick layer with a paintbrush. Dip the brush into the paste and paint it on in the direction of the wood grain. Cover the entire surface completely in a thick layer of paste. If the paste is too thick to paint on, add a bit more water. If it’s too runny, stir in a little more baking soda.
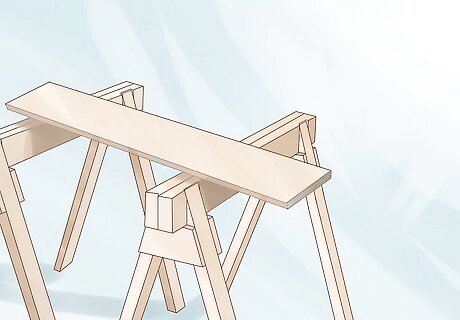
Leave the coated wood in the sun all day for the best results. Allow it to stay on for at least 6 hours, so that the baking soda has a chance to leach the tannins from the wood. The longer you leave it on, the more noticeable the impact will be.
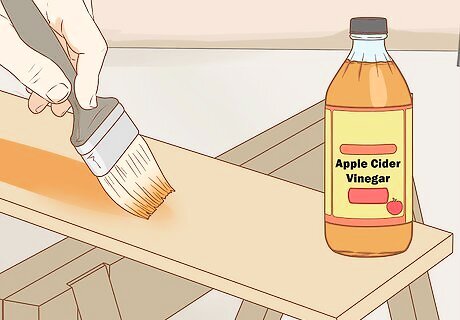
Apply white or cider vinegar to speed up the aging process. If you don’t have access to direct sunlight or 6 hours to spare, spray the surface of the wood with vinegar after you have applied the baking soda. Let it sit for 10 minutes (in the sun, if possible) before moving onto the removal process—which is the same whether you use vinegar or not. You can use white vinegar or apple cider vinegar. Simply pour some into a spray bottle. There will be some foaming when you apply the vinegar to the baking soda. While adding vinegar speeds up the process significantly, you may have to repeat the process more times to get the same results as you would with just baking soda.
Cleaning and Finishing the Wood
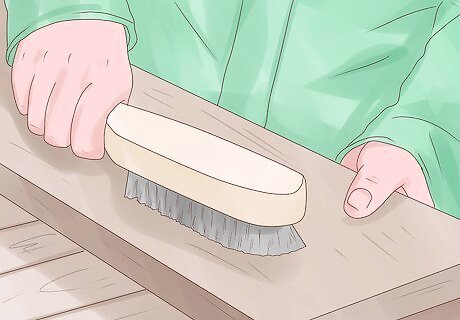
Scrub the surface of the wood with a wire scrub brush. Scrub hard enough to brush away all of the baking soda paste, and press even harder if you want to scuff up the wood and add to the aged look. Some of the wood may flake off as you scrub. Scrub in the direction of the grain of the wood, unless you want to add more scrapes and scoring marks to the wood. If you used only baking soda and let the wood dry in the sun for 6-plus hours, the paste will be dry and crumbly. If you added vinegar and only waited 10 minutes, it will still be damp and pasty. Scrub it off with the wire brush in the same manner regardless.
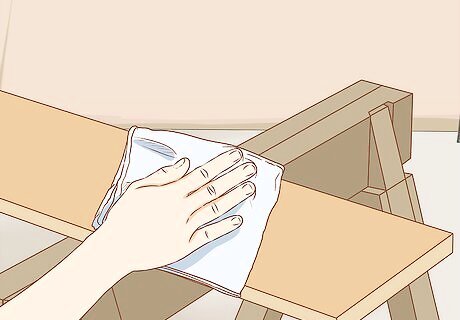
Wipe the wood clean with a damp rag. Wipe down the wood in the direction of the grain. You’ll probably see some darker reddish coloring (from the tannins) lifting off onto the rag. Keep wiping until all remnants of the baking soda paste are removed. You can rinse the wood with a hose or under a faucet instead, but it will take longer to dry.
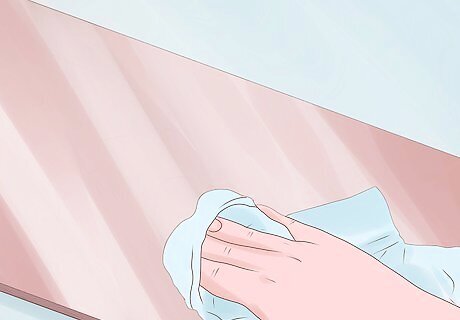
Dry the wood with a clean cloth, then let it air dry. Wipe with the grain of the wood and remove as much moisture as you can. Then, let it air dry completely. This will reveal the full extent of the aging accomplished by the baking soda.
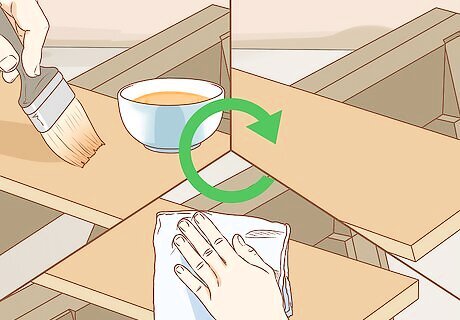
Repeat the entire process to further age the wood. If the wood color still isn’t aged to your liking, add a new coating of baking soda paste the following day, or whenever you have the opportunity. Follow the same procedures for putting on the paste, adding vinegar (if desired), waiting either 10 minutes or 6-plus hours, and scrubbing, wiping, and drying the wood. Repeat the process as many times as you like. Every time you apply baking soda, it will leach out more tannins and give the wood more of a greyish, weathered look.
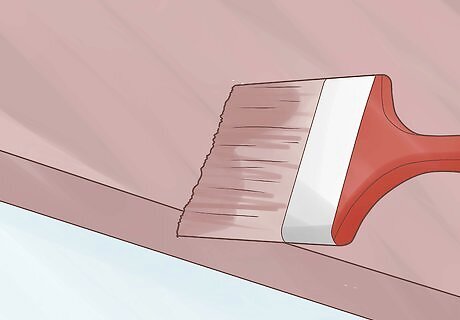
Apply stain, if desired, to give the wood an aged-but-finished look. Choose a stain that complements the color you’ve achieved through the aging process. Apply it with a paintbrush, going with the grain, then use a damp cloth to remove excess stain immediately after application. Apply 1 or multiple coats, depending on your preferences. Let the stain dry completely between coats. You don’t have to apply stain, if you prefer a more natural aged look.



Comments
0 comment