
X
Expert Source
Frankie SandersonMakeup Artist & Stylist
Expert Interview. April 14, 2020.
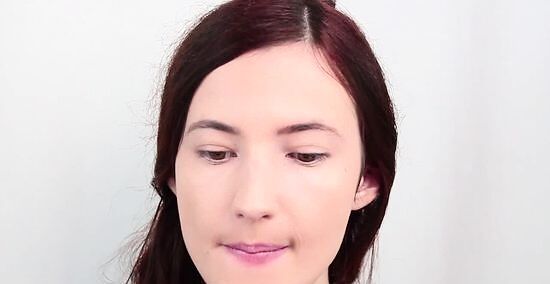
With a little time and dedication, you'll end up with a look that's picture perfect.
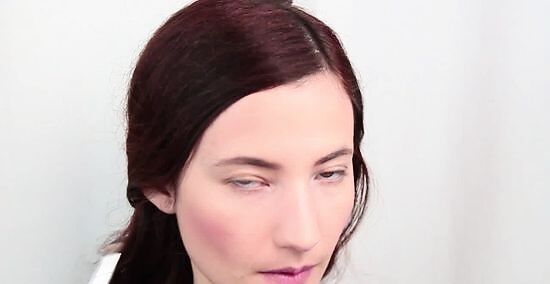
Starting with a Basic Foundation
Start with primer. You want to start off with a basic primer. This lessens the appearance of makeup and fine lines. Apply a layer of primer to your face using your fingers. Make sure to especially target your nose, under your eyes, your forehead, and your cheekbones.
Use a matte foundation. When applying foundation for photographs, you want to use a matte foundation. Matte makeup does not reflect light, making it a better choice for photography. To start, use your fingertips to dab some foundation on your cheeks, your chin, the bridge of your nose, and your forehead. To avoid having an obvious foundation line, make sure that your foundation, concealer, and powder match the color of your skin as closely as possible. If you're not sure which product to choose, visit a makeup counter and ask a professional to match your skin tone for you. Use a makeup brush to blend the makeup into your face. Use large, circular motions as you move the brush throughout your face. Go over your face with the makeup brush a few times to make sure the foundation looks blended and smooth. Make sure to blend the foundation into your neck as well, so there is not a sharp contrast between your face and neck. Never stop blending foundation at your jawline.
Apply foundation more sparingly if you're photographing outside. If you're doing an outdoor shoot, you do not need as much foundation. Natural light can make makeup appear more obvious and you may look overdone with too much foundation. Only apply foundation to areas where your skin is uneven and discolored if you'll be shooting outdoors.
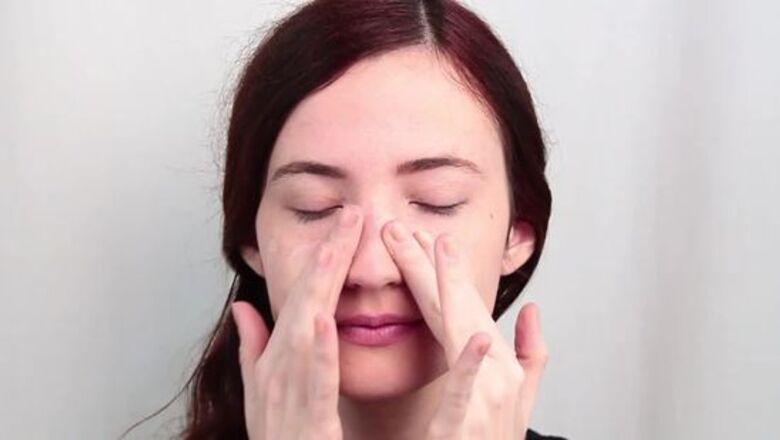
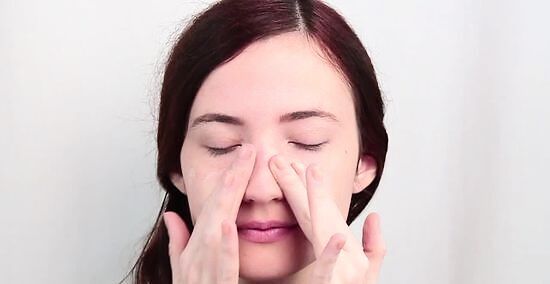
Use concealer under your eyes, on your forehead, chin, and the bridge of your nose. Once your basic foundation is laid down, you'll need to apply some concealer. This can help eliminate the appearance of dark circles under your eyes, and can also highlight certain areas to create a slimming affect on your face. Use the brush that came with your concealer. Dab some concealer under your eyes. Draw a line of concealer running down the bridge of your nose. Then, add some to your chin and forehead. It may also be a good idea to add some concealer just above you lip. Use a makeup sponge to slowly dab the concealer into your face. Go slowly and keep dabbing until the concealer is blended into the rest of your makeup. Try applying a lighter, powder-based foundation below your eyes, on your chin, and on the center of your forehead. Then, use a fluff brush to blend it outwards.
Dab some highlighter over your concealer. For photos, highlighter can help make your face light up a bit more. It can also help set your makeup and keep it from fading during a photo shoot. Using a large and fluffy makeup brush, dab a small amount of highlighter on the areas where you applied concealer. Highlighter is best used for photographs taken in the evening or in low-light conditions.
Contour. Even if you don't usually contour, doing so for a photo shoot can help your face look slimmer and more defined. Use a dark stick foundation to trace your face and blend the makeup from there. Run the foundation from your temples to your hairline. Find your cheekbone by placing your finger on your face and finding the hollow part. Place a line of foundation here. You should also place two lines of foundation running along either side of the bridge of your nose. Trace your jawline with foundation, and then add a dab to your chin. Use a sponge to dab the makeup into your face.
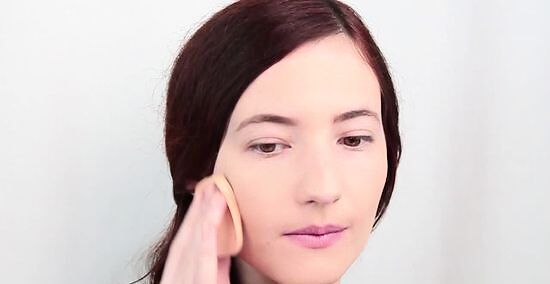
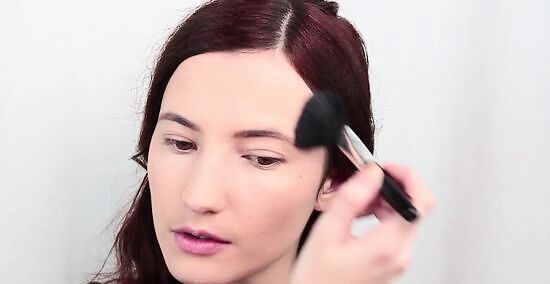
Frame your face with a light layer of bronzer. You do not need a lot of bronzer for photos, but it may be a good idea to add a light layer. This can outline your face a bit and help highlight your features. Take a small amount of bronzer and use a fluff brush to outline your face. Draw a circle around your face with the brush, applying bronzer along your jawline and forehead.
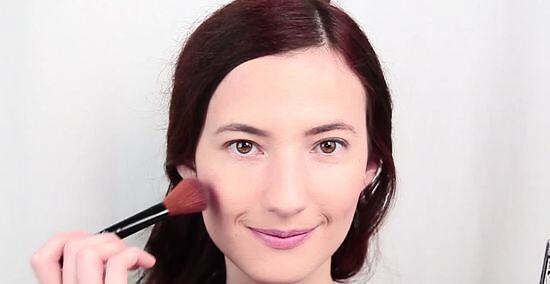
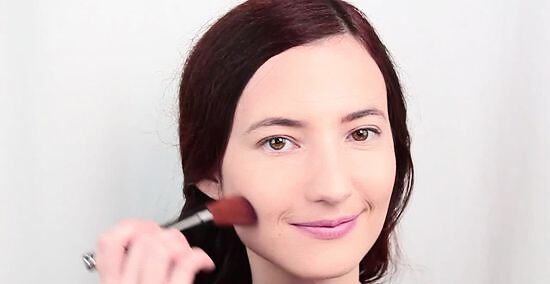
Use a brighter shade of blush than normal. If you don't want to use bronzer, try applying blush instead. Makeup usually photographs about two shades lighter than it actually is. Therefore, it's a good idea to choose a slightly brighter shade of blush to make your cheeks look red and healthy. Pick a bright pink shade of blush and use a fluff brush to apply to your cheeks. Start dabbing on blush on the apples of your checks. As you dab, move the brush backwards and up slightly. After dabbing, use circular motions to blend your blush in a smooth, circular line. Don't use blush and bronzer together. Choose just 1.
Applying Makeup to the Eyes and Eyebrows

Fill in your eyebrows. Eyebrows may look lighter in photographs, so it's a good idea to fill in your eyebrows prior to a photo shoot. You'll need a brow powder that is 1-2 shades lighter than your brow color. Take the brow brush and start at the bottom of the brow. Work upward, making short and direct strokes with the brush. Fill in gaps in hair to make your eyebrows look fuller and more pronounced. Keep going until you reach the top edge of your eyebrow.
Add highlighter to your lids as a base. You want your eyes to look bright and defined in photos. Adding highlighter to your eyelids can help prevent them from looking sunken in. Choose a shade of highlighting eye shadow that matches your natural skin tone. Use a large eyeshadow brush to apply it to both your eyelids. Use sideways, back and forth motions to cover the entirety of your lid, as well as your brow bone.
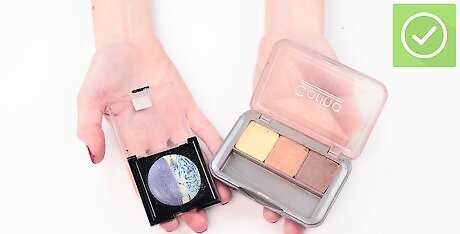
Avoid sparkly or shimmery eye shadows. As with foundation, something sparkly or shimmery won't look great on camera. Stick to solid shades. Matte eye shadow works best here.
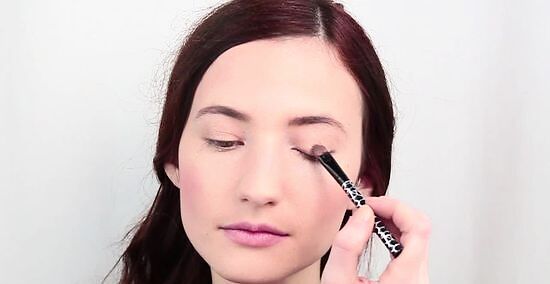
Apply a shade slightly darker than your skin tone to your crease. You want your eyes to look defined. To create this effect, you'll want to apply a shade of eye shadow slightly darker than your skin to outline your eye. You will use an angled brush or a small eye shadow brush to apply this shade to your crease and the corner of your eye. Use a corner brush to outline the outer corner of your eye. Then, run the corner brush along your crease. Take a fluff brush and sweep it across your full eyelid in small circular motions. This will blend your corner and crease makeup with the rest of your eye.
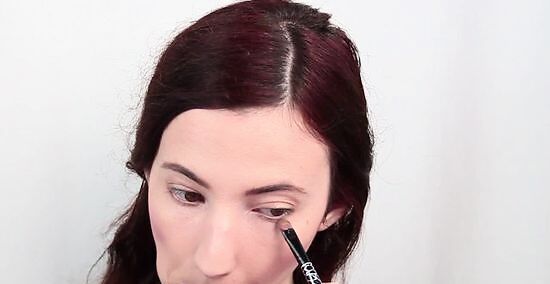
Use an even darker shade for your lower lash line. In order to make your eyes look outlined and defined, take a darker shade of eye shadow. Apply some of this shade to your corner brush. Draw a small line just underneath your lower lash line with this shade.
Apply the same highlighter you used on your cheeks to the inner corners of your eyes. Once you've finished the main part of your eyes, you'll want to highlight your inner corners. This can prevent your eyes from looking sunken into your face. You'll want to use the same highlighter you applied to your cheeks earlier as it will match the rest of your face. Use your fingers to dab some highlighter into the inner corners of your eyes. Take a makeup brush and make swiping motions around the corners of your eyes. This should blend your makeup out.
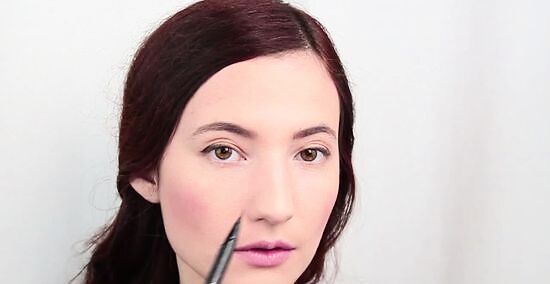
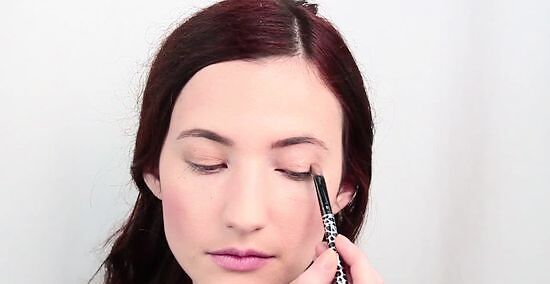
Put on eye liner. Eye liner is important in photographs. It outlines your eyes so they look crisp and noticeable. You can use a skinny brush, such as a corner brush, to draw a line just above your lash line. Keep the brush very close to your lashes as you draw a thin line all across your lash line. Black eye liner is often recommended over brown shades. Black tends to show up better on camera.
Add mascara. Once you're finished with your eyeliner, add mascara. To start, take an eye lash curler. Clamp it down on the base of your eyelashes to give them a slight arch. This will make them show up better in photos. Then, take a tube of mascara and apply it to your eyelashes. Use slow, somewhat wiggly strokes to elongate your lashes and separate them. If any of your lashes clump, you can turn the brush on its side. Try to separate the lashes with the tip of your mascara brush. If your mascara is clumpy, try adding 1-2 drops of saline solution inside the tube to loosen it up. However, if the mascara is more than about 3 months old, toss it out and purchase a new one.
Adding the Finishing Touches
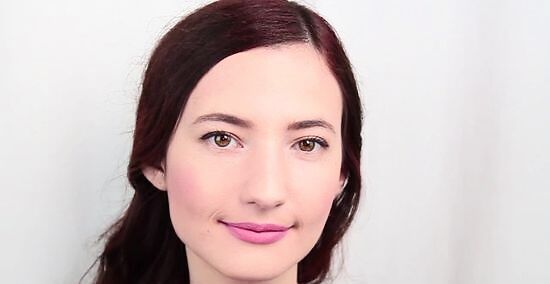
Pick a lipstick shade you like. When it comes to lipstick, brighter tends to show up better in pictures. However, it's best to pick a shade you like. You want to feel bold and comfortable in photos and a lipstick shade you love can help bolster feelings of confidence. Line the lips first with a lip liner that is 1 shade darker than your lipstick to make the lipstick stay longer. Apply the lipstick with a small lip brush to make the lipstick more precise and sharp. As with other types of makeup, matte lipsticks work best here. Place the end of the lipstick on your lips. Slowly trace the shape of your lips with the lipstick.
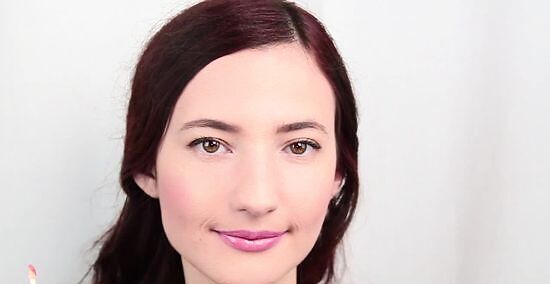
Make sure to add lip gloss. You do not want to neglect lip gloss when putting on makeup for photos. Lip gloss can help your lips look full and plump in pictures. As with the lipstick, trace the shape of your lips with a complimentary gloss. Alternately, if you don't want to use lip gloss, get a lipstick with a satin or glossy finish.

Finish off with a setting spray. If you're taking a lot of pictures, your makeup may fade throughout the shoot. It's a good idea to finish off your makeup by adding a nice setting spray. Hold the spray about a foot away from your face, close your eyes, and mist your face in spray. This will keep your makeup intact.


Comments
0 comment