views
On a Transparent Background
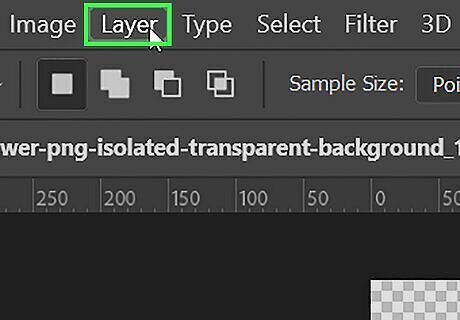
Click the Layers menu. It's at the top of your screen. Use this method if you already have an image on a transparent background and want to replace the transparency with a color.
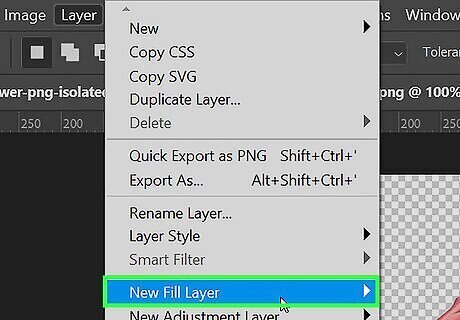
Select New Fill Layer. You can also click the half-white, half-black circle icon in the lower right corner (that's called the Layers Panel) and select Solid Color.
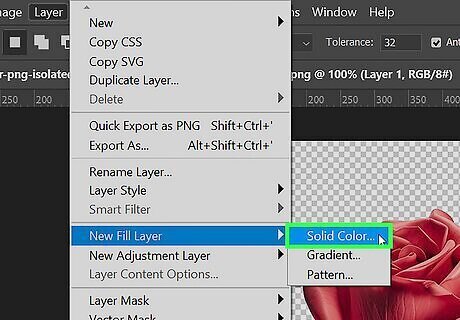
Select Solid Color. It's at the top of the drop-down menu. Alternatively, you can use the keyboard shortcut Ctrl + Backspace (Windows) or Cmd + Delete (Mac) to get here.
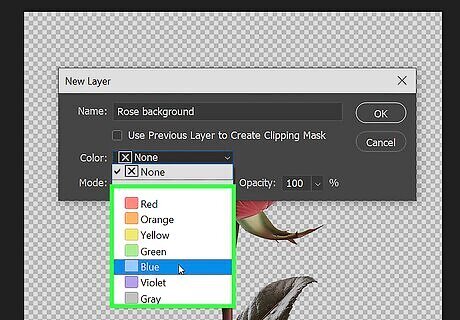
Choose a color and name your layer. Drag the slider to pick your color, type in the top field to enter the layer's name, and click OK. This changes the background to the selected color. If the color is in front of everything else, look at the Layer Panel and drag the color layer to the back so it becomes the background.
In a New File
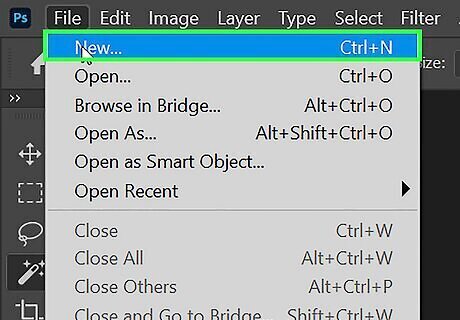
Click the File menu and select New. If you want to choose a custom background color for a new project, it's easy. If you just opened Photoshop, select New or Start New.
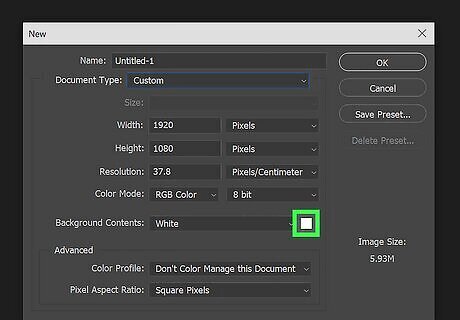
Click the color menu next to "Background Contents." It's on the right panel. By default, it'll either be a white or transparent background.
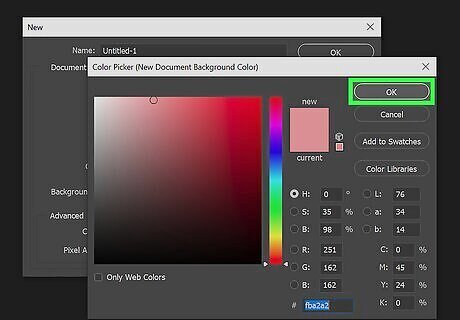
Select a color and click Create. This creates a new Photoshop document with the background color you selected.
Behind an Image
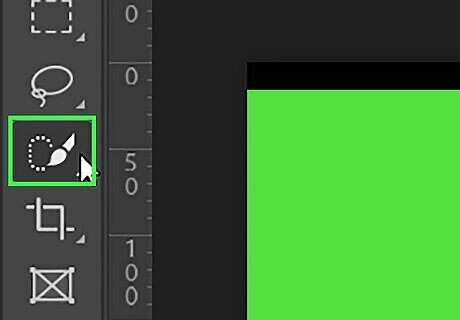
Click the Quick Selection Tool. It looks like a paintbrush with a dotted circle around its tip near the top of your tool menu. If you see a tool that looks like a magic wand, click and briefly hold on to it. When you release the click, a drop-down of available tools should appear. Click the Quick Selection Tool. Alternatively, press W on your keyboard.

Place your cursor at the top of the foreground image. Click and drag across the body of the image. If the image is very detailed, click and drag small sections rather than trying to move over the entire image. Once you have selected a portion of the image, you can click at the bottom of the selection and drag further to increase the selection. Continue until there is a dotted line around the perimeter of your foreground image. If the Quick Selection Tool highlights an area outside the image, click the “Subtract from Selection” brush at the window's top-left corner. It looks like the quick selection tool but has a "minus" (-) next to it. If you're using PS 2019 or newer, you can use AI-powered tools to make your selection. Once the selection tool is active, click Select Subject at the top of your window.
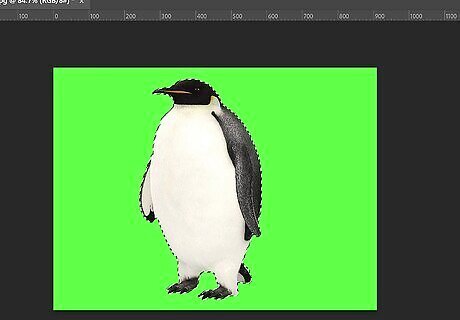
Refine your background. If you have an older version of PS, you'll see a "Refine Edge" option. Click it, then check "Smart Radius." Use the slider to increase and decrease the radius, then click OK once you like the preview image. For PS 2019 and newer, press Q to you create a mask quickly. You should see the non-selected area turn red to indicate that it is designated as background. If you need to add areas the AI tool missed, press B to switch to the Brush Tool and brush in the areas that aren't considered the background.
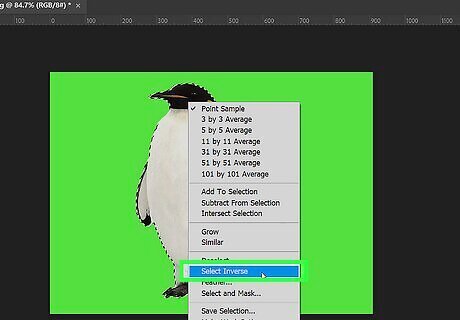
Reverse your selection. Right now, your subject is highlighted, so it fills with the background color. You need to invert the selection to select everything except your foreground. You can do this in 2 ways: Right-click your selection, and click Select Inverse. Then go to Layer > New Fill Layer > Solid Color and select your color. Click the masked layer in the "Layers" panel on the right side of your screen, then click Invert above it in the "Properties" panel. Add your color by clicking the half-white, half-black circle icon in the bottom right of your screen, click Solid Color and choose a color. Now you have an image on top of your choice of background color! You can also cut an image and paste it onto a background color layer.


Comments
0 comment