views
Getting Started
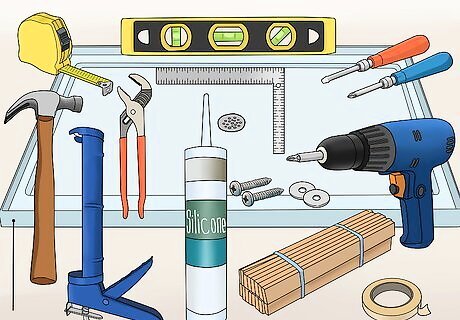
Assemble the necessary tools and equipment. Installing a shower pan requires basic home repair tools and some specialty items available at most home retailers. To do the job properly, you'll need: Tape measure Carpenter's level Phillips and flathead screwdrivers Power Drill Drill Bits Hammer Caulking gun Adjustable pliers (if needed) Framing square Silicone bath caulk New shower pan 1 ½ or 2-in. screws Washers Wooden shims Masking tape
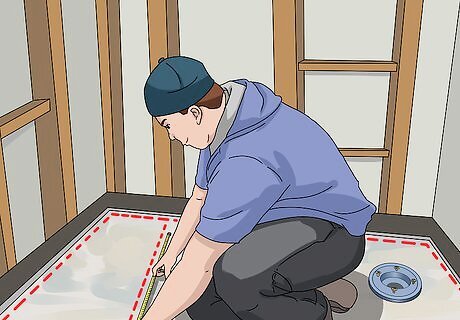
Measure the space where the new shower pan will be installed. Measure along all of the walls that will come in contact with the pan. Write these measurements down and take them with you when purchasing the pan. Your home center professional will help you select the correct size based on the measurements. Most modern shower pans are either acrylic or fiberglass for ease of installation, but keep in mind that some shower pans may have to be special ordered if they’re not a standard model or size. Find this out before you tear out your existing shower. Standard sizes are 36” x 36”; 36” x 42”; 36” x 48” and are usually available in white or almond. Most dealers will have these sizes and colors in stock. Larger sizes or “decorator” designs and colors will likely have to be special-ordered. Call your dealer to see if they have your size and color in stock.
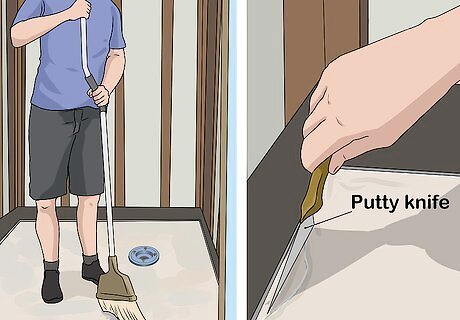
Prepare the area for installation. Clear all debris and old adhesive from the surface. Use a broom or a vacuum to clear loose debris. Use a wide-blade putty knife or a paint scraping tool to peel off old caulking and adhesive. Make any additional surface preparations that are recommended by the shower pan manufacturer as necessary, such as applying a fresh coat of a water seal product to the surface below where the pan will be installed. Be sure to follow the instructions on the container for drying time. Do not install the pan until the water seal is dry. Make sure the subfloor is level before installing the shower pan. If it's not, use a self-leveling compound to level it.
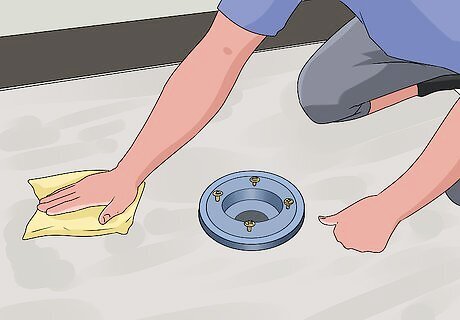
Dry the surface completely. Make sure the surface area is completely and free of standing water and excessive moisture before setting the pan. A damp surface can breed mold and mildew. Additionally, when sealing with caulk, moisture can affect the adherence of the caulk and cause a defective seal.
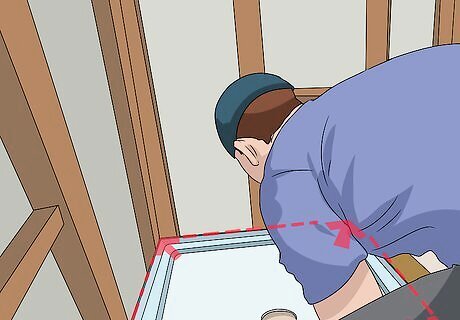
Dry-fit the pan. The first thing you’ll need to do after preparing the shower base area is “dry-fit” your shower pan within the space. Dry fitting means that you won't use any adhesives or fasteners at this time, because you're just checking to make sure everything fits. Be sure the pan fits snugly within the space, but not too tight or the pan may buckle. If the fit is too sloppy, you are likely to have movement issues that can cause seams to separate and create serious water seepage. A fit that is too loose will require additional stabilization of the pan. Check to see if the drain cut-out in the pan lines up and fits properly over the drain pipe. Never force it to line up, as this can cause damage to the pan and to the drain pipe. A little movement (about a half-inch or so in each direction) of the pipe is fine, and will help when lining up the drain components. Since drain components vary by manufacturer, follow the illustrations that come with your shower pan for test fitting. Once you are satisfied that everything fits properly, you are ready to complete the permanent installation.
Installing the Pan
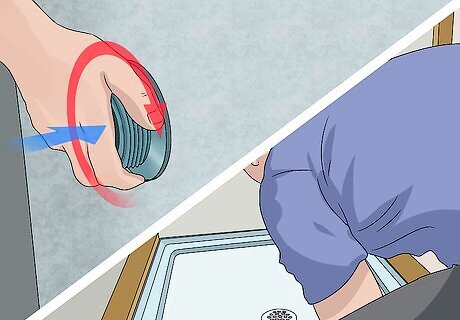
Fit the pan in place. If you removed it after dry-fitting, replace the pan as it was before. Be sure to line up the drain cut-out and drain components properly. Follow the manufacturer’s instructions on attaching drain hardware. Some drain installations may require a short coupling piece to be attached to the bottom of the drain attached to the pan, then slipped into the drain pipe in the floor, sealed with a compression gasket. Others may require a coupling extension pre-inserted into the floor’s drain pipe, then the pan slips over the coupler and is sealed with caulking and a rubber compression ring. Your particular pan kit will have more specific details.
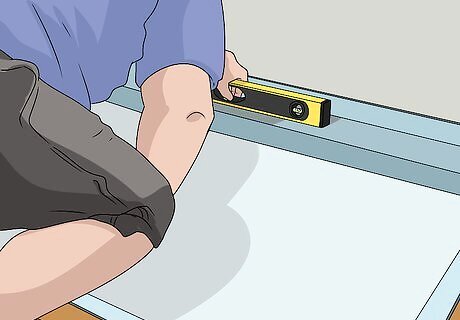
Level the pan. With the pan sitting in place, use a carpenter’s level and wood shims to level the pan, adjusting with shims as necessary. Don't shim so high that the pan becomes elevated or is “floating” above the solid base. Only minimal shimming should be needed if the sub-surface is level to begin with. Once the pan is level, mark the top of the pan lip where it meets the studs, and mark the location of the shims in case the pan has to be moved.
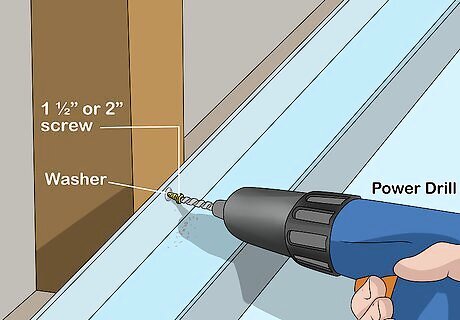
Attach the pan to the studs. Follow the manufacturer's instructions, but in general you want to avoid driving nails or screws through the lip of the pan unless directly specified. You can temporarily secure the pan to the studs by placing a 1 ½” or 2” screw through a washer, then insert the screw just above the lip of the pan so the washer overlaps the lip to hold it securely. Do not over-tighten, as this may crack the shower pan. Use your carpenter's level again to make sure your fastening didn't throw the pan off slightly. When the pan is level, stable and securely mounted, it’s time to make all components water-tight.
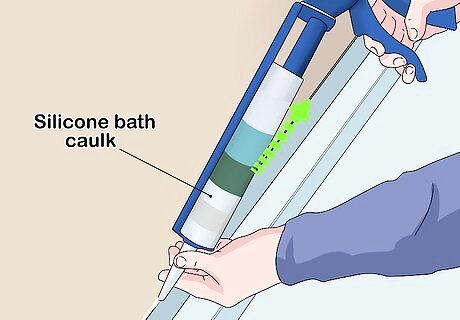
Seal the pan with silicone bath caulk. All locations where there was any penetration of the pan (i.e. drilled or factory holes) need to be filled with silicone bath caulk to create a waterproof seal. Also seal around the studs where the pan makes contact, helping to secure the pan. Use a thin coat of caulk, about the thickness of a piece of masking tape, spread over each penetration location. Use just enough to coat and seal where nails or screws are used to attach the pan to the studs. Wipe up any accidental drips of caulk from the pan before they dry. If you discover them after they dry, you can usually peel them up with your fingernail or a plastic putty knife. As you're working, don't let any caulk run over the lip of the pan, as doing so can affect the fit and seal of the side shower panels. If it runs over while being applied, wipe it off before it dries. You'll also need to caulk the joint where the pan meets the floor. Be sure the surface is very clean and dry or you will not obtain a proper seal.
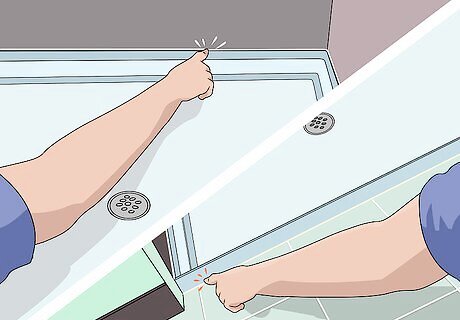
Let the caulk dry and check your seals. Recheck all drain components and seal them with caulk if recommended by the manufacturer. When you're installing any compression seals around the drain components, always use a blunt tool the push it into place. Never use a screwdriver or other sharp object, which can permanently damage the seal.


Comments
0 comment