views
Preparation
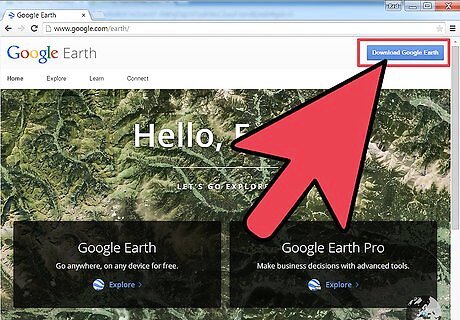
Download and install the Google Earth program from the Google Earth download page.
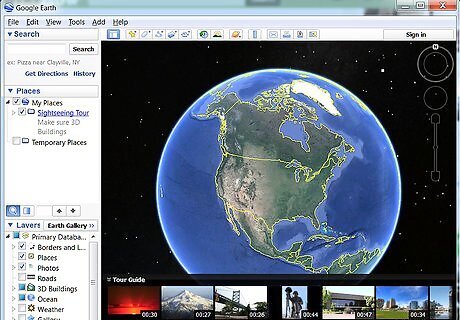
Open Google Earth once it has downloaded.
Using the Software

Perform searches from the search box at the top left side of the program. You can type a place name, zipcode or postcode (for US or Canadian cities), a town/city name, an airport (three letter code or full name) or you can even try to type in a latitude-longitude location (in decimal format). Once you press the ↵ Enter key, you'll be "flown" to that destination. Be creative with your searches, but try to be realistic as to things you'd actually find on a city/county/country map worldwide.

Drag the map around to move from one area to another.
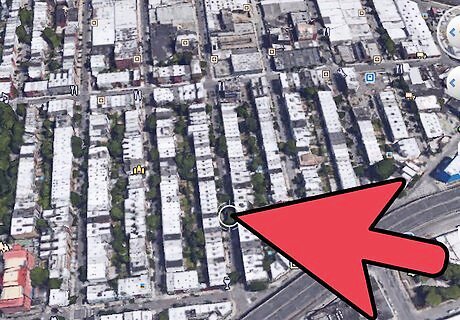
Utilize the zoom out and zoom in options from the buttons on the right hand side of the screen. Did you even realize that there was once a ladder on top of the Google Corporation building?
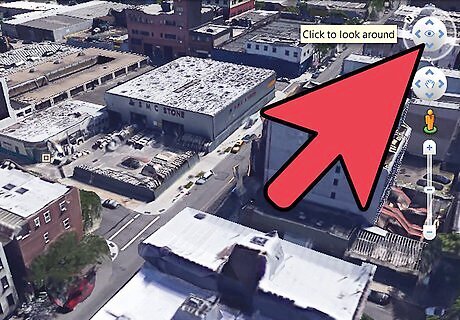
Turn the wheel in the top right corner to spin the item to a better understood angle. Whatever angle you choose, the angle will have to work best for you. Change this location even more by clicking the button in the center of it. You can change between Land mode and views from above. Sometimes, this can be useful!

Change views. To move from an aerial view to a view as if looking from the Earth, use the horizontal bar in the right hand corner.
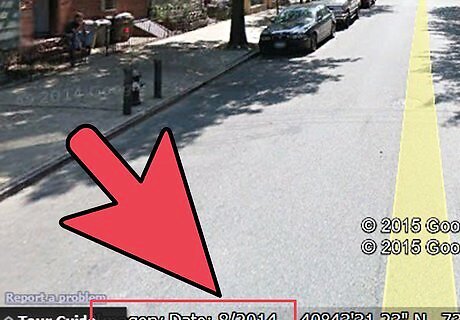
Look for the date the picture was taken from the bottom left hand corner of the screen. And scroll through the dates to see all the satellite images from different days of the year. Zoom to a place on the map where the satellite image has a date, click the "View" menu from the menu bar and click the "Historical Imagery" button to enable the feature. Drag the location of the toggle slider switch in the top left corner to a different date and see what the area was like. (Yes, now you can see what New Orleans was like after Hurricane Katrina, or one of the many famous historical times that date back to 1990!)
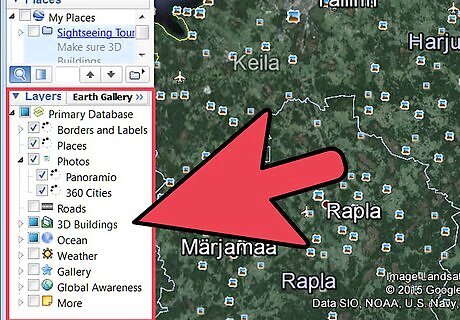
Utilize the Layers button from the bottom left hand side of the screen. Turn on Weather view from the Layers button in the bottom left corner. Click the drop-down negative sign and next to Weather and click both the "Radar" and "Clouds" options. You'll be able to see rain and snow and clouds and sleet on this map, just like you were looking at a weather radar on a TV screen weather broadcasting channel. Turn on other buttons for additional items to view about the location. You can turn on YouTube videos when these videos have been placemarked. Look through that list, and see if you can turn on other very useful features that show the world from the eyes of other viewers. Viewers who love Hybrid mode on Google maps or the Hybrid mode on their iPhones or Android devices, may like to turn on the "Roads" aspect which shows you the roadways. Utilize subway systems and lines that show where subways lines are by turning on Subway from the Transportation drop down of the "More" drop-down button (click More, then Transportation, then select Subway). Get traffic data for specific big metropolitan cities (US and Canada) by turning on the Traffic from the "More" drop-down. Give yourself some Wikipedia data. Turn on the Wikipedia option and you'll see data about the towns you're reading up on. Look at the locations of epicenters to recorded earthquakes by turning on the Earthquake feature in the Gallery drop-down. View pictures of the Ocean floor after turning on some of the Ocean options. There are several pieces marine biologists may enjoy after they zoom into some oceans enough. You might want to turn on both the "Explore the Oceans" and "Shipwrecks" options to see incredible imagery of items below the ocean surface. Also included are "Dead Zone" data where fish tend to die off when they enter these areas. Look at other things on the Earth to learn more about what you don't see or know very well. With some of the other contributors including "National Geographic", NASA, and "Discovery Networks" after turning on these features, or even one of the many other features, you're never far away from many ideas to learn more about your world. There are lots of things you can turn on to learn a little more about your world.
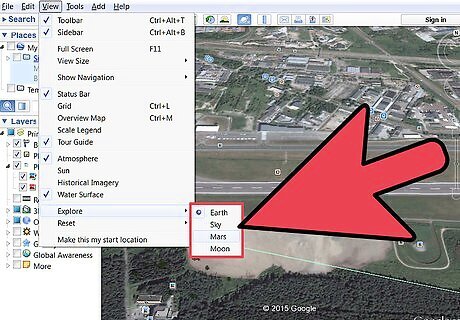
View Mars, the night Sky(Sky), and the Moon in a picturesque satellite imagery. You'll find this toggle switch in the View-Explore drop down in the Menu bar.
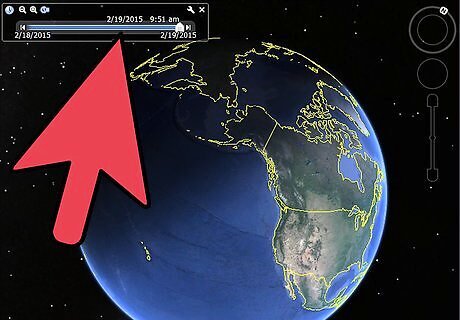
Turn on the ability to see what amount of daylight is shown to the location. Click Google Earth's "Sun" or mode to see what areas of the sky are covered by sunlight. However, not many people will want to change this Sun or Earth City Lights mode because it darkens buildings to the point where nobody can see what's underneath the blackened areas. Run these modes sparingly.
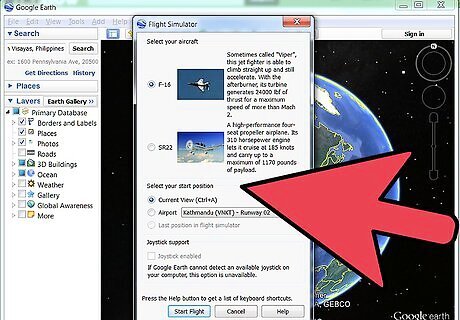
Learn the ins and the outs of Google flight simulator. Whether you start on one of the default airport locations or you "fly" yourself to an airport and level yourself with the zoom button on one of the other airports around the world, the flight simulator will trigger and allow you to fly over areas and view other flight-imagery of cities. (This can be popular too.) Select this option through Google Earth's Tool's (Enter Flight Simulator link) or by using the keyboard shortcut Ctrl+⇧ Shift+A when the Google Earth program is open. Although it's best if you have some knowledge of Microsoft's Flight Simulator X, it's not mandatory!


Comments
0 comment