views
Assembling Your Bissell Proheat 2X Revolution
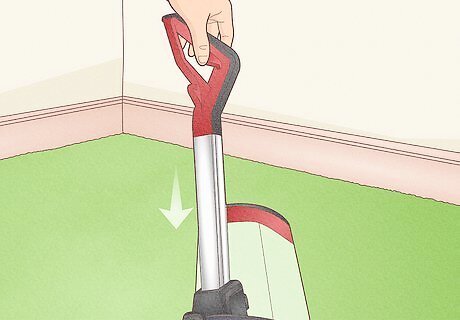
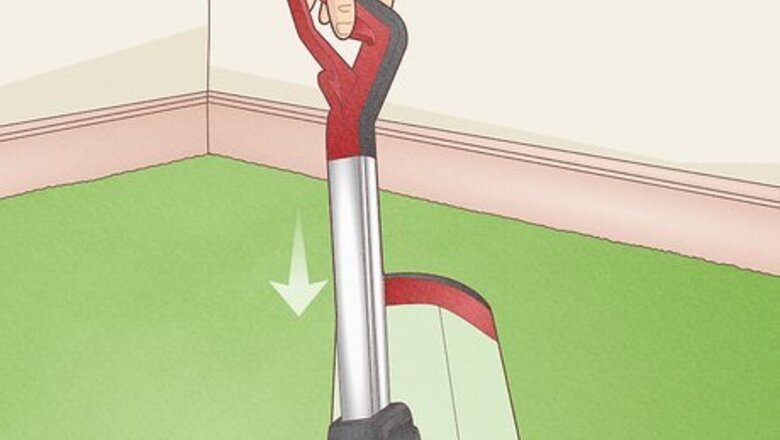
Slide the upper handle into the top of the machine. The upper handle is the part with the triangular handle at the top with a trigger underneath it. Slide it into the hole at the top of the machine base, and it will click when secure.
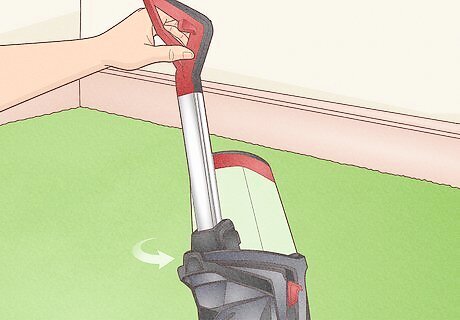
Align the carry handle with the slots on the base. The carry handle is a black, U-shaped part that allows you to wrap the cord around the handle and the hook at the bottom of the machine. After you align the carry handle with the slots at the base, push it until it clicks, then it’s secure.
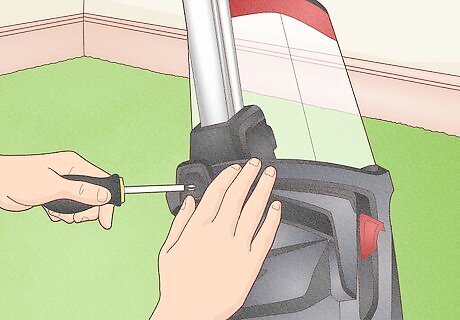
Use a Phillips head screwdriver to secure the carry handle in place fully. There’s a screw taped to the upper handle which you will use to secure the carry handle.
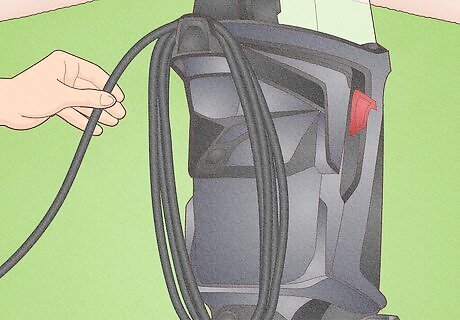
Wrap the cord around the carry handle set clean water tank. Wrap the power cord around the carry handle hook and the hook at the bottom of your Bissell ProHeat 2X Revolution. Once you’ve secured both the upper handle and the carry handle, align the clean water tank with the grooves in the bottom portion of the upper handle. With that done, you’ve assembled your machine.
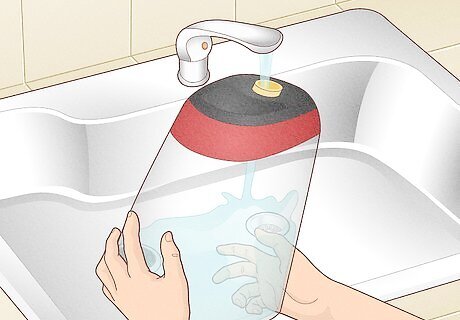
Fill the clean water tank with water. Before each cleaning, fill the clean water tank at the bottom of the upper handle with hot water. Water at around 140°F (60°C) max works for the best results. Unscrew the cap at the top of the tank and add water to the fill line. Fill lines differ based on what cleaning mode you use. Express clean uses less water and solution, and the fill line is near the bottom of the tank. Near the top of the clean water tank is the fill line for Deep cleaning mode.
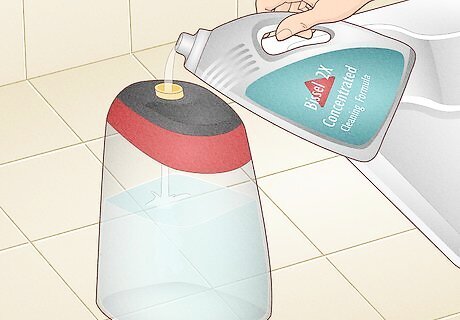
Use Bissell 2X Concentrated cleaning formulas. Once the tank is filled with water, add the cleaning solution. For Deep Clean mode, add 74 milliliters of formula. For Express Clean mode, add 37 milliliters of formula.
Choosing a Cleaning Mode
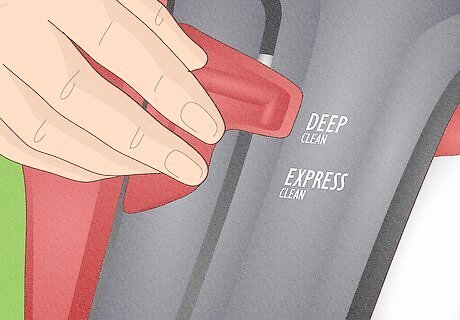
Toggle the cleaning mode switch to choose your cleaning mode. The Bissell ProHeat 2X Revolution has two cleaning modes, Deep Clean mode for a thorough clean of your floors and Express Clean for every day, faster cleaning. Slide the L-shaped switch on the left side of the machine near the bottom of the upper handle to the mode you prefer.
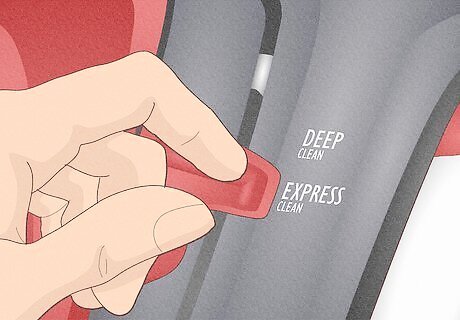
Use the Express Clean option for a lighter clean that dries quickly. This option works well for small high-traffic areas. The faster drying time means your house will be clean on your schedule.
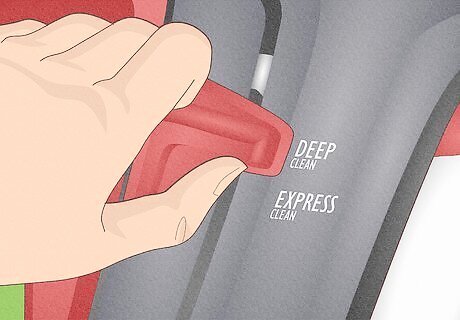
Use the Deep Clean option for a more thorough clean. This option works well for tough stains or larger areas that need cleaning. It might take more time, but it’s worth it!
Cleaning Your Floors
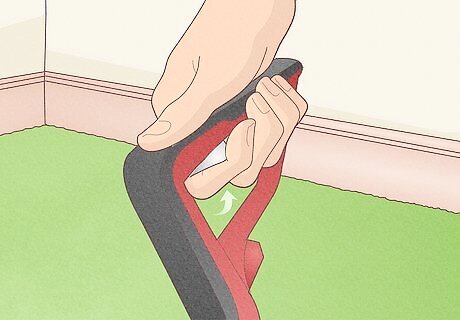
Squeeze the solution trigger under the upper handle. Make two wet passes to release the solution and clean the stains. Make one forward and one back pass squeezing the trigger to wet the carpet, then release the trigger to stop the solution.
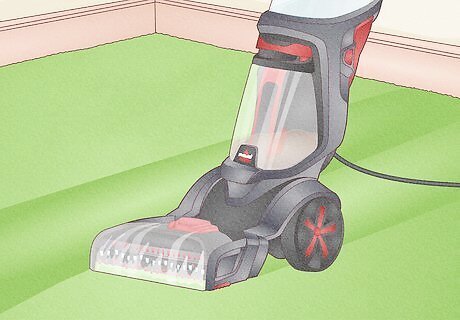
Make two dry passes to suck up dirty water. Make one forward and one back slowly. Additional passes may be needed if you go too fast or the carpet is still wet.
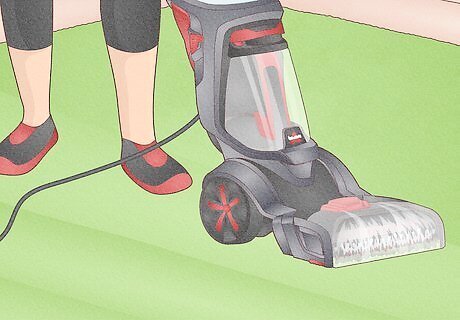
Repeat this process of wet and dry passes over the entire area. Be sure to take your time. Working slowly ensures more dirty water will get sucked up by the machine, making the drying time faster. This process changes slightly when using the Bissell Deep Clean + Antibacterial formula. You’ll make 3 wet passes, forward, back, then forward again before making your dry passes. If the noise of the machine changes to a higher pitch during cleaning, check the dirty water tank. It fills faster in Deep cleaning mode and may need to be emptied more often.
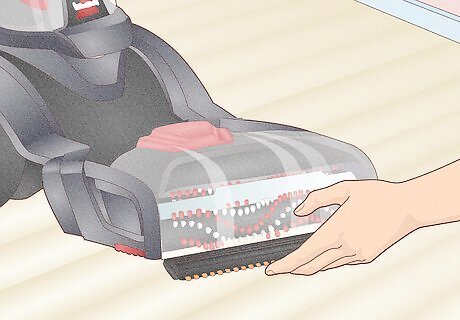
Attach the bare floor tool by lining the tool with the edge of the nozzle. Rotate the tool down until it clicks in place. Then you’re ready to clean your hard floors.
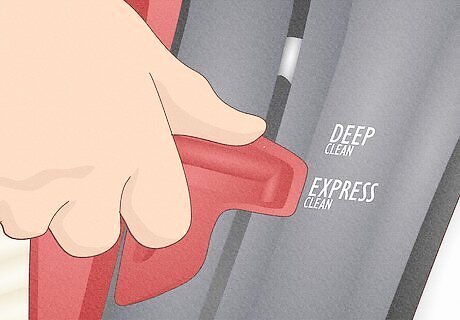
Switch cleaning modes to Express Clean. Clean the floor with two wet passes, squeezing the solution trigger. Follow up by releasing the trigger and doing two dry passes.
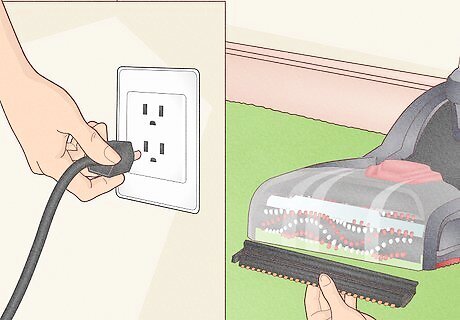
Unplug the machine before removing the tool when the floors are clean. If any water or residue remains on the bare floor tool, be sure to rinse it with tap water and dry it before your next cleaning.
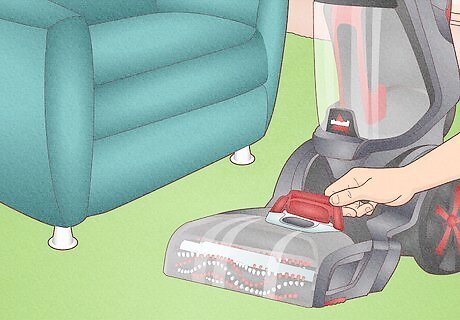
Use the hose attachment for small carpet stains, upholstery, and stairs. While the machine is off, access the hose attachment by opening the cover on top of the nozzle.
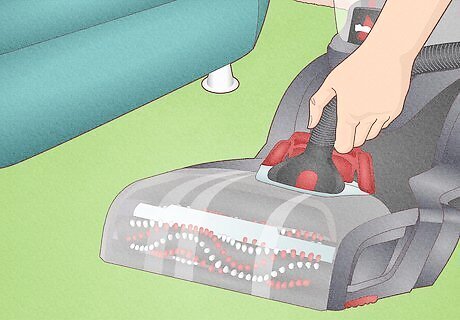
Push the hose into place until it clicks then choose the attachment you’d like to use. Click that into the other end, and you’re ready to use the hose for those small areas.
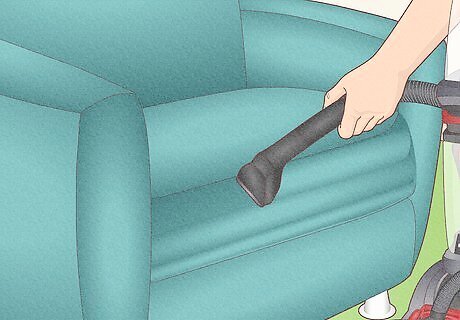
Pull the trigger and scrub with the bristles to release solution. When the dirt has been lifted, release the trigger and tilt the tool forward to make passes and suck up the dirty water. Once you’re finished, detach the hose and tool and empty the dirty water tank.
Cleaning Your Bissell ProHeat 2X Revolution
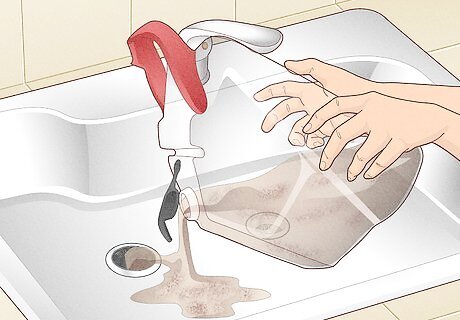
Empty the dirty water tank into the sink and rinse it out. Drain all the dirty water from the bottom tank in the machine into the sink. If there is any remaining clean water solution in the clean water tank, make sure to empty that as well so the machine is ready for the next use.
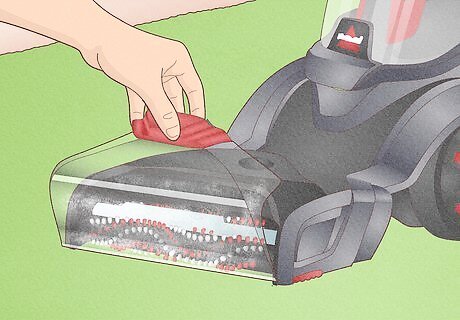
Access the nozzle and brush to clean any remaining debris. Remove the accessory hose door at the top of the foot of the machine. Then press the two release buttons to remove the brush roll cover and have access to the brush.
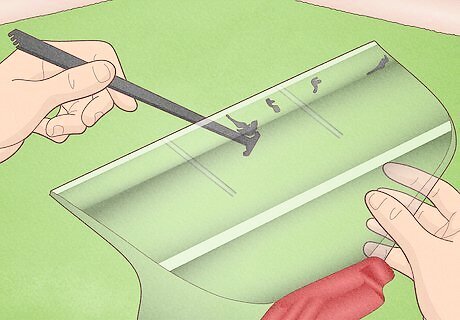
Use the nozzle cleaning tool to clean the nozzle. Using the flat end of the double-sided nozzle tool that comes with your Bissell ProHeat 2X revolution, you can clean debris from the nozzle. First, rinse the nozzle with plain tap water. Then, use the flat end of the tool to scrape away any remaining debris.
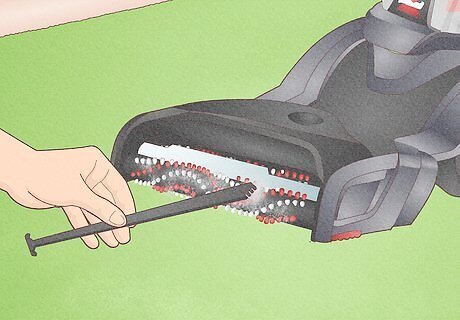
Use the comb end of the nozzle cleaning tool to clean the brush. Spin the roll gently to get to all the sides and comb out all the hair and debris before you reassemble the machine.
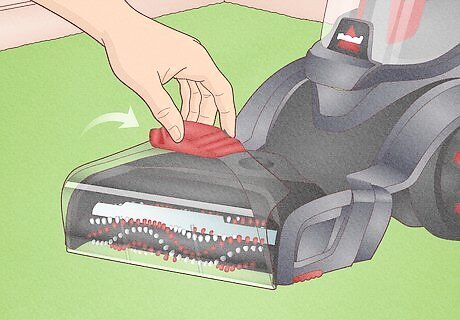
Reassemble the machine. Push the brush roll cover straight down onto the brush until it clicks. Reattach the nozzle by lining it up with the edge near the floor and rotating it back until it snaps into place. Once the brush and nozzle are clean and reset, you’re ready to clean again.




Comments
0 comment