
views
Upload Pictures Using the Share Button in Gallery
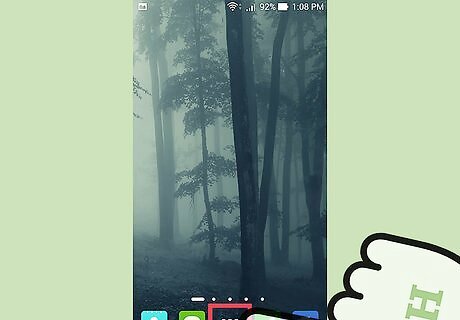
Open up your applications drawer. It's usually on the bottom left of the screen, and the icon looks like a grid of tiles.
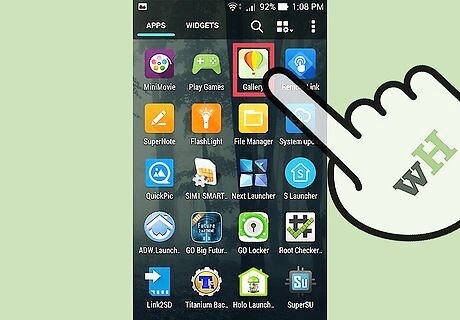
Navigate to “Gallery.” Its icon resembles a yellow lily.

Choose the picture you would like sent to your computer.

Tap the “<” symbol. This is located at the center of the bar that contains the options which is located at the top of the screen.
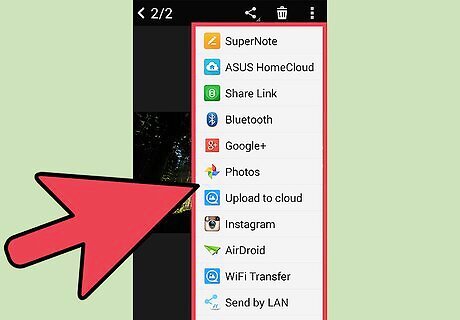
Select a Web Service. A menu will pop up featuring all the different Web services with which you can share the picture, such as Facebook, Twitter, etc.
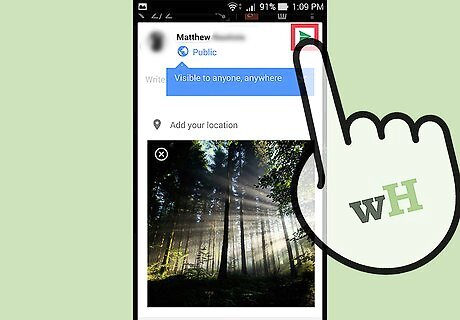
Upload. After selecting the service you wish to use, the correlating application will instruct you on how to proceed, as you'll be uploading your picture through their interface.
Upload Photos Using the Web Browser
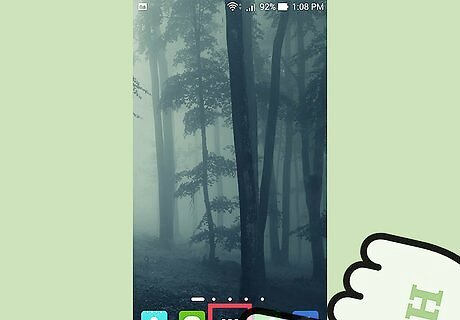
Open up your applications drawer. It's usually at the bottom left of the screen, and the icon looks like a grid of tiles.

Navigate to “Browser.”

Go to the website in which you would like to share your picture(s) on.

Select pictures. Using the website’s preferred upload widget, select your pictures from your internal memory.


Comments
0 comment