views
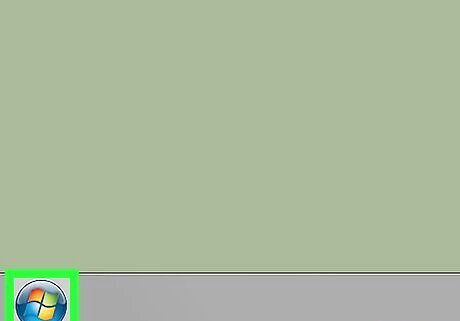
Open Start Windows 7 Start. Click the multicolored Windows logo in the bottom-left corner of the screen. The Start menu will pop up.
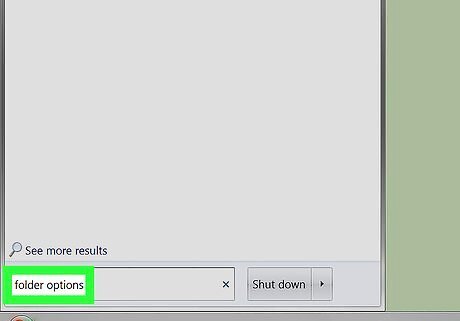
Search for Folder Options. Click the search bar at the bottom of the Start menu, then type in folder options.
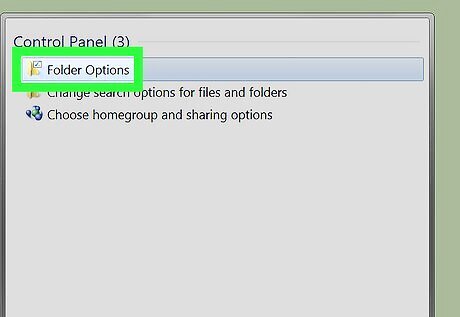
Click Folder Options. You'll find this at the top of the Start menu. Clicking it prompts the Folder Options pop-up window to appear.
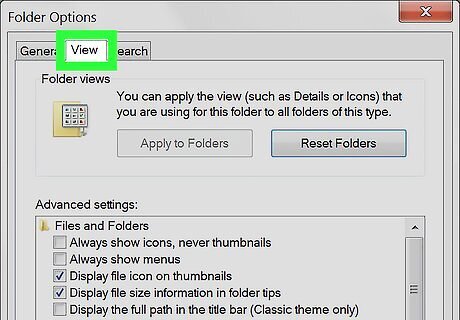
Click the View tab. It's at the top of the pop-up window.
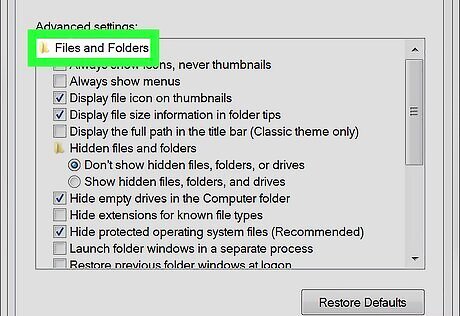
Expand the "Files and Folders" item if necessary. If you don't see a list of settings under the "Files and Folders" heading that's in the "Advanced settings" section, double-click the heading to expand it.
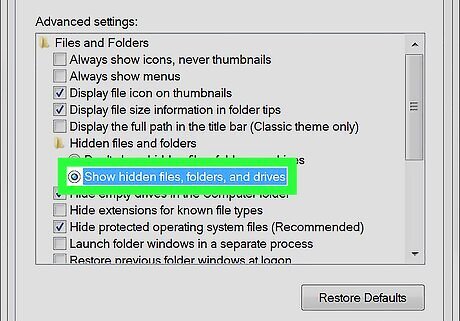
Check the "Show hidden files, folders, and drives" box. This box will appear slightly indented below the "Hidden files and folders" heading near the middle of the section. If you don't see this checkbox under the "Hidden files and folders" heading, first double-click the "Hidden files and folders" heading to prompt it to appear.
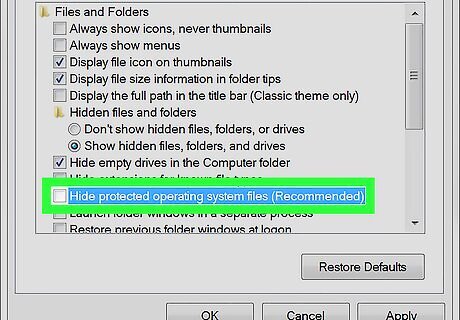
Show hidden system files if necessary. If you want to be able to see hidden system files, scroll down and uncheck the "Hide protected operating system files (Recommended)" box, then click Yes when prompted. Doing this will unhide files which, if tampered with, can render your computer impossible to use. Only unhide system files if you know what you're doing.
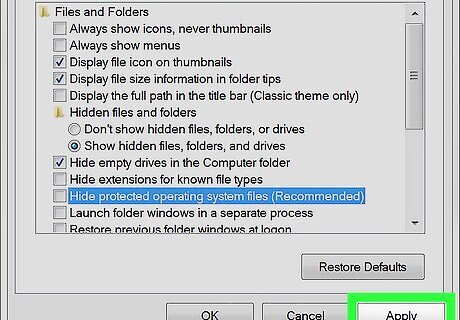
Click Apply. It's at the bottom of the window. Doing so applies your settings.
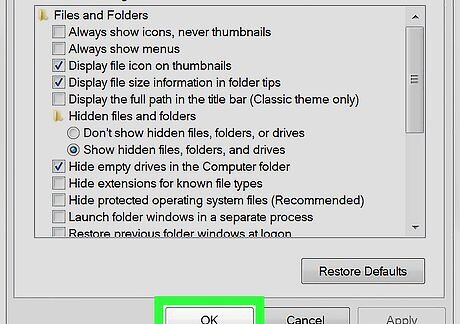
Click OK. This is at the bottom of the window. Clicking it closes the Folder Options window. You can now view hidden folders (and files) on your computer.



Comments
0 comment