views
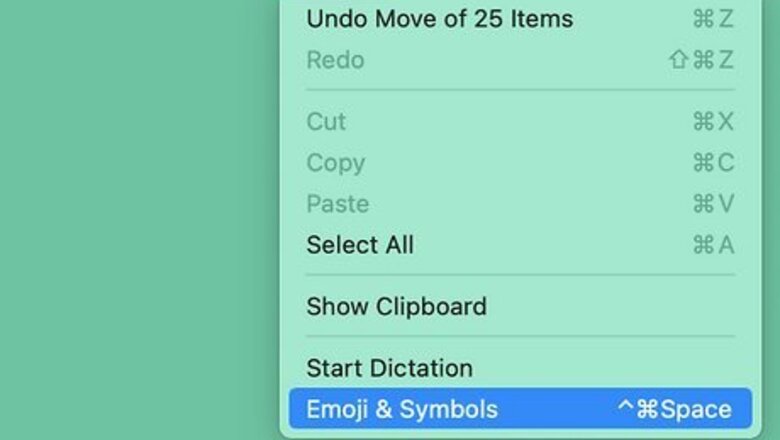
- Go to Edit in the menu bar, select Emojis & Symbols, and search for “musical symbols” or “notes.”
- Alternatively, go to Input > Show Emoji & Symbols to open the Character Viewer, then click the Musical Symbols category on the left.
- Add the Musical Symbols category to Character Viewer using the More menu button.
Emojis & Symbols
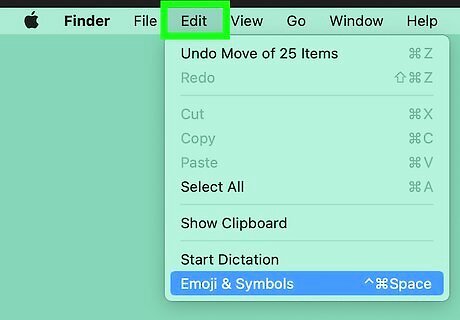
Click Edit in the Menu Bar. You'll see it at the top of the screen. You can use the Emoji & Symbols menu in almost any app to quickly insert three different musical notes. The emoji notes you can insert are: Three eighth notes (????) Two quarter notes connected by a beam (????) Treble clef on a staff (????)
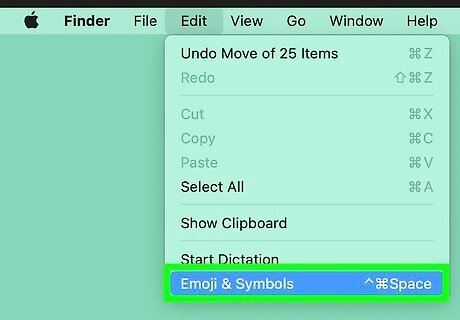
Select Emojis & Symbols or Special Characters on the menu. You'll see one of these two options in the Edit menu.
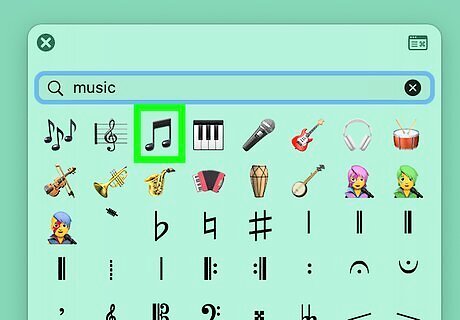
Select your symbol. From the window that appears, you can search "Music," "Music Notes," "Notes," or any other variation to show the potential options. Once you have found the note you’d like to type, double-click it to insert it where your cursor is located.
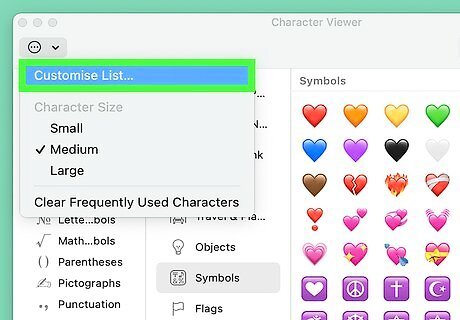
Enable more musical symbols in the More menu. You can access even more musical symbols by customizing your symbols list. To do so, while the Emojis & Symbols window is open: Click the More menu button in the top left of the window. It looks like a tiny circle with three dots inside. Select Customize List and check the Musical Symbols box. Click Done. You’ll now have access to a more extensive list of musical notes and other symbols.
Character Viewer
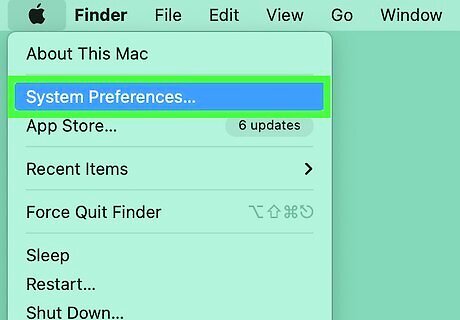
Open System Settings. Select the Mac Apple Apple icon in the upper left-hand side of your screen or click on the gear icon in your Dock, then click System Settings. In pre-Ventura versions of macOS, this is called System Preferences. The Character Viewer is found in the Input menu at the top of your screen. It needs to be turned on in your Keyboard preferences before you can use it.
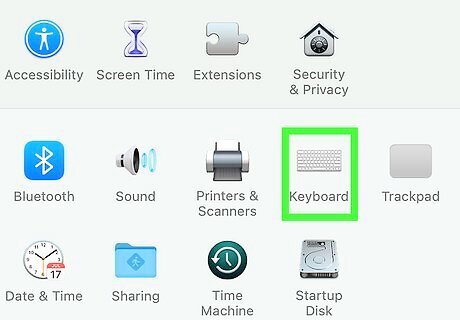
Go to "Keyboard." In Ventura, look for it in the menu on the left side of the System Settings window. You may have to scroll down to the bottom. If you’re running a pre-Ventura version of macOS, you’ll see this in the main System Preferences window.
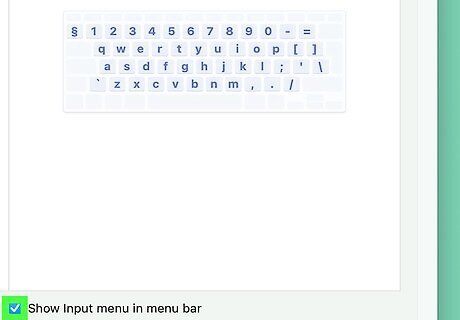
Make sure "Show input menu in menu bar" is selected. In macOS Ventura, click Edit… next to Input Sources under the Text Input header. Then, turn on the switch next to Show input in menu bar and click Done. If you’re running an earlier version of macOS, tick the box next to Show input menu in input bar at the bottom of the window under the tab entitled Input Sources.
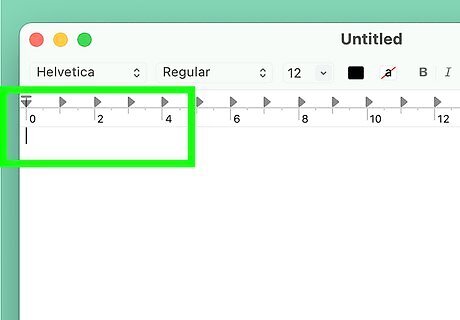
Place your cursor. Click on the place in your document where you want to input a musical symbol.
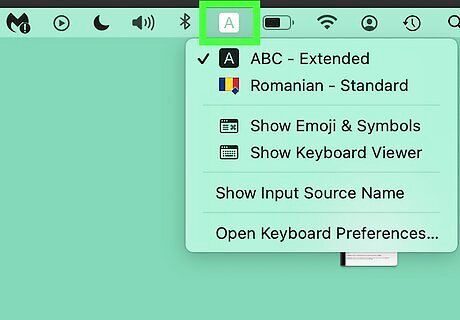
Select the Input menu icon. This can be found in the upper right-hand side of the menu bar at the very top of your screen. If it does not appear, go back and make sure you have selected the "Show input menu" box in System Preferences. This icon looks like a simplified Mac window with some horizontal lines or a grid of dots and a tiny ⌘ symbol inside.
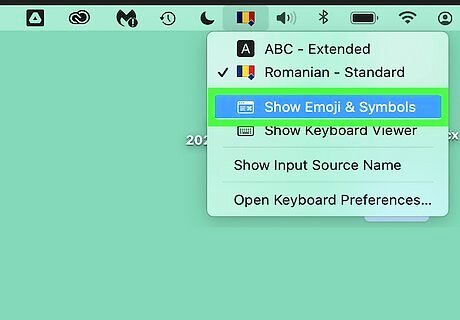
Select "Show Emoji & Symbols." This will open a window in which you can search for music notes. This is the same window that opens if you select Emoji & Symbols from the Edit menu of most apps (see the Emojis & Symbols method).
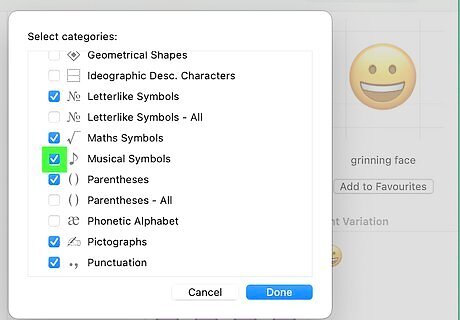
Enable the Musical Symbols category. Click the More menu button in the top left of the Character Viewer window. It looks like a tiny circle with three dots inside. Select Customize List and check the Musical Symbols box. Then click Done.
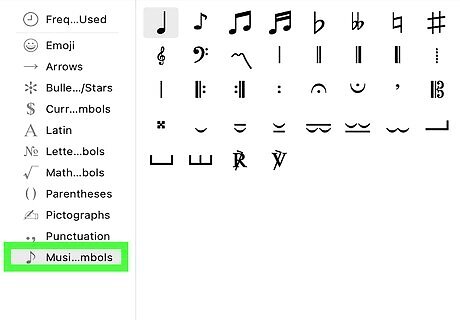
Click Musical Symbols. This category is in the left side menu. Then, double-click the symbol you need. This will insert the note where your text cursor is located. Here are a few of the options: Quarter note Eighth note Music flat sign Music natural sign Music sharp sign G clef (treble) F clef (bass) Fermata
Microsoft Word
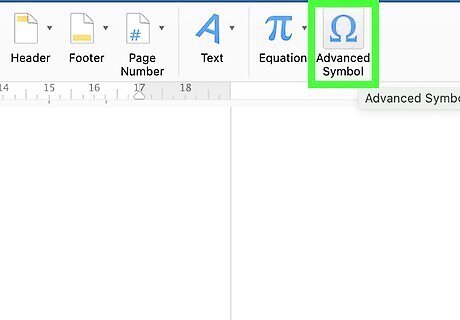
Click Advanced Symbol in the Insert tab. This will open a menu of symbols associated with your selected font.
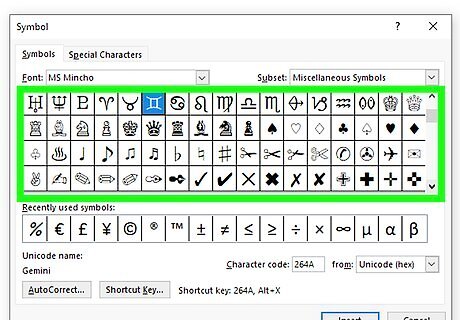
Select a font that contains musical symbols. The symbols available vary depending on the font. Scroll through the fonts in the dropdown menu in the Symbols window until you find one with musical notes. If you can’t find a font with the symbols you need, there are lots of free music fonts for Mac that you can find with a quick Google search. Once you find one you like, check out our guide to installing fonts on a Mac.
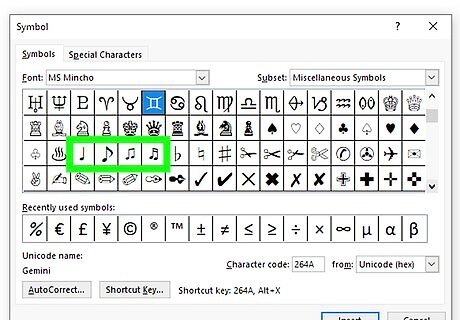
Double-click the music symbol. This will insert the icon where your text cursor is located on the document. Press Close when you’re done adding music notes. You can also insert musical notes into your Word doc using the Emoji & Symbols menu as described in the Emojis & Symbols and Character Viewer methods.
Download a Music Writing App
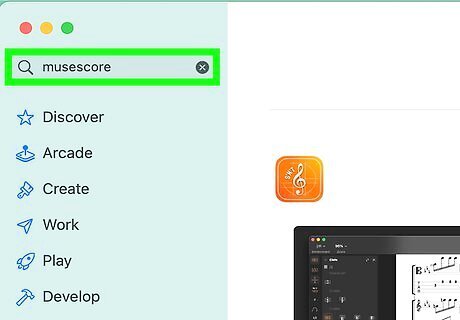
Find a music writing app. If you are looking to type more than just a few decorative musical notes on a page and want to start actually writing scores on your MacBook, there are a few great options out there for music writing. Finale NotePad is a great paid option. A couple good, free options are MuseScore and ScoreCloud. For more general information, check out our guide for writing sheet music.
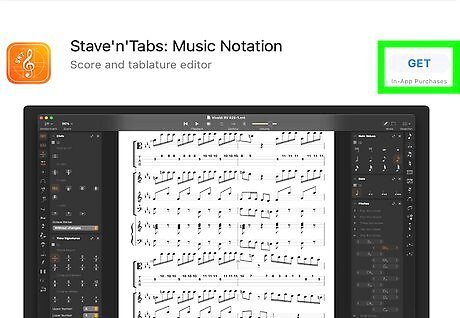
Download the software. Download the software you have chosen either from the App Store or their website. Make sure to be wary of scams and viruses. For this tutorial, we’ll focus on MuseScore, but most music-writing software will operate nearly the same way.
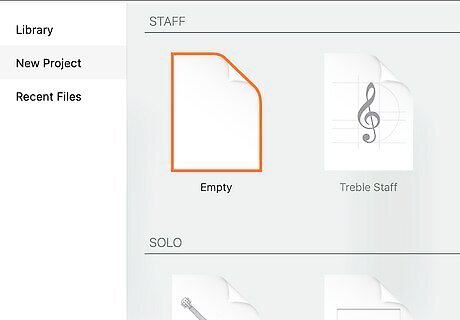
Navigate from the Start Center. When you first open the music writing app, you will see a window titled "Start Center." This is where you’ll be able to open existing projects or start a new one.
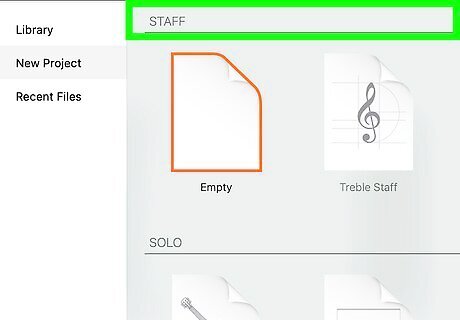
Enter the title. Create the title of your new piece before continuing on.
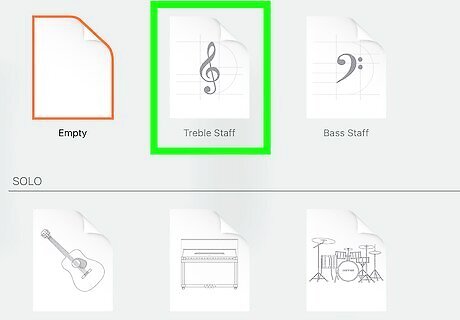
Select from a template. After you name your piece, you will be able to select from given templates or choose to create your own. It is here that you will be able to choose your key, tempo, clef, and whatever else you need in order to write your piece.
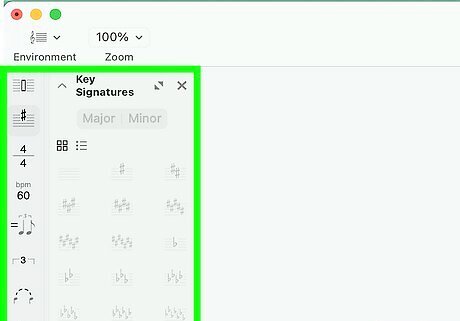
Start writing! Once you have entered the basic information for your piece, select "Finish" and start working on your music. If you’re looking for more music tips, see our guide on writing a song with music and lyrics For another fun, music-related guide, check out writing a music video script to accompany your original score.





Comments
0 comment