views
Tying a Basic Bow
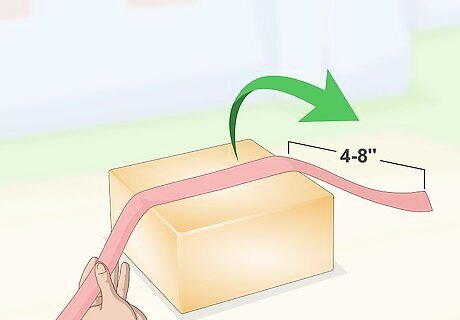
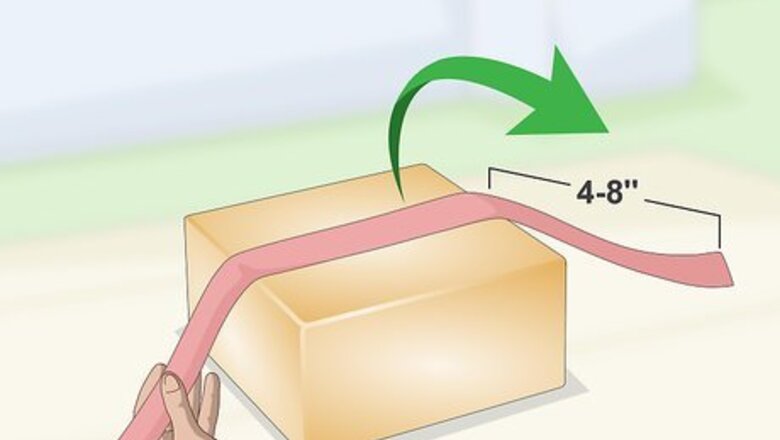
Drape the ribbon horizontally across the top of the box. Leave about 4 to 8 inches (10.16 to 20.32 centimeters) hanging off the side for the tail of the bow. Do not cut the ribbon yet. It’s better to leave more ribbon hanging off the side than too little. You can always cut it shorter later.
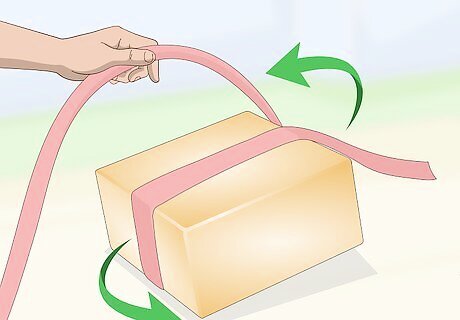
Pull the rest of the ribbon under the box and back to the front. Don’t flip the box over, or you may lose your place. Instead, lift the box up and bring the rest of the ribbon behind it. Set the box back down once the ribbon comes out the other side.
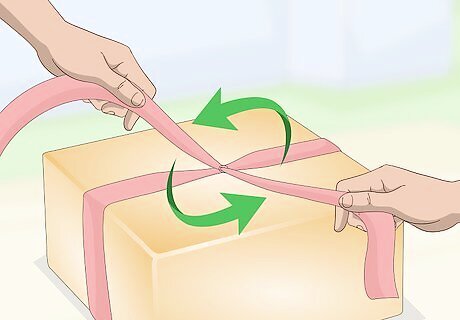
Cross the ribbons across the front of the box. Bring the ribbon towards the middle of the box, then bring the shorter end to meet it. Twist the ribbons around each other so that they are oriented vertically. If your ribbon has a right and wrong side, you may have to twist it twice so that you don't see the wrong side of the ribbon.
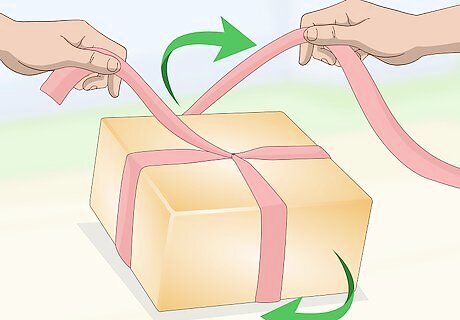
Wrap the ribbon around the back of the box and back to the front. Lift the box up again. Pull the longer part of the ribbon behind the box and out the other side. Set the box down again. Place your thumb against the twisted part to keep it secure as you wrap the ribbon around the back.
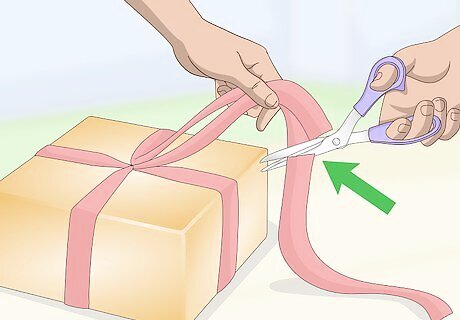
Measure the ribbon against the first piece and cut it. Bring your ribbon back towards the middle of the box. Measure it against the end of the ribbon from the beginning and cut it.
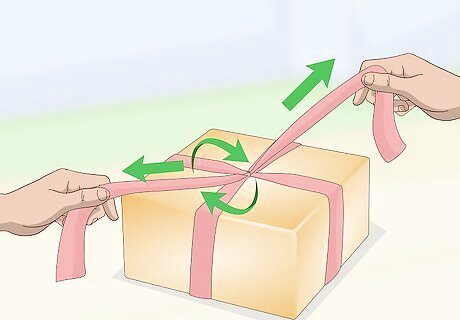
Wrap the ribbon under the twisted part. Pull the ribbon across the front of the twisted part at an angle. Bring it under the twisted part, and back out the way you started. Pull on both ends of the ribbon to tighten the knot.
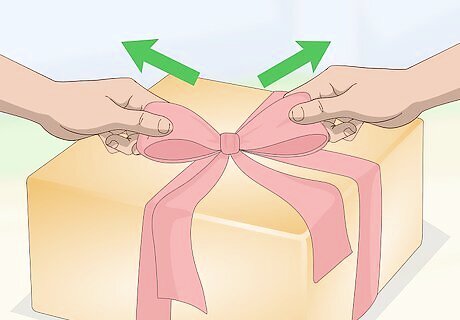
Tie the ribbon into a bow. Fold both ends of the ribbon into loops. Cross the left loop over the right one to make a smaller loop in the middle. Pull the left loop through that smaller loop, then pull to tighten.
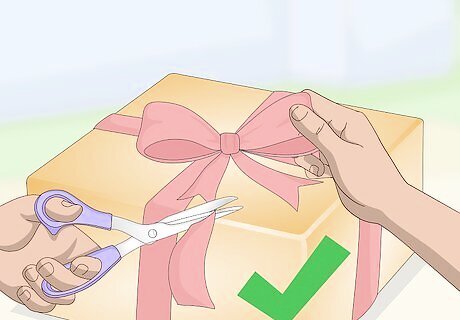
Adjust the bow, then trim off the excess ribbon. Take a moment to adjust the loops and the tails. If you used a wired ribbon, you can fluff the loops up as well. For a fancier touch, cut the ends of the tails into angles or Vs.
Tying Ribbon Diagonally
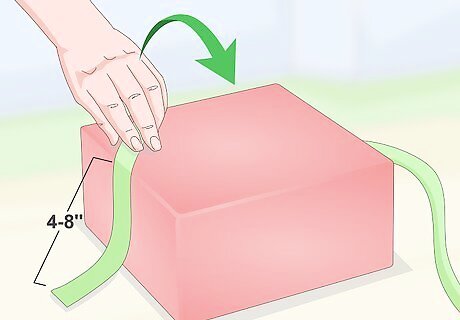
Drape your ribbon across the top left corner of the box. Leave about 4 to 8 inches (10.16 to 20.32 centimeters) hanging off of the left side of the corner. Keep the rest of the ribbon on the spool on the top edge.
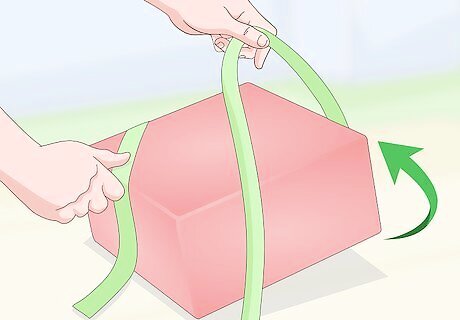
Wrap the ribbon behind the top right corner. Take the spool-side of the ribbon and pull it behind the top right corner, down towards the bottom right corner. Keep your thumb over the ribbon on the top left corner so that it doesn't fall off.
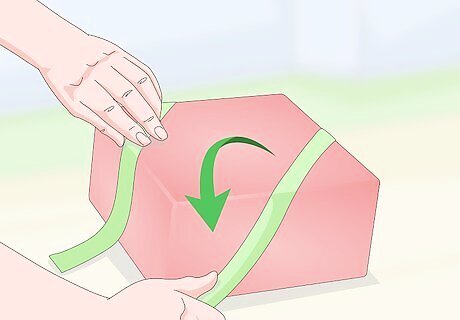
Wrap the ribbon across the bottom right corner and under the bottom left corner. Keep the wraps nice and snug so that they don't slide off of the corners.
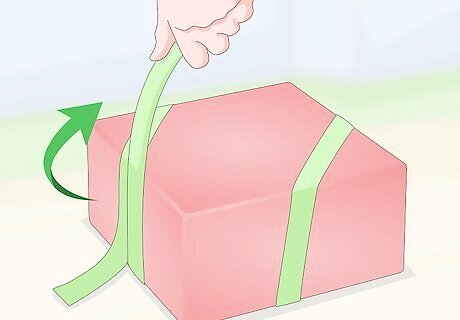
Bring the ribbon back towards the top left corner. At this point, it would be a good idea to take a moment to adjust the positions of the wrapped ribbons on each of the corners. If they look like they are slipping off, pull them further from the corners.
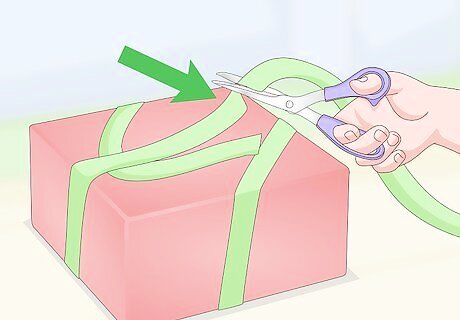
Cut off the excess ribbon. Bring both ribbons towards the center of the top left corner. Measure the spool ribbon against the other ribbon, and cut it down to match.
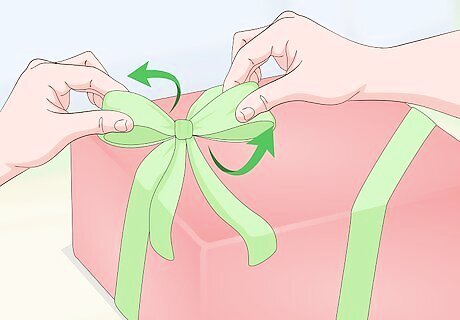
Cross and tie the ribbons. Cross the left ribbon over and under the right, then tug on both ends to tighten them. Fold both ribbons into loops, then cross the right one over the left—just like tying a shoe!
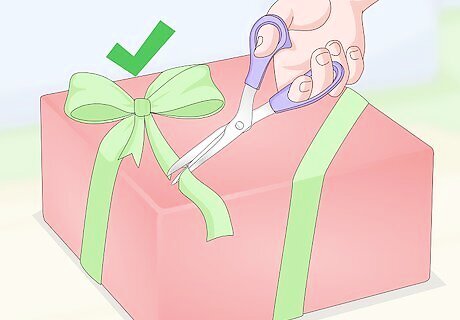
Trim the excess ribbon to clean up the bow. Once the bow is tight and secure, snip off the excess ribbon at the tails. For a fancier touch, cut them at angles or into notches.
Creating a Woven Look
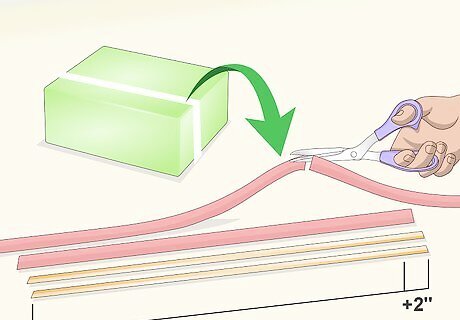
Cut four pieces of ribbon for the length of the box. You will need four pieces of ribbon that are long enough to wrap around the box lengthwise, plus an additional 2 inches (5.08 centimeters). For a unique look, consider using two pieces of thin ribbon, and two pieces of slightly wider ribbon. You can also use two contrasting colors instead. Thick and/or wired ribbon is not a good choice. Use thin satin or balloon ribbon for best results.
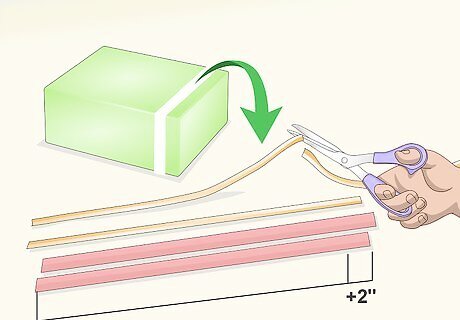
Cut four pieces of ribbon for the width of the box. Use the same ribbon as in the previous step. This time, cut the ribbon long enough so that it can wrap around the box widthwise, plus 2 inches (5.08 centimeters).
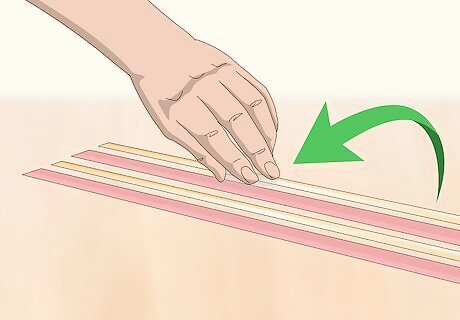
Set the first set of ribbons side-by-side down on the table. Take the four long ribbons, and set them down on the table. Make sure that they are parallel to each other and spaced no more than ¼ inch (0.64 centimeters) apart. If you used different widths and/or colors, be sure to alternate them.
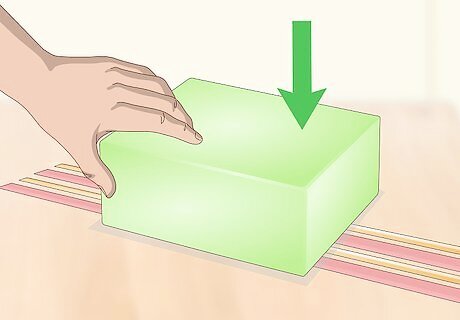
Place your gift face-down on the ribbons. The box can be centered or off-center, depending on where you want the ribbons to be.
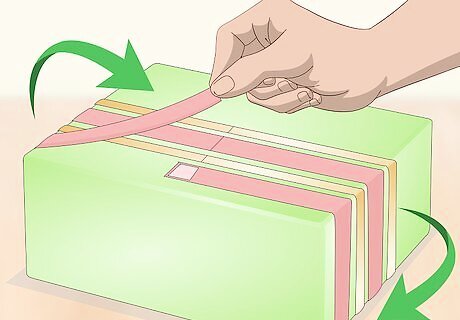
Wrap the ribbons around the box and secure them with double-sided tape. Wrap and tape each of the ribbons one at a time; do not tape all of them at once. Pull the ribbons firmly around the box so that they are nice and snug. The ribbon ends will overlap each other by about 1 inch (2.54 centimeters). Make sure that you are only taping the top ribbon to the bottom ribbon; don't tape the ribbons to the box itself. You can also use glue dots (found in the scrapbooking aisle of an arts and crafts store) instead of double-sided tape.
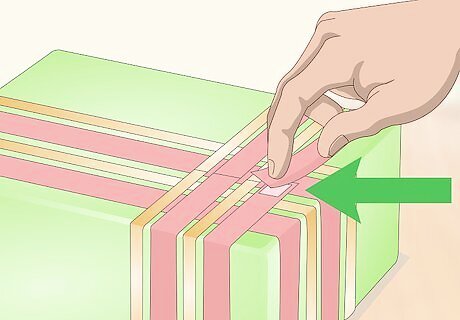
Secure the next set of ribbons right above the first set. Place a strip of double-sided tape onto the end of each of your short ribbon. Arrange the ribbons right above the first, long ribbon, making sure that the ends are perpendicular to it. Once again, keep the ribbons spaced no more than ¼ inch (0.64 centimeters) apart.
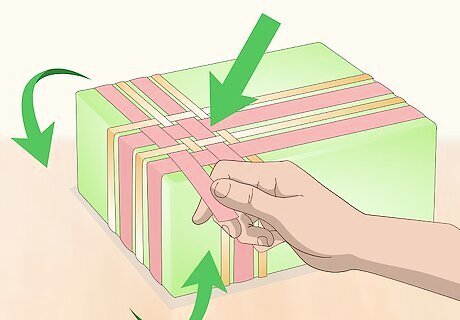
Flip the box over and weave the short ribbons through the first set of ribbons. Pull your short ribbons around to the front of the box. Weave the first one over and under across the first set of ribbons. Weave the next ribbon under and over, and so on. Continue weaving until you have woven all four ribbons.
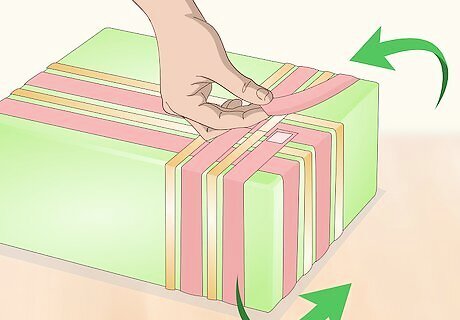
Secure the ribbons to the back of the box. Flip the box over again. Secure a strip of double-sided tape to the end of each ribbon, then press the ribbons down one by one to the back of the box. Make sure that the ends of the ribbons match up. For a nicer touch, weave the short ribbons through the long ribbons on the back, just like you did for the front.
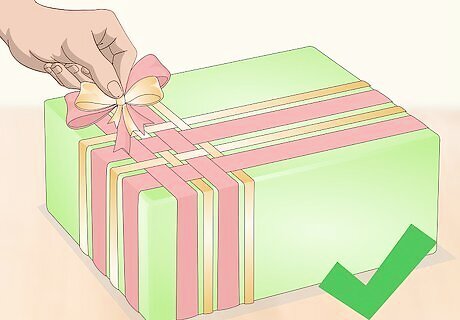
Add a decoration to the front, if desired. The woven ribbons are part of the design. If you feel that your gift is lacking something, you can buy or make a matching bow, then secure it to the box. Instead of covering up all your hard work, set the bow off to the side so that the weaving is still visible. Don't be afraid to get creative! Try adding a nice tag, a pom pom or tassel, or even a pretty piece of foliage under the ribbon.


Comments
0 comment