views
X
Research source
Preparing to Store Your Kayak
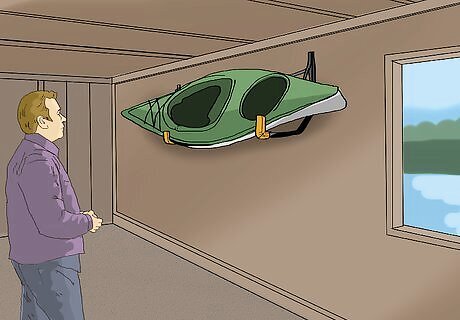
Decide where to store your kayak. You need an area with enough space for your kayak. Measure your kayak and your storage space ahead of time to make sure your kayak will fit. Kayaks take up a lot of room and should not be in contact with other objects when being stored. It is best to store it indoors so that it is protected. You could store it in a garage, basement, shed, or any other indoor storage area. Only store it outside as a last resort. If you'll be storing it for long periods of time and have minimal space at your home, you can have the kayak professionally stored. Many kayak schools, kayak rentals, marinas, paddling clubs, or state beaches have available kayak storage.
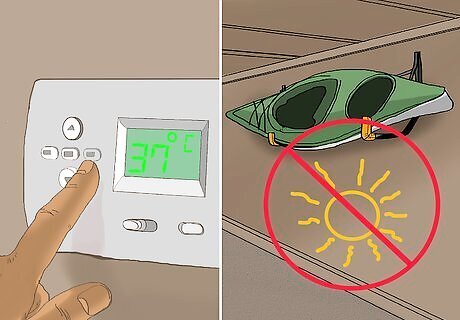
Control the temperature of the storage area. Make sure your kayak won’t be subjected to extreme heat or cold. Avoid temperatures below freezing or above 100 degrees Fahrenheit (37.7 degrees Celsius). This is important so that your kayak doesn’t become brittle or damaged. Storing your kayak in direct sunlight is the worst option. The heat will warp the plastic and fade the surface. If you're storing the kayak in your garage, make sure it's in a dark area. Make sure you are not storing your kayak near a direct heat source either.
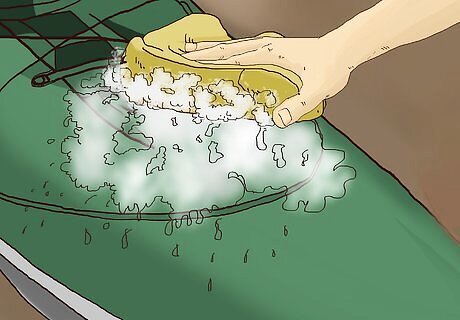
Wash out your kayak. Use a mild all-purpose cleaner (such as diluted Castile soap) and a sponge to wipe down your kayak. Make sure to clean the inside and outside. There should be no remaining dirt or residue. Rinse thoroughly with water after cleaning with soap so that no soap remains on the kayak.
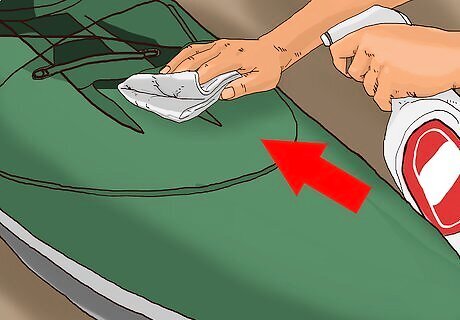
Dry your kayak. Although kayaks are built for use in water, they are not made to be wet continually. Water will begin to break down the kayak’s surface. If it is covered and there is any moisture inside, mold and mildew will grow. To dry your kayak, wipe it with a towel and empty any water from its hatch or drain plug.
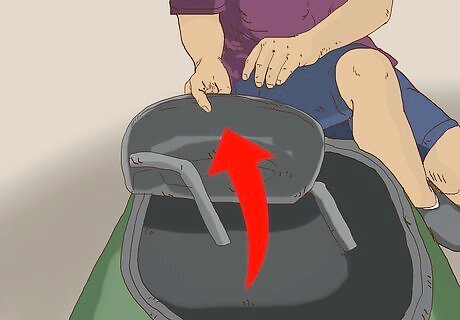
Remove soft materials if storing outside. Any fabric or soft materials on your kayak, such as the seat, should be removed for storage. This is especially important when storing outside. Soft materials should be stored somewhere dry and not too cold, like in a closet.
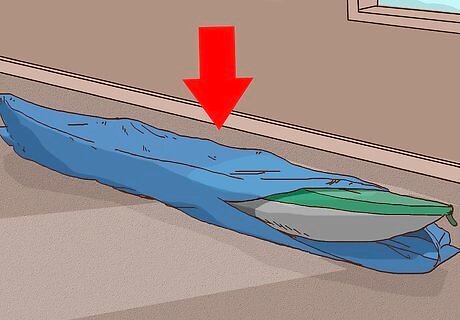
Cover your kayak. Whether storing your kayak outside or inside, it is a good idea to use a cover. This will protect your kayak from the elements outside and from dust and critters in a garage. You can buy a special kayak cover, use a cover for the cockpit, or use a simple tarp and drape it over your kayak for added protection. It using a tarp, it is best to create space between the tarp and the kayak so that water or snow will not build up on top of the kayak (if it is outside) and so that any remaining moisture isn’t locked inside the kayak. To use the tarp like a tent, tie a rope a few feet off the ground in between two trees or poles. Drape the tarp over the rope and place the kayak in its mini “tent.”
Storing a Kayak on the Ground
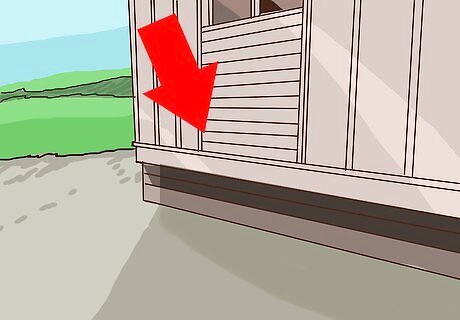
Find a level surface. This will allow the kayak to balance evenly. Make sure there is a wall that it can lean against. It is best to store a kayak somewhere indoors. This will protect it from the elements outside. A garage, basement, or shed are great places to store a kayak.
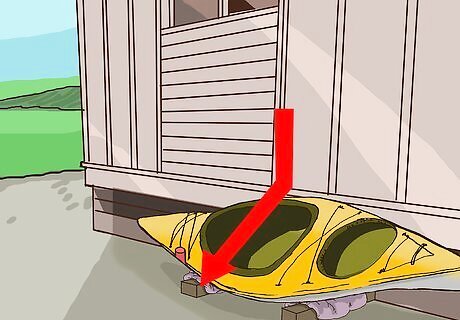
Store the kayak horizontally on its side. Tilt the kayak so that it is horizontal and rest it against a wall with its cockpit facing out. It should be resting on its side, not flat. It will rest against the wall at an angle. The side of a kayak is one of the strongest parts, so it will not dent easily. But over an entire season, depending on what your kayak is made of (for example, plastic dents easily), it could begin to dent. To avoid this, flip it onto its other side once a month.
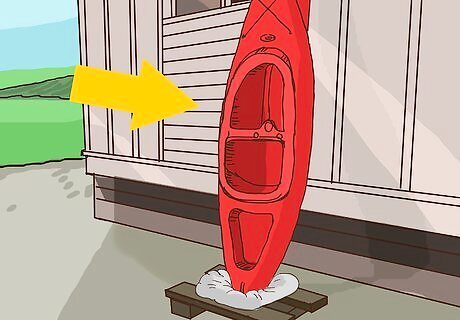
Store the kayak vertically. Instead of resting it horizontally, turn it vertically and rest it against a wall with its cockpit facing out. To keep it in place while standing up, it should be at a slight angle. You should also store it so that its stern is touching the ground and its bow is up towards the ceiling. To protect your kayak and help it to stay in place, put some padding underneath it. You could place a few towels or cushions inside a small crate and place the end of the kayak inside. To keep your kayak in place, you can install a couple of support pegs on the outer edge of each side of the top of the kayak.
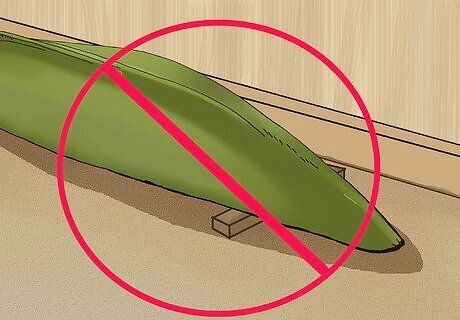
Avoid storing the kayak flat. For a short amount of time, it will be ok, but storing it flat, whether face-up or face-down, puts significant stress on the kayak. Because of this, it is best to avoid storing it flat on the ground whenever possible. This includes hanging the kayak from the ceiling. Hoists can conveniently get kayaks out of the way, but they are not very secure, and since the kayak has to lay flat, significant stress is placed on the kayak. Therefore, it is better to mount it on a wall.
Mounting a Kayak on a Wall
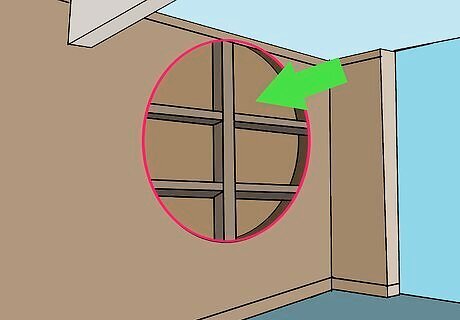
Find a sturdy structure. Never hang a kayak from drywall or plywood. You need a sturdy wood beam or strong metal pipes that will support the kayak. Choosing a good location to hang it from is important to ensure the safety of the kayak and the wall. Most wall mounting storage systems require you to install them in the studs of the wall.
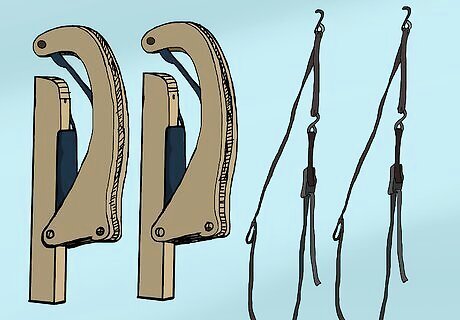
Buy a rope or bracket-style storage system. A rope system works by attaching the ropes to your wall and wrapping the ropes around your kayak. A bracket system works by supporting the kayak on top of the brackets, which are installed into the wall. They are both good, safe ways to hang a kayak, but a bracket system is more expensive. You can purchase a tilt storage rack for $100. This is a storage rack that consists of two large brackets that you will mount to a wall. They securely support your kayak and fold out of the way when not in use. You can purchase a kayak hanger for $25. It works by attaching ropes to the wall with hooks. It is easy to install and the ropes go around your kayak to hold it in place. Or if you already have sturdy ropes, you can build your own for free!
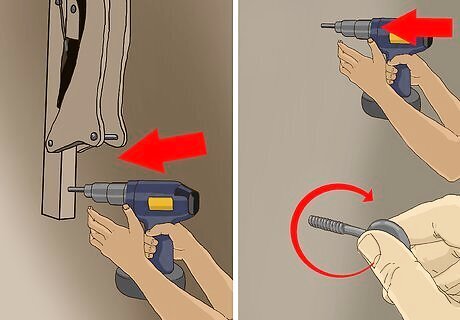
Attach the storage unit to the wall. If you purchased a storage system, refer to the manual and follow its instructions. Different installation is required for different systems. To attach the tilt storage rack, you must locate the studs of your wall and then drill a hole into the center of the stud. You will attach one post at a time, making sure they are perfectly level. You will attach the top of the post first and then the bottom. Your distance between the posts will depend on the size of your kayak. Their distance should be at least the diameter of the kayak’s cockpit. To attach the kayak hanger, you must locate wall studs or ceiling rafters. You will then drill a hole for the eye bolts. The distance between them should be about a third of the total length of the kayak. You will screw in the eye bolts by twisting them into the hole you drilled. You will then insert a hook into each eye bolt. The rope will hang down and you can wrap it around the kayak.
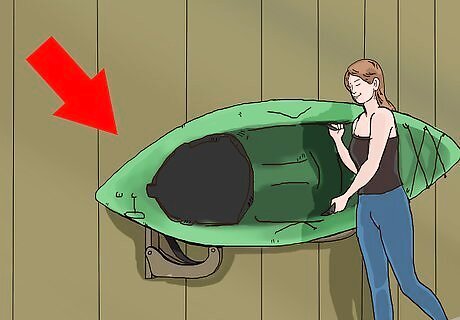
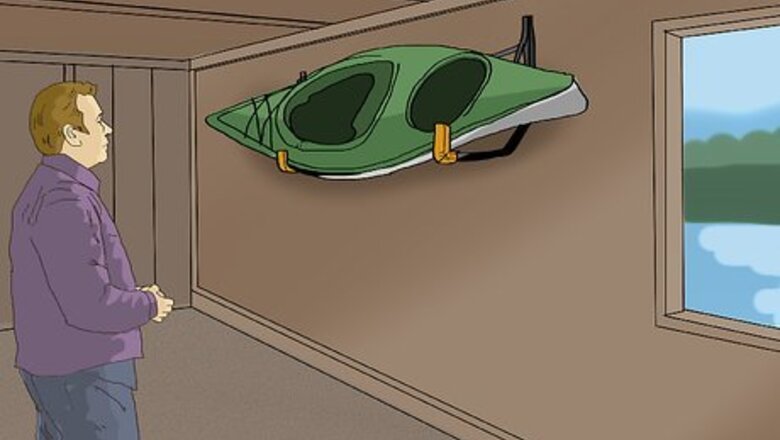
Hang the kayak on its side. Tilt the kayak onto its side. The kayak should be hung horizontally with its cockpit facing out. Its backside should lie flat against the wall.
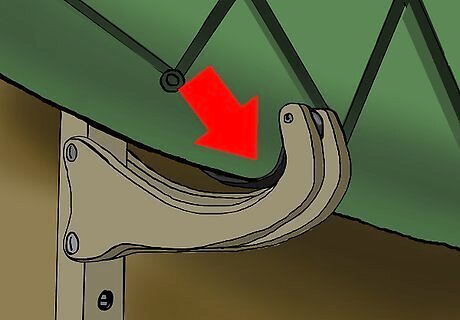
Attach the kayak on each side of the cockpit. The cockpit is the strongest part of the kayak. The ropes or brackets should support the kayak right outside of its cockpit, one on each side.
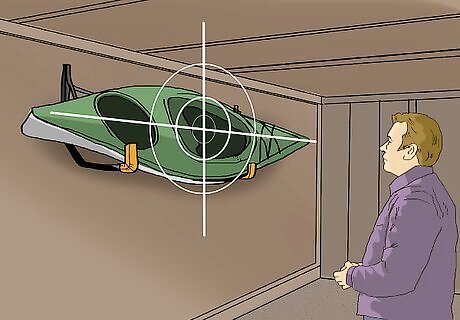
Ensure the kayak is properly balanced. This is accomplished by making sure the straps or brackets are equidistant from each end of the kayak. By placing them just outside of the cockpit, it should be fairly centered, but feel free to adjust the kayak’s position so that it is completely level and not tilting towards one side or the other.
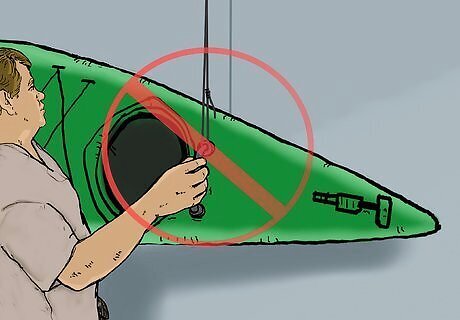
Avoid hanging it by its handles. It may seem convenient to hang a kayak by its carrying handles on its ends, but these are not meant for storage. The kayak will be put under a lot of stress by supporting it at its weakest points and will likely warp.
Building a Rack
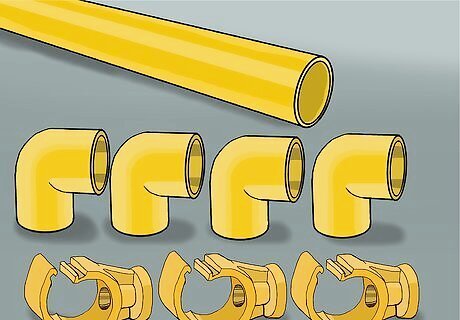
Buy PVC pipe and PVC joints. Purchase 10 feet (3 m) of 1-inch (2.54 cm) PVC pipe and 4 PVC joints and 6 1-inch PVC mounting clamps to create a 1 ft (.3 m) by 4 ft (1.2 m) rectangular frame. This will secure your kayak vertically against a wall. Buy extra PVC in case you need it.
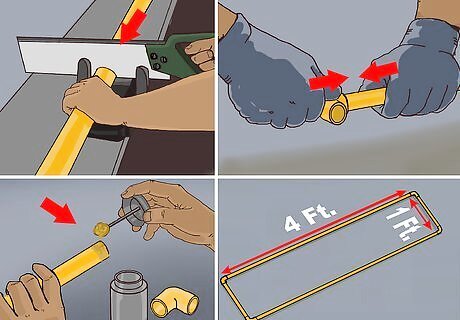
Assemble the PVC frame. You will need to cut the PVC pipe using a saw and connect the frame by the joints. Saw two pieces that are 1 ft (.3 m) long and two pieces that are 4 ft (1.2 m) long. Attach them by gluing the pieces together in the joints using all-purpose PVC glue. It will form a large rectangle. Allow the joints to dry fully before affixing the frame to the wall.
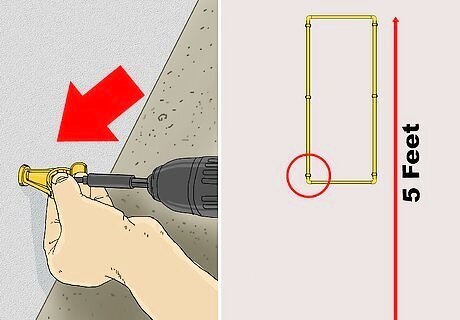
Affix the PVC frame to a wall. Place it 5 feet (1.52 m) from the ground on a wall in your storage area with the mounting clamps. Screw the clamps into the studs of the wall in a straight line. Screw in one clamp on each stud (with a standard distance of 16” between studs, this should require 6 clamps for a 4 ft frame), then clip each clamp on the same side of the rectangular frame. This will hold the frame securely in place, attached to the wall. Install it higher or lower depending on the size of your kayak.
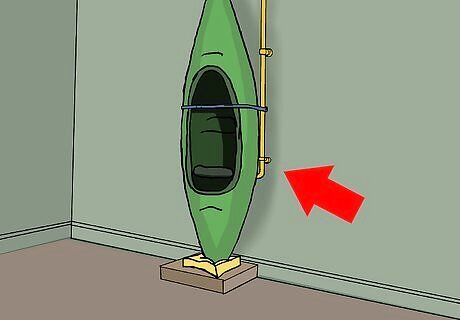
Put your kayak vertically into the frame. Place the bow through the rectangle from the bottom of the rack. Push up on the stern towards the wall so that the bow goes through the rectangular frame and the stern touches the ground. The cockpit should face out. The rack will hold it in place and allow it to lean against the wall.
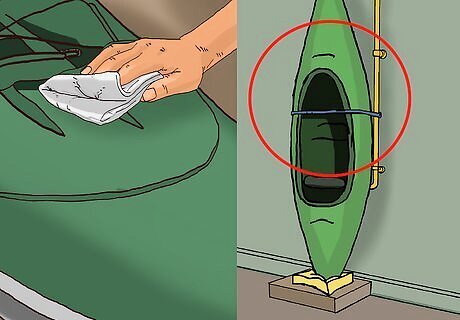
Check on the kayak periodically. At least once a week, inspect the kayak to guarantee it hasn't slipped or sagged.




Comments
0 comment