
Creating a Stencil
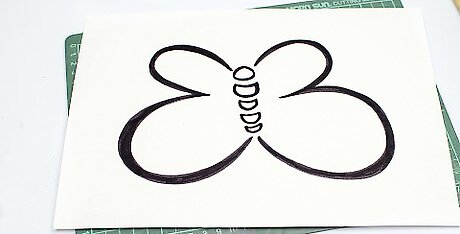
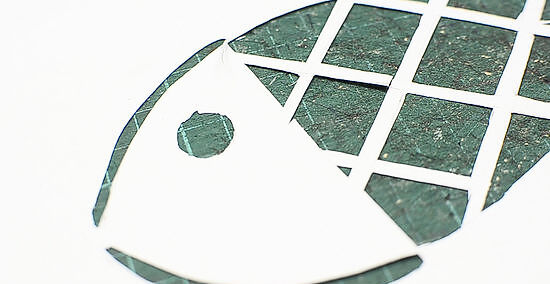
Choose a single-overlay stencil. Not every image makes a good, or feasible, stencil. A single-overlay image is a great way to start out for someone new to fabric painting. This means that you’ll transfer the image onto, and use, a single sheet of stencil. Basic silhouettes work best or pictures with deep contrasts. If you are adapting a design, make sure it will work as a stencil. Take time to plan how you will cut and try to plan only one overlay. If you plan to include writing, go online and look at various fonts.

Select a stencil of the right size. It’s easiest to find a shape or image that fits your piece of fabric right away and doesn’t require any adjustments. However, it is possible to shrink or enlarge an image before making your stencil. Print out the image and then use a copier’s zoom function to adjust and reproduce it. You could also look at the image on your computer and use a design program to change the size.

Make a stencil from acetate if you want a reusable option. Acetate is a thin plastic that is often used for transparencies on overhead projectors. Lay your sheet of acetate on top of a piece of wood or glass. Place the image for your stencil on top of the acetate and then cut around the negative space (the areas you want to paint) with a sharp matte knife. Lift everything up and you will have an acetate stencil that you can use for fabrics. Acetate sheets come in different thicknesses. A thin sheet will be flexible and can mold more easily to moveable fabrics, but it will be easier to tear. A thicker sheet will be tougher to cut, but is more durable.

Make a vinyl stencil if you want a bendable option. A vinyl sheet is a great option for stenciling, as it is sturdy with a sticky backing that can hold onto a fabric. Lay your vinyl down flat. Smooth or iron it out to remove any wrinkles. Place your image on top and use a matte knife to cut out the vinyl in all of the to-be-painted places. Many online craft shops also offer vinyl stencils for sale.
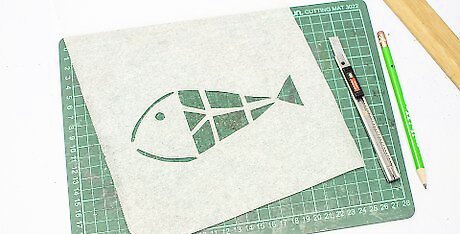
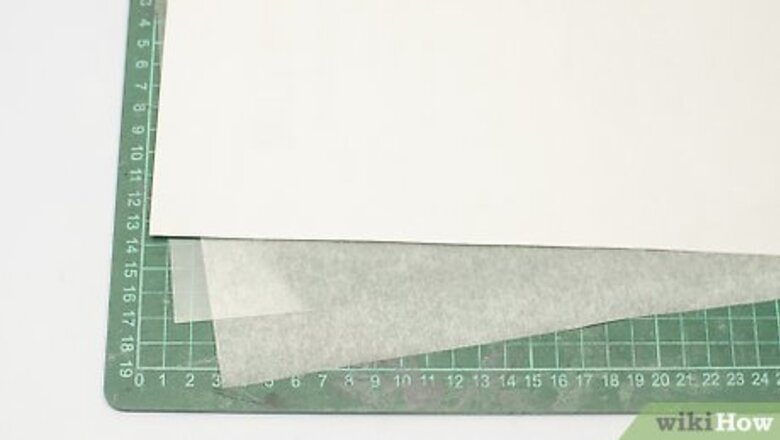
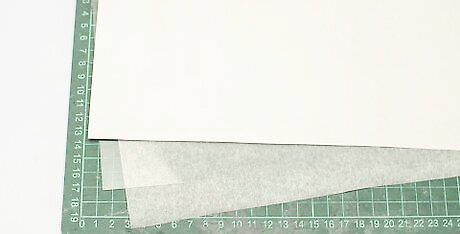
Make a freezer paper stencil if you want a quick option. Cut down a piece of freezer paper to roughly the same size as your image. On a solid and sturdy surface, place your image underneath the freezer paper sheet. The shiny, waxy side of the freezer paper should face downward, the dull paper side towards you. Cut your design out with a craft scalpel or matte knife. Freezer paper is somewhat transparent, so you should be able to see your image under it. If you can’t, go over the outlines of your image with a permanent marker to make it more visible. Avoid wrinkling or bending your final piece of freezer paper, as this could create spots where paint can seep through the sides. You can also trace the image with a pencil or pen onto the freezer paper and then cut it out with a paper of scissors. Some crafters use a cutting machine. In this case, simply feed your freezer paper into the machine with the shiny side still facing downward.
Make a laminated printed stencil if you want a computer-based option. Use your household printer to print out the image or design that you’ve selected onto regular paper. Then, run the image through a lamination machine. Get a pair of scissors and cut out the negative space where you want to paint through the stencil. You can also laminate the paper after you’ve already cut it, but then you’ll need to cut it once more to remove the inside lamination.
Repair any mistakes. When you look at your stencil make sure that you’ve removed all of the required spaces, including the insides of letters. Take a moment to fix these details before you start painting. If your stencil breaks at a seam, you can usually apply a bit of painter’s tape to the spot to hold it together. Just remember to go slowly when cutting in order to reduce the chance of mistakes.
Transferring the Stencil
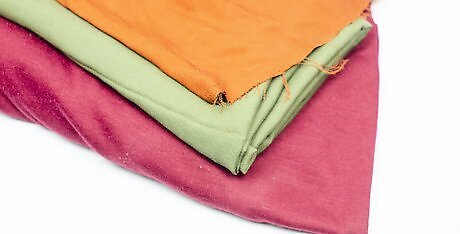
Keep texture in mind when choosing a fabric. Go with a natural fiber cloth with a fairly smooth surface. Avoid any fabrics that have a stain resistance finish and do not use softener on the fabric beforehand or after painting. It’s fine to iron your fabric before starting, if desired. Soft or floaty fabrics can be difficult to use for stencils. It’s best to save these fabrics until your pretty comfortable using stencils.

Choose fabrics and paints in complementary colors. The tone of the fabric will affect the final look of the paint. If you go with a light paint and a dark fabric, then you’ll likely need to apply multiple paint layers to keep your image from being tinted. If you choose two similar colors, such as lilac and lavender, make sure that there is enough contrast for the paint to actually stand out and be visible. It’s a good idea to buy some extra fabric to test colors out on and to practice painting with.
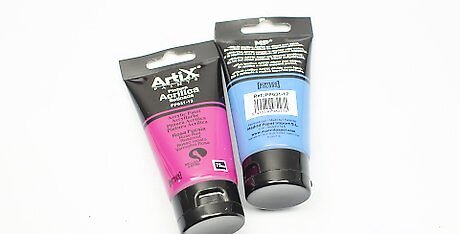
Use fabric or acrylic paint. Fabric paint usually works the best and has the benefit of being both washable and dry cleanable. You’ll need to dry the fabric after application and usually heat set it as well. Acrylic paints are easy to use, but aren’t quite as durable and will usually wash off over time. If you decide to use acrylic paint, handwashing the fabric can make it last longer. You might need to dilute your fabric paint before using it, so make sure you carefully read the instructions.
Position the stencil on the fabric. Hover the stencil directly over your piece of fabric. Verify that it is in the right spot and then slowly lower it down. To keep your stencil from moving, you can peel away the vinyl backing beforehand or spray a bit of canned adhesive on the back of it. If you are using a paper stencil, you might want to secure it with painter’s tape on the edges. If you are painting a shirt, this is also the time to place a piece of cardboard or freezer paper inside the shirt to prevent the paint from seeping through. It's important that the stencil stays in the same spot as you're painting so paint doesn't get underneath the edges.

Coat your brush with an even amount of paint. Squirt a quarter-sized amount of paint onto your palette and dip the tip of your sponge or brush into a color. Move the tip around a bit to remove any excess paint. The goal is to have a colored, but generally dry, brush. Any extra paint that stays on the brush or sponge might create uneven lines on the final product. It’s better to apply multiple layers than to rush through a single heavy coat.

Apply the paint with a gentle pounding motion. Hold your brush or sponge vertically and touch the fabric with an up and down motion. The result will be a series of touches that bleed together in a process called stippling. Keep going until the entire area is the color you desire. Pull out a paper plate and do a few practice strokes on it to test the paint level and your technique. Watch to see that the imprint looks uniform and fairly dry. If the fabric looks a little wet as you continue, that is okay. It will even out as it dries. To create crisp edges, do a gentle swirling motion. This will fill in these spaces with paint without leaving lines.
Finishing the Image

Lift the stencil. You can either remove the stencil as soon as you’ve finished painting or wait until the whole thing has dried for 24 hours and then take it off. The danger of waiting is that your stencil might stick to the fabric and possibly even tear. However, waiting usually lessens the possibility of paint smears. When you lift the stencil, move slowly and keep the removed stencil from falling back towards the fabric. If you lift the stencil and notice that there are portions that still need to be painted, you can try to set the stencil back onto the fabric. However, unless you place it back perfectly, there is a possibility that you could blur or smear the outlines.

Touch up with a small brush. Once the stencil is off, take a close look at the painted fabric. Get a very fine brush, dip it lightly into your paint, and correct any areas that are unfinished. Look at letters, in particular, to ensure that you’ve completed the middle “bridges” in letters such as “B.” You can also use the fabric paint color to go around the edges of the stenciled area to clean up any rough spots. If you decide that you don’t like the final product at all and you are using fabric paint, you might be able to wash the fabric immediately and remove the entire image.

Lay the fabric out to dry. Place the fabric down on a smooth surface and let it dry for around 24 hours. The paint will likely dry before this time is up, but it’s best to let it set a bit to avoid transfer onto other surfaces.
Clean up your supplies. Get some soap and warm water and wash off your brushes and your stencil, if it’s vinyl or acetate. Wipe down a laminated stencil with a wet paper towel and then set it aside to dry. If you clean everything right away this will keep them ready for another project in the future. If you used a non-laminated paper stencil, do not try to wipe off the paint remnants. Lay it out to dry on a flat surface and, depending on how much paint it absorbed, it may be usable again.
Iron to help the color set. After the 24 hours has passed, get out your iron and place it on the medium-hot setting. Layer a thin piece of clean fabric over the newly painted area, to protect the paint from bubbling as you iron. Go over the entire painted area of your fabric for 3-5 minutes. If it’s possible, you can also set the paint by ironing the back of the image. For example, if you stenciled a t-shirt, you could fold it open and apply the iron from within. Some crafters suggest using a finishing spray instead, but it is really your choice. It sometimes helps to see if the paint manufacturer suggests any specific way to finishing fabric projects. Most fabric paints do well with ironing, but some acrylics can bubble. Make sure to check for warnings on the paint container or fabric before applying heat to the finished image.


Comments
0 comment