views
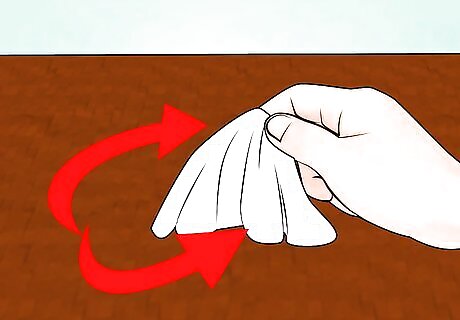
Clean off your work area. Make sure there are no flammable materials in the path of the torch's flame. Remember that the heat of the flame reaches out much farther than the glowing area.
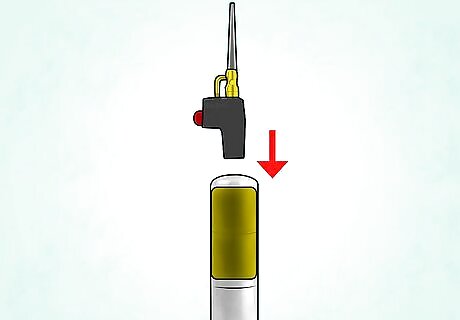
Screw the torch head onto the propane tank. Make sure it is tightly screwed on.
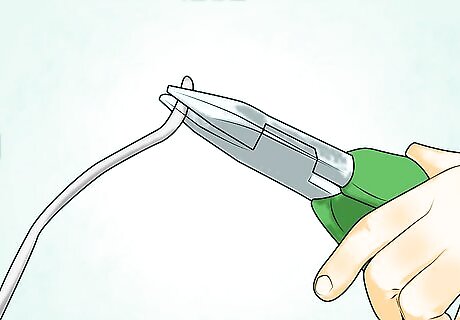
Cut the wire and bend it with the needle-nose pliers (most needle-nose pliers have a wire cutter built in). Make it into the shape you need.
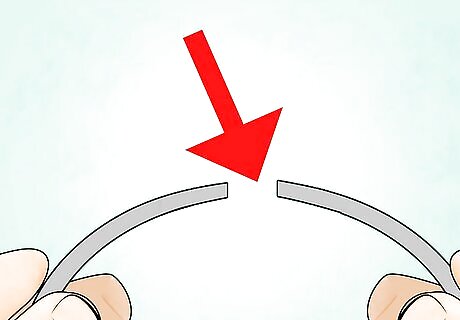
Choose two points which will be soldered together.
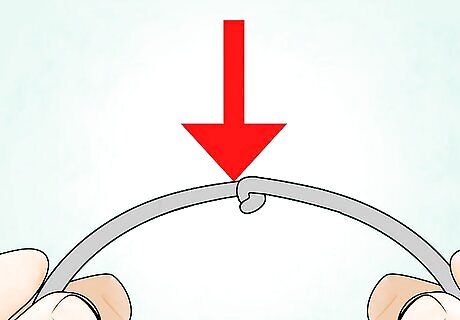
Twist the wire ends of the two points to be soldered together into a "J" shape. Hook the "J" shapes together and close them with the pliers.
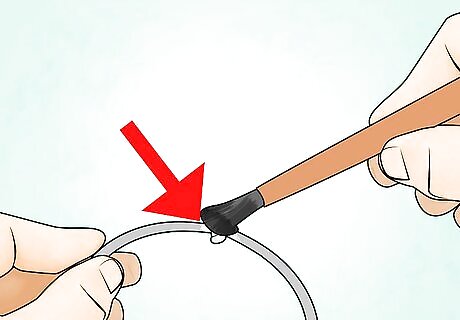
Coat the connection with flux.
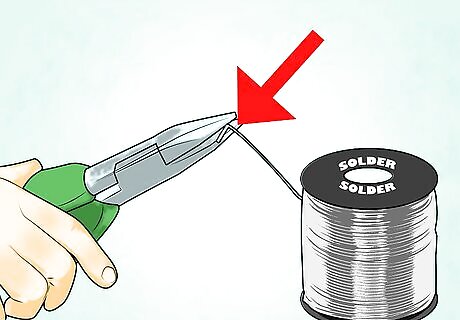
Break off a piece of solder. Bend it into a "V" shape and stick it onto the flux.
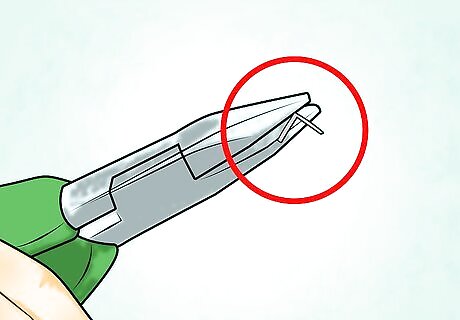
Attach the project to a vice if you have one, otherwise hold it up with the pliers.
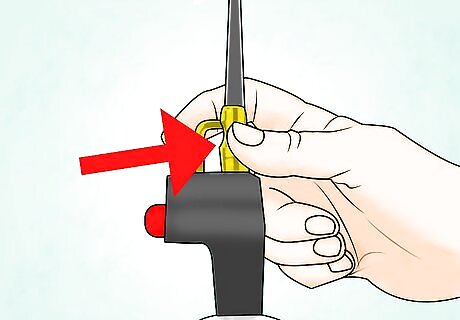
Twist open the knob on the torch head, and flick the striker next to the opening to light it.
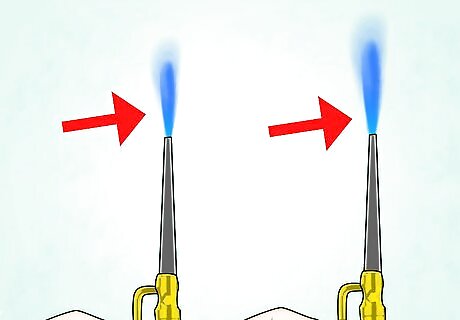
Adjust the flame carefully using the knob.
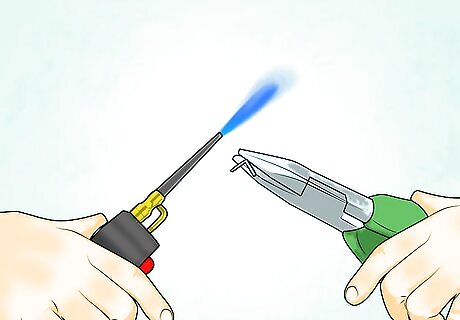
Carefully hold the project in the pliers with one hand, and the torch in the other.
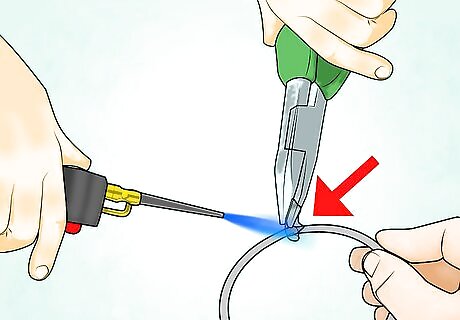
Hold the torch flame to solder/flux. Wait until the solder has melted and filled the space, then move the flame away and blow on the solder to cool it. Dip the entire project in water if it is still hot.
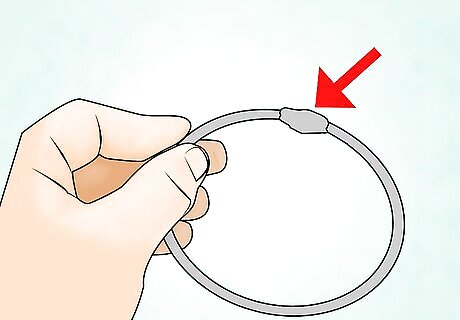
The point should be joined successfully with solder.





Comments
0 comment