views
Before you start: This article will be doable only if you have already updated to the November 2015 version (or newer) of Windows 10. Learn how to check for updates here. If Windows tells you that you are up-to-date, you're all set to go.
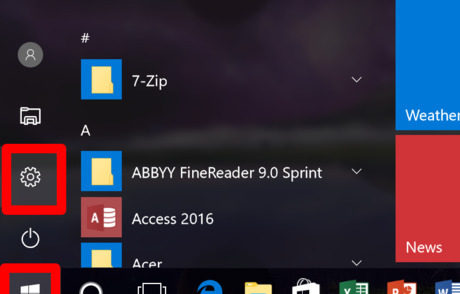
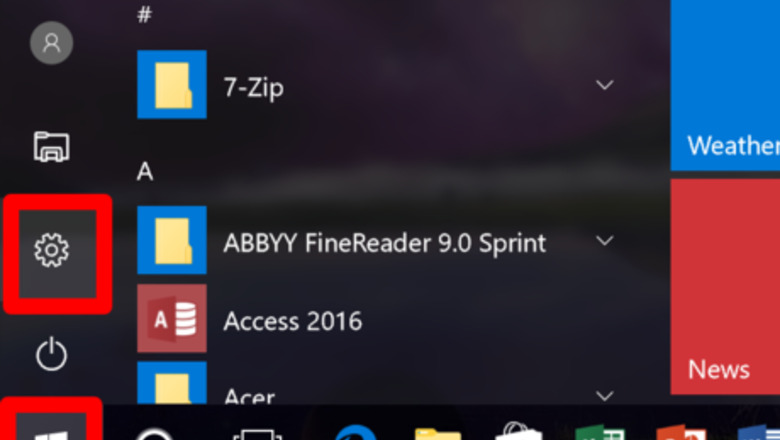
Open the Settings app. Press the Start Windows Start button and select the settings gear from the lower-left corner.
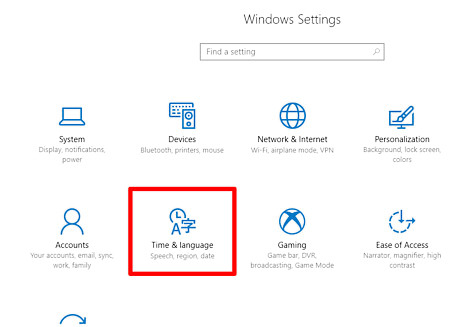
Go to the Time & language category. This section contains pretty much all the time, language, and region settings in Windows.
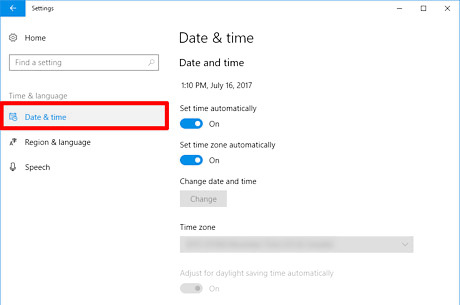
Ensure that the Date & time section is selected.
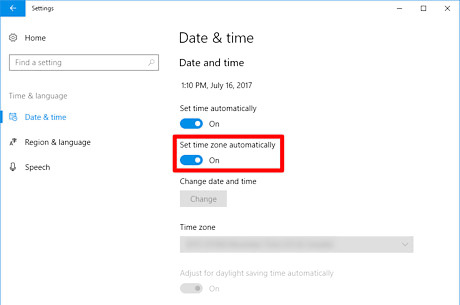
Toggle the switch under "Set time zone automatically" to On Windows Switch On. With this setting on, the manual time zone settings disable so you can't change them by yourself. Don't worry—your computer will automatically manage these settings.
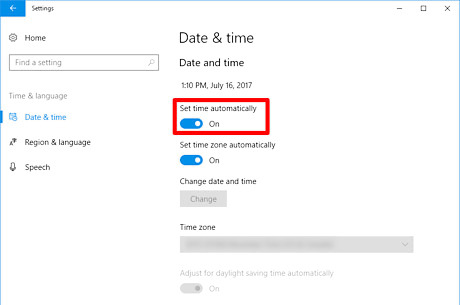
Toggle the switch under to "Set time automatically" On Windows Switch On (optional). This will ensure that the time for the chosen time zone is correct.
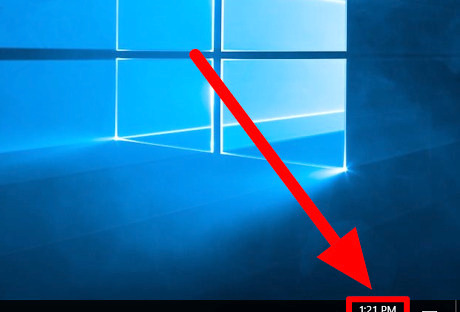
Test it when you move into another time zone. Your time zone should update your time within a couple of moments. If it didn't update to the new time zone, restart your PC or sign out and back in. You can also turn off and on the "Set time zone automatically" switch in settings.


Comments
0 comment