views
Throwing a Lariat
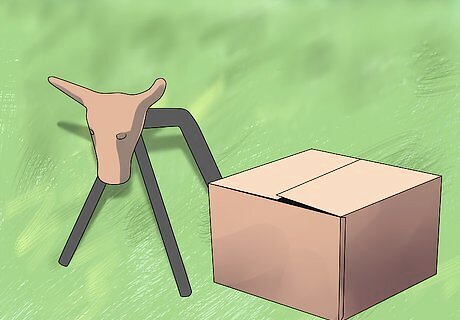
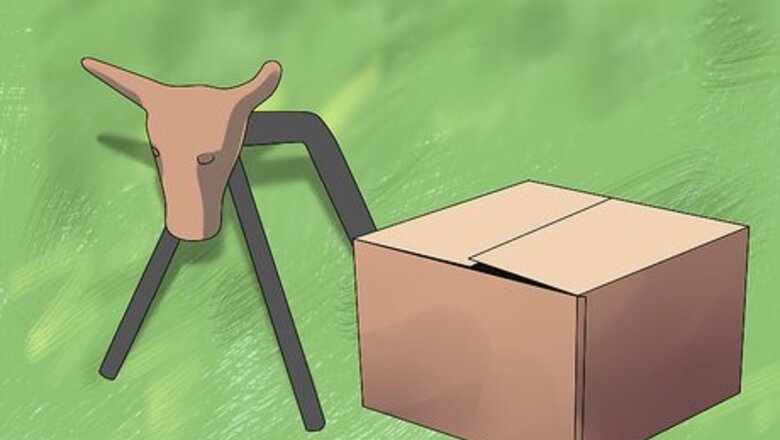
Set up your target. There are a variety of different targets you can use to learn how to rope. A post A plastic steer head secured to a post or stand A roping dummy A box
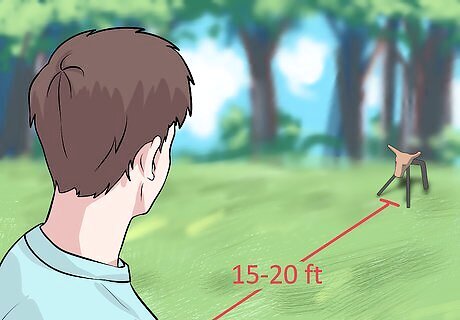
Stand 15-20 feet (6.1 m) away from your target. This gives you ample room to swing your lariat without accidentally catching the target before you throw it. Lean your weight on the balls of your feet, as if you are sitting on a saddle with your feet in the stirrups.
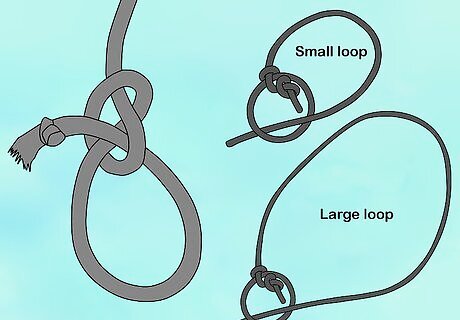
Create a loop in your lariat and hold it in your dominant hand. The size of the loop depends on personal preference. Run the end of the rope through the honda, which is the eye in the rope that slides the loop open and closed. Some ropers prefer to start with a small loop and allow it to grow in size while they twirl it overhead. Other ropers prefer to start with a large loop of approximately seven feet in diameter and keep it that size while twirling.
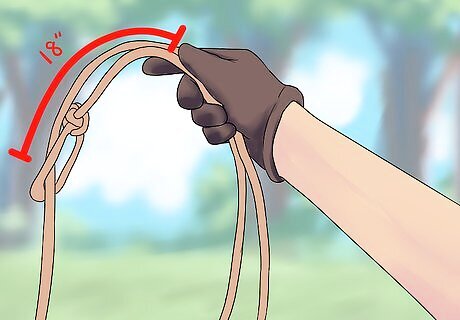
Slide your hand away from the eye by at least 18 inches. When you start twirling the rope overhead, you do not want your hand to be too near the eye so that the loop moves freely. However, do hold a bit of the excess slack in the same hand as your loop. This helps you to keep the loop open. This stretch of the rope is called the “spoke.”
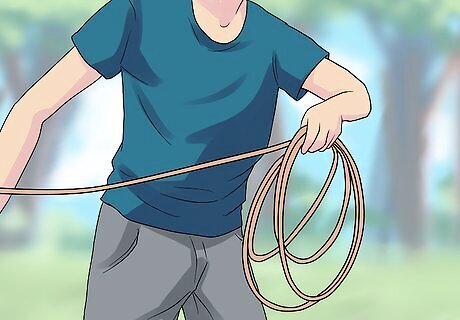
Hold the excess coils of lariat in your other hand. Leave enough slack to give yourself room to lift the loop above your head, twirl it, and throw it. At least six feet of lariat between the two hands is recommended. Hold the coils in such a way that they will easily slip off of your hand when you throw the lariat.
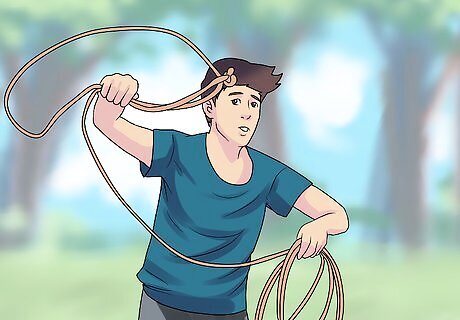
Raise your dominant arm overhead, holding the loop, and begin to swing. The twirling of the lariat is the hardest part to master, because many people have a hard time learning how to make the twirl happen with their wrist. Move only your wrist, not your whole arm. Think of your wrist as an axle, as if the rope was a wheel revolving around your wrist. Correctly twirling the lariat with the wrist allows the rope to slide through the eye a bit so that the loop widens. This is especially necessary if you choose to start with a small loop.
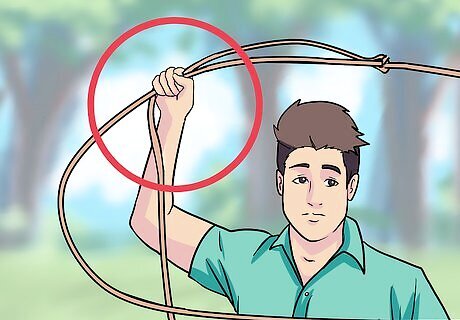
Maintain your grip on the loop and the spoke. While you are twirling, you do not want to let go of these two things. They should already both be held in the same hand, per Step 4. Your grip can be loose enough to allow the loop to widen, via excess slack rope sliding through the eye, if you start with a small loop and need to make it bigger as it twirls.
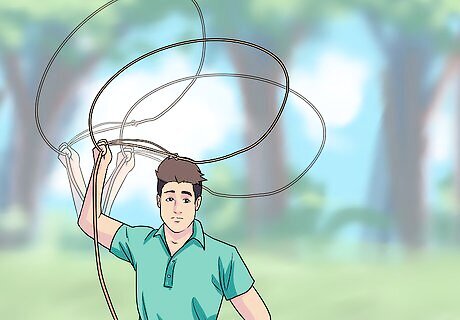
Twirl the loop at a speed fast enough to allow you to control its direction. A loop that moves too slowly overhead will lilt and fall, and you will not be able to control where it goes. This is important as you prepare to throw the lariat at your target.
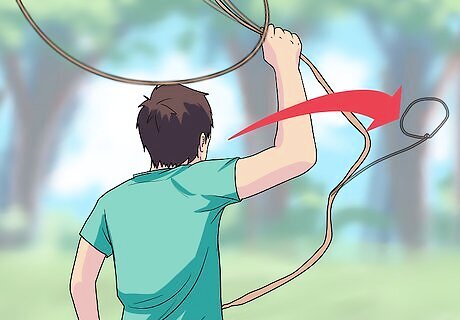
Choose the correct moment in the swing to throw the lariat. Although you twirl the rope with your wrist, the throw is completed with your arm. There is an ideal time to throw the rope. Wait until your swinging wrist makes its way from back to front; as it is doing so, take a step forward. Bring your hand forward and down to shoulder height, with your hand facing the target and your palm facing down. Extend your arm to its full length, and release the loop to soar at the target.
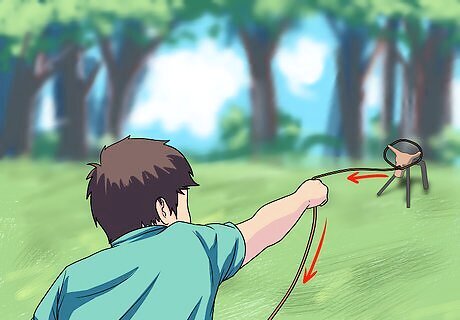
Jerk the lariat taut after it lands on the target. It is best to do this with the same hand that threw the rope, as your other hand is holding the excess rope (or, in some cases, your reins, if you are on horseback). Do this by turning your throwing hand over the rope, grasping it with your four fingers, and sticking your thumb out toward your body. Then pull the slack taut back toward your body.
Choosing a Lariat

Learn about the different materials from which lariats are made. Over the last several decades, lariats have been made from a variety of different materials that are suited for different purposes. Original lariats were made out of rawhide and had a creation process that took a couple of weeks. However, rawhide lariats are not the best choice for practical uses, like roping cattle. Manila is a popular option, as it is strong and sturdy. However, manila tends to alter flexibility with the weather. Reportedly, manila ropes become stiff when they are wet and limp when they are cold. Nylon is another popular option, as it is strong and does not have any of the issues with weather that manila does. It also comes in a variety of sizes. Poly ropes are popular today, as well. They have a synthetic core that is covered with a polypropylene coat and tend to conform to the roped object or animal quicker than other types of rope.
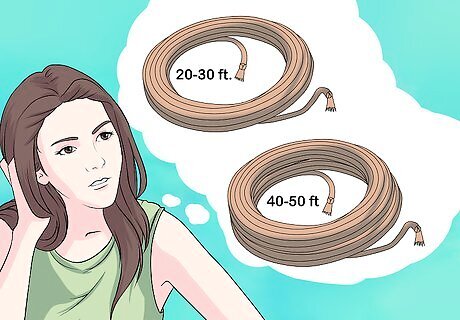
Determine what length of lariat is appropriate for age and size. Lariats come in various sizes, and some lengths are too much for a child to handle, while others are too short for an adult to use. Lariats that are 20-30 feet in length are appropriate for children. Lariats that are 40-50 feet in length are appropriate for adults.

Choose a diameter for the lariat. The standard sizes are 5/16 inch and 3/8 inch. The 5/16 inch lariat is described as “scant,” while the 3/8 inch is described as “full.” The scant rope is likely easier for children to handle.
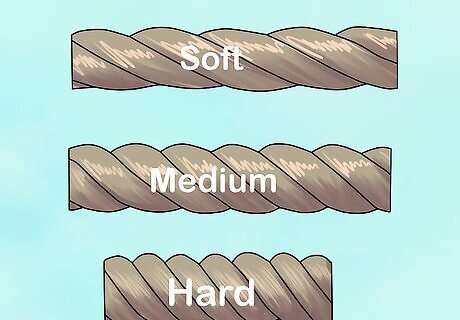
Understand the lay of lariats. Lariats have three fibers that are twisted together. How tightly the fibers are twisted is what is called the “lay.” Extra soft Soft Medium Hard Extra hard

Know where to buy a lariat. Lariats can be bought in a few different places, some of which seem unusual for the purpose. Rope stores Western stores Hardware stores Tack stores Online stores, like Amazon and eBay


Comments
0 comment