views
Using Commercial Yeast

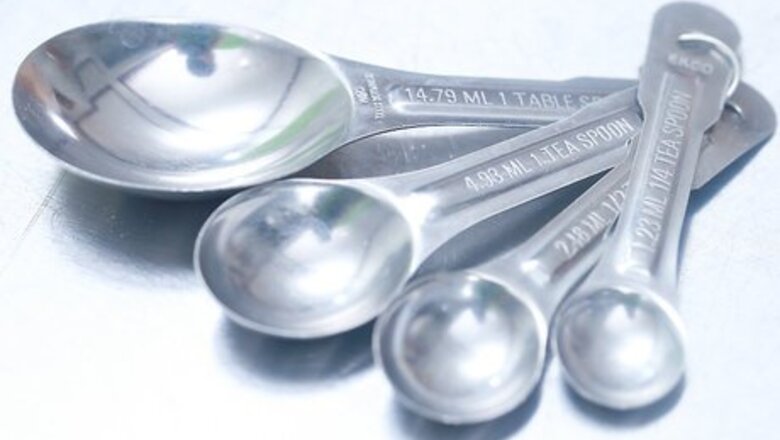
Use the proper amount of yeast for your recipe. When it comes to bread baking, adding yeast is the surest way to get bread to rise. When you mix flour, water and yeast together, the yeast releases enzymes that break down the flour into simple sugars. The yeast consumes the sugars and produces carbon dioxide and ethyl alcohol. As a result, air bubbles form in the dough, helping it rise to tall, fluffy heights. When you don't add enough yeast, the dough is unable to rise properly. Make sure you use the exact amount called for in the recipe you're using. For example, this recipe for white sandwich bread calls for 2 1/4s teaspoon yeast. It's not much, but it's just enough to make the dough rise correctly. On the other hand, using too much yeast will negatively affect the flavor of the bread.
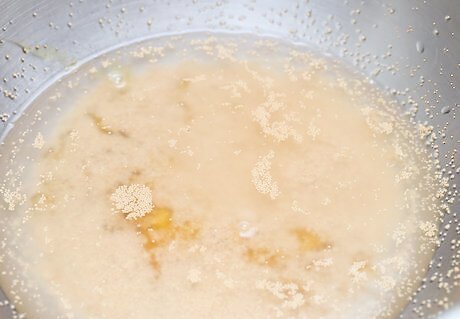
Activate the yeast, if necessary. Most bread recipes call for either instant yeast or what's called active dried yeast. Instant yeast can be added directly to flour and other dry ingredients. Active dry yeast, on the other hand, must be "activated" before you can mix it in with the rest of the ingredients. This prepares the yeast to release the enzymes required to help the dough rise. To activate yeast, Measure out the amount of yeast the recipe calls for. The recipe may instruct you to mix the yeast with a certain amount of either warm water or warm milk. Make sure the liquid is not to cold or hot, or the yeast won't activate. Wait for the mixture to start bubbling. It should take anywhere between two and five minutes. When the yeast bubbles, you know it's "live," meaning it will rise your dough. If it never bubbles, the yeast may be old. You'll have to use different yeast. If a recipe calls for instant yeast, but you only have live active yeast, you can make a substitution. Measure out the amount of yeast called for. Mix it with a small amount of water subtracted from the total amount of water to be added later in the recipe. This will ensure the moisture of the dough is correct.
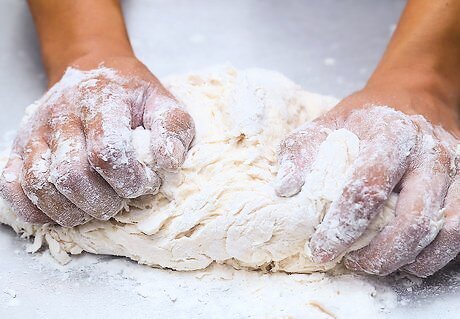
Mix and knead the dough. Follow the instructions in your recipe to mix the dough and knead it well. In most cases you will be instructed to knead for 10 minutes, using either your hands or the dough hook attachment on your mixer. Kneading the dough helps to distribute the yeast thoroughly. Kneading also causes the dough to glutenize and become stretchy. This will help it rise more effectively and result in a delicious chewy texture. When you're finished kneading the dough, it should form easily into a ball that doesn't fall apart. The dough should barely stick to the sides of the bowl you're using. If the dough falls apart or is extremely sticking, you need to add either more water or more flour. The texture of the dough is important at this stage.
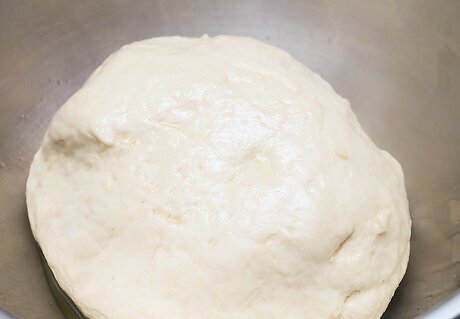
Let the dough rise in a warm place. After kneading, the next step is usually to let the dough rise. Place the ball of dough in a lightly oiled bowl and cover it with plastic wrap or a dishcloth. Put the bowl in a warm spot in your kitchen to wait for it to double in size. Look for a spot that isn't close to doors or open windows. The warmer the spot, the faster the dough will rise. If you can't find a good warm spot in your kitchen, preheat the oven to 200 degrees Fahrenheit, then turn it off. Place the bowl in the oven and keep the oven door slightly ajar. This warm environment is the perfect place for dough to rise. If the dough is kept at a cooler temperature, it may take extra time to rise. Even if your recipe says you should let the dough rise for an hour, you don't actually want to stop letting it rise until it has doubled in size, no matter how long it takes.
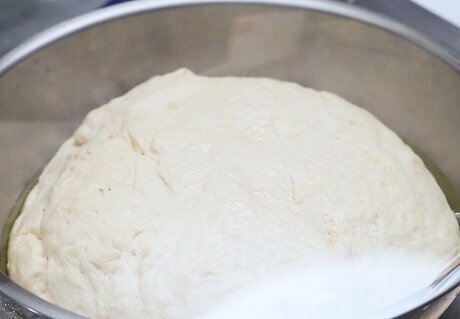
Punch the dough and let it rise again. After the first rise, many recipes will instruct you to shape the dough, then let it rise again. Punch it down, then knead it for the instructed amount of time. Shape the dough into a loaf, then prepare it for a second rise. The second rise will ensure that the finished bread is deliciously fluffy and light, so don't skip this step. Put the dough in a loaf pan, divide it into rolls, or otherwise shape it according to the recipe you're following. The second rise should be conducted like the first one. Cover the dough, put in a warm spot, and let it rise until it has doubled in size.
Using a Starter
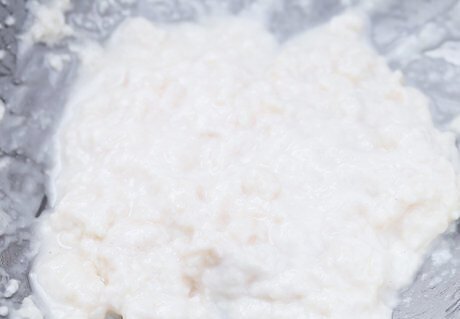
Make a wild yeast starter. Using commercial yeast is the easy way to make bread rise, but it wasn't always available. Before commercial yeast was made, people created dough "starters" using wild yeasts that are naturally carried through the air and found in flour and other foods. Wild yeast has a delicious sour flavor, lending sourdough bread its name. To make a wild yeast starter, do the following: Mix equal amounts of white flour and water. 4 ounces all-purpose flour and 4 ounces water creates a good starter base. Mix until the ingredients form a thick dough. Place the starter in a large jar or glass bowl covered with cheesecloth or loose plastic wrap. Store it in a warm place in your kitchen. It should be kept between 70 and 75 degrees Fahrenheit. Store for 24 hours.
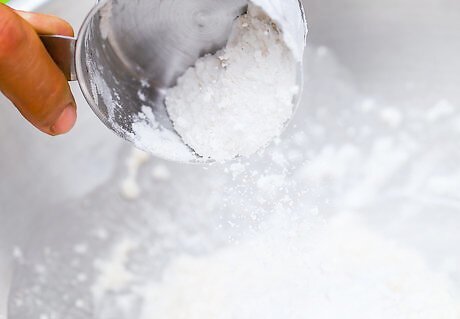
Feed the starter. After 24 hours, you should see small bubbles forming on the surface of the dough. That means wild yeast has found its way into the jar and begun to metabolize the flour to produce carbon dioxide and ethyl alcohol, which is exactly what you want. Now it's time to feed the starter to keep the process going. To feed the starter, Mix 4 ounces all-purpose flour and 4 ounces water to form a thick dough. Pour it into the starter mixture and stir well. Recover the jar with cheesecloth or loose plastic wrap. Store it in a warm place in your kitchen. It should be kept between 70 and 75 degrees Fahrenheit. Store for another 24 hours.
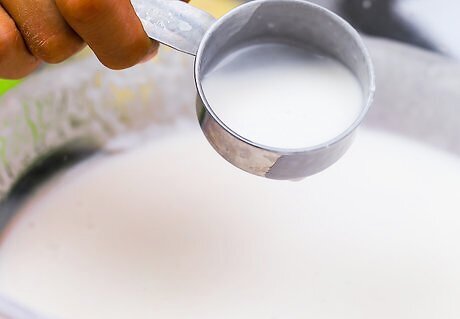
Feed the starter for two more days. On the third day, mix another 4 ounces of flour and 4 ounces of water to add to the starter. Let it sit in a warm place for another 24 hours. On the fourth day, repeat the process one more time: mix 4 ounces of flour and 4 ounces of water, then add it to the starter. Store it in a warm place for 24 more hours. By the morning of the third day, the starter should have large and small bubbles and a yeasty smell. It should look visibly larger in size. By the morning of the fourth day, it should be bubbly and smell quite yeasty. It should have doubled in size. By the morning of the fifth day, after the starter has rested for the remaining 24 hours, it should fill the jar. The texture should be loose and slippery. The starter should be filled with bubbles and frothy. If your starter isn't big, bubbly and yeasty by now, try storing it in a different place. Make sure the temperature is sufficiently warm. Keep feeding the starter for as many days as it takes to ripen into a bubbly, frothy concoction.
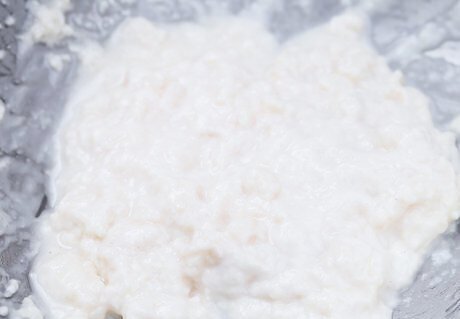
Divide the starter to use in a recipe. Now that the starter is "ripe," you can use it in place of commercial yeast in a recipe. Most recipes for sourdough bread call for mixing about a cup of starter with several cups of flour, water and other ingredients. Follow the bread recipe to make your bread rise properly. After mixing the starter with the other ingredients, knead the dough for the instructed amount of time. Place it in a loosely covered bowl and let it rest in a warm area to rise. When the dough has doubled in size, punch it, shape it and let it rise a second time before baking.
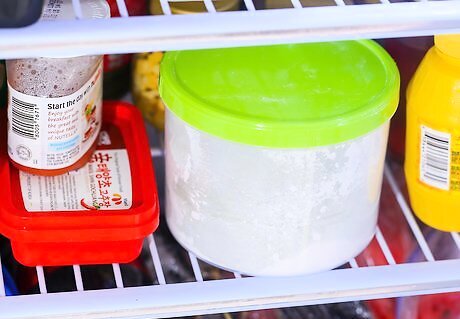
Refrigerate the remaining starter for future use. Save at least 1/2 cup of starter to use next time you want to bake bread. Instead of making a new starter from scratch, you can feed your existing starter until it ripens again. Store it in a clean glass jar with a lid, and refrigerate until you're ready to prep it for more bread. When you're ready to use the starter, let it warm to room temperature. Feed the starter with a mixture of 4 ounces of flour and four ounces of water. Let the starter sit in a warm area for 24 hours. During this time, it should bubble and double in size. When the starter is ripe, divide it and use what you need for your bread recipe. Store the remaining starter for future use.
Fixing Common Problems
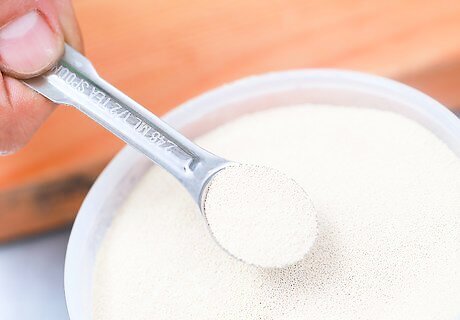
Make sure the yeast you use is new. Expired yeast, or yeast that has been sitting out, may never fully activate. That's why yeast often comes in individual packets that you tear open as you need them. Check the expiration date on your yeast to make sure it should still be active. Store your yeast in a dry, cool area to prevent it from going bad in between uses. If you're using wild yeast starter and the starter won't seem to activate, you can place a pinch of commercial yeast in the mixture to keep things going.
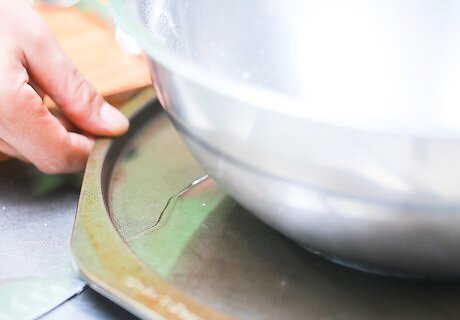
Try placing the mixing bowl in a tray of warm water. If you have a lot of trouble achieving the right temperature in your kitchen, you can try a warm water bath. Place the bowl with the dough in a baking tray that has been filled with warm water. Change out the water occasionally to keep it at the same warm temperature. Don't make the mistake of "cooking" your yeast by using water that's too hot. It should be warm, but not scalding, or the yeast will die before it causes your bread to rise. Depending on the conditions in your kitchen, you may just need to have some patience. Try letting the bread rise overnight instead of the recommended four or six hours to see if that makes a difference.
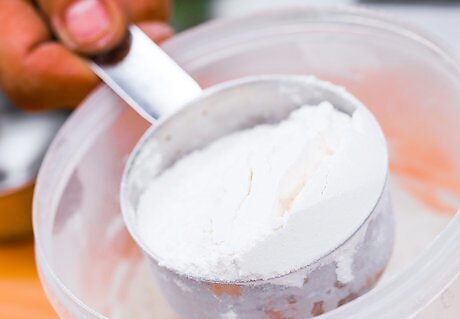
Try using white flour instead of whole grain. Bread made with white flour tends to rise higher than bread made with whole wheat and other heavier flours. If you want fluffy, spongy bread, white flour is the way to go. If you love the taste of whole wheat flour, try, using a half and half mixture of each so you get both the height and the flavor you desire.
Use a loaf pan of the correct size. It's important to use the specific pan the recipe you're following instructs you to use. If you use one that's a little too big, the dough will rise from side to side instead of upward. The result will be a flatter loaf of bread that may not rise over the sides of the pan.
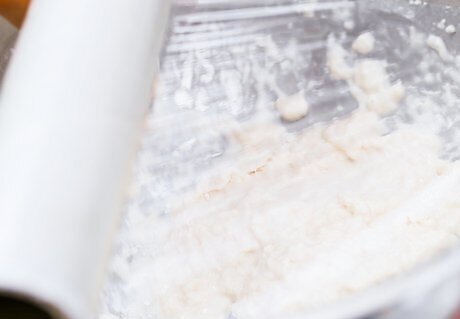
Achieve the right dough moisture level. Dough that is too dry won't rise as well as dough that is moist and soft. If your dough feels a little hard and dry after kneading, add an extra tablespoon or two of water to soften it. Cover the bowl you're storing it in with a washcloth dampened with warm water. This will prevent a crust from forming over the dough as it rises.
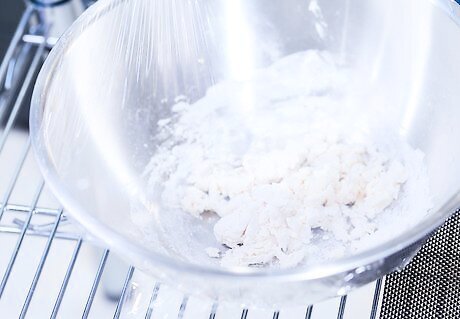
Make sure the dough isn't too salty. High salt content can prevent bread from rising correctly. Be sure you use only the amount of salt that the recipe calls for. Extra salt may cause your bread to come out flat and hard.


Comments
0 comment