
Turning Broken Crayons into New Crayons
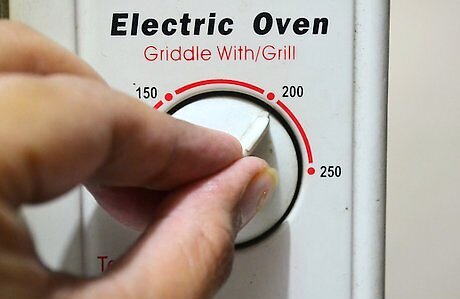
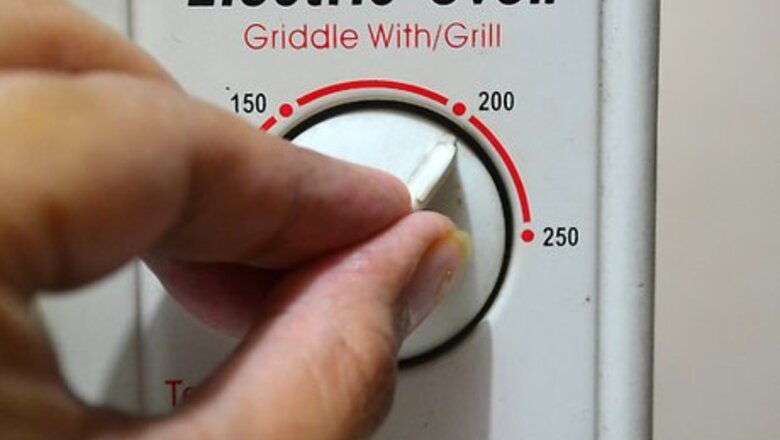
Preheat the oven. Set the oven to 200 degrees Fahrenheit (93 degrees Celsius).
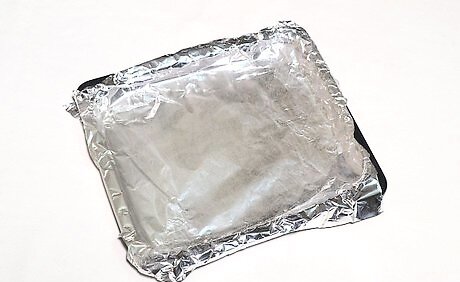
Cover a cookie sheet with tin foil. This will ensure no wax drips onto the oven while the crayons bake.

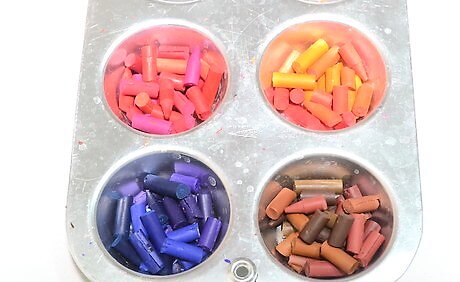
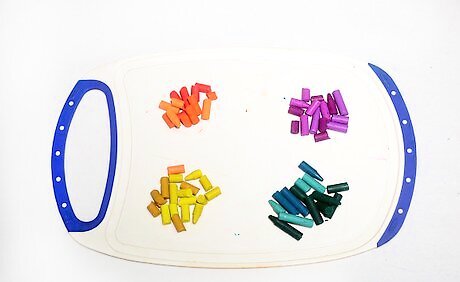
Divide the broken crayons into bowls based on color. Remove the wrappers on the crayons. Put the same colored crayons together. If there are not enough of a certain color to make a whole crayon, try to group the crayons together into similar colors. For example, you can group light pink together with red and light blue with regular blue.

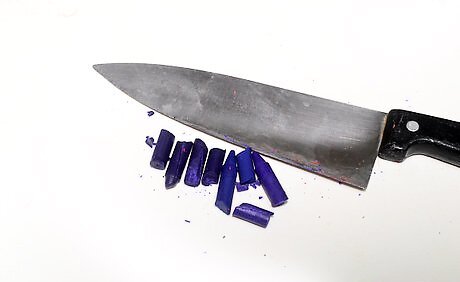
Chop up the crayons. Use a knife or scissors to chop up the crayons into small pieces. Try to cut them into even pieces that are ½ inch to 1 inch long.
Put them in crayon molds. Pour the chopped crayons into the molds. Fill the molds completely with crayons in similar or same colors. Use larger, deeper molds to make the crayons, as this will result in thicker crayons that are easier to use. You can find crayon molds online or at your local craft store. You can use crayon shaped molds or molds in different shapes.

Bake the crayon molds in the oven for 15 minutes. Put the molds in the preheated oven to bake. Make sure you wear oven mitts to protect your hands. Let the molds bake for 15 minutes, or until they have melted.

Let the crayons cool and remove them from the molds. Once the crayons have melted in the molds, use oven mitts to remove them from the oven. Let them cool completely. Then, use your hands or a knife to carefully pop the crayons out of the molds. You should now have new crayons that you can use in crafts at home.
Making Modeling Clay with Broken Crayons
Chop up 2 ½ crayons. Use the same colored crayons. Remove the wrapper on the crayons and chop them up with scissors or a sharp knife. Make the pieces small, around ½ to 1 inch in diameter. Place the chopped crayons in a bowl.
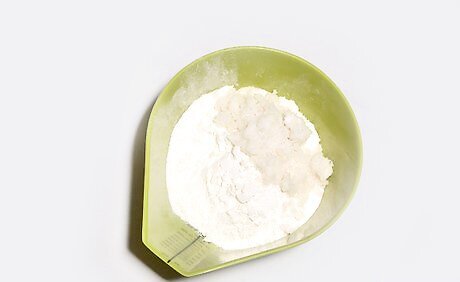
Mix together the flour, salt, and cream of tartar. In a large bowl, combine 3 cups flour, 1 ½ cup salt, and 2 tablespoons cream of tartar. Use a wooden spoon or whisk to combine the dry ingredients.

Melt down the chopped crayons. Place a pan on the stove and pour in 2 tablespoons oil. Add the chopped crayons to the pan and stir them until they are completely melted. Use a plastic or metal spoon to stir the crayons.
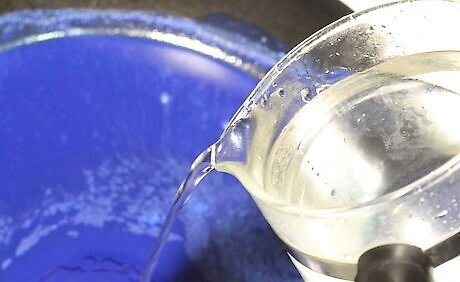
Add two cups of water. Slowly pour in the water while stirring the crayons. Some crayon types will form a lumpy liquid and others will make a smooth liquid as the water is added. Either way is fine as long as the water is fully combined with the crayons. Stir the mixture well to ensure it is combined.

Add the dry ingredients to form a dough. Pour the dry ingredients slowly into the pan and stir it in well. It should form a ball of dough.
Remove the dough from the pan and let it cool. Take the dough out of the pan and put it on a cutting board or the counter top. Let it cool.
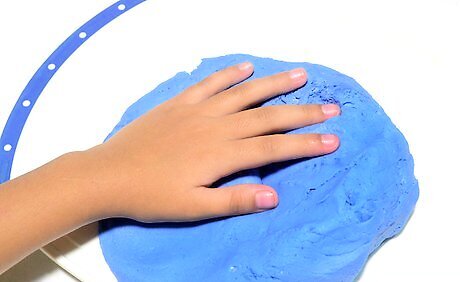
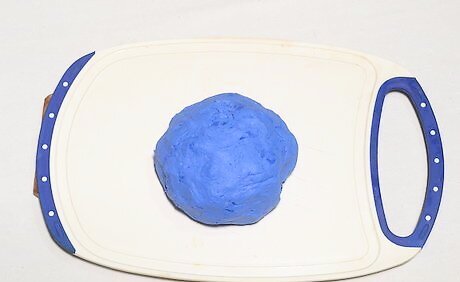
Knead the dough to create modeling clay. Once the dough has cooled, use your hands to knead the dough. Hold the dough between both hands, with your palms flat against the dough. Then, push the dough up against the countertop or the cutting board to knead it. Do this a few times until the dough is smooth and pliable. You should have a smooth ball of modeling clay in a solid color. Repeat this process with different colored broken crayons to make modeling clay in other colors.
Creating a Candle with the Crayons
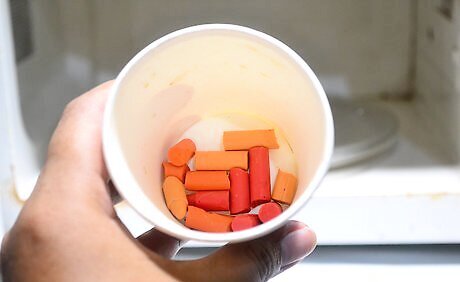
Remove the wrappers from the crayons and chop them up. Start by peeling the wrappers off the broken crayons. Then, place same colors with each other and chop them up into small pieces. Use scissors or a sharp knife to do this.
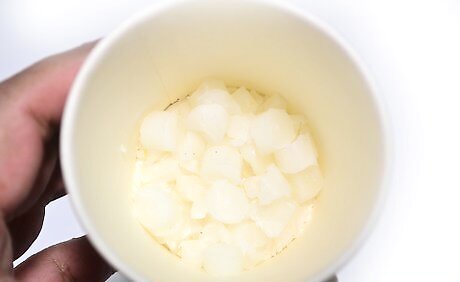
Fill the paper cup with the wax. Put ¼ cup of wax into the paper cup. The plain wax will form a base for the candle.

Microwave for 1 minute. Place the paper cup in the microwave and heat it up on low for 1 minute. Then, stir the wax with a popsicle stick. Microwave it again in 30 second intervals until the wax has melted completely.
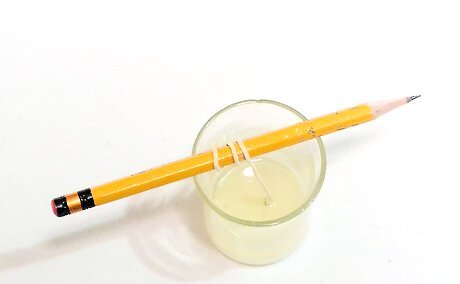
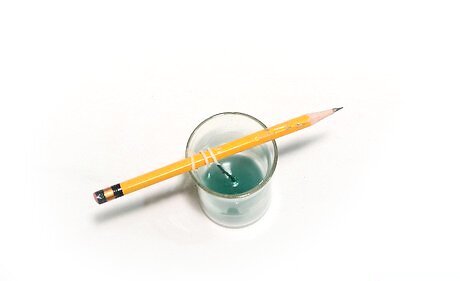
Pour the wax into the votive and place the candle wick in the center. Carefully pour a thin layer of the wax in the bottom of the votive or glass jar. Put the candle wick in the center of the votive. Let the wick hang over the edge of the votive. You’ll snip them later. Use a thicker wick so it burns well. If the candle wick does not stay up on its own, loop it around a popsicle stick and place the stick horizontally over the top of the votive to keep the wick in place.
Melt the chopped crayons. Fill the paper cup with ¼ cup wax and top it with the chopped crayon. Microwave it for two minutes and then in 30 second intervals until it has melted to form a colored wax.
Add the colored wax to the votive. Let it cool for 30 seconds and then pour the colored wax into the votive, or glass jar. This will form the first layer of the candle. Let the wax harden for 20 to 30 minutes. If you want to add a scent to the candle, you can put 1 drop of lavender oil in the colored wax and stir to combine.

Repeat this process, layering the wax on top of each other. Continue to combine the plain wax with the chopped crayons, melting them together in the microwave to create a colored wax. Pour the colored wax into the votives, layering them on top of each other. Let each layer dry for 15 to 20 minutes before putting a new layer on.
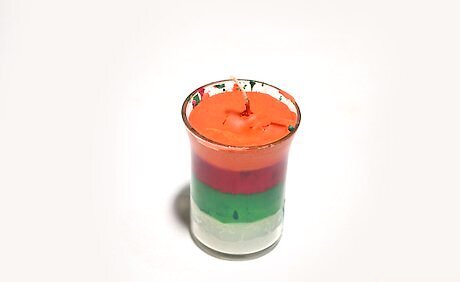
Snip the wick and try out the candle. Once you have layered the candles as desired, use scissors to cut the wick so it sits just above the wax. Then, light the candles to try them out.
Decorating Holiday Items with Broken Crayons
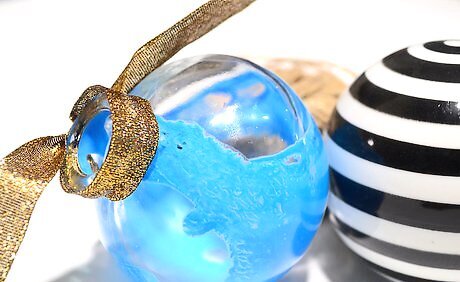
Decorate plain Christmas ornaments with crayons. To do this craft, you will need clear glass ornaments, broken crayons, and a hair dryer. Cover a work table with newspaper. Chop up the crayons in similar colors or complimentary colors. Pick colors that you feel will look good together on the ornament. Carefully remove the stem from the ornaments. Then, drop the crayon pieces into the ornament. Use the blow dryer to melt the crayon pieces, moving the pieces around in the ornament as you do so to create a swirling design. Do not let the blow dryer sit on one spot on the ornament. Shake out any remaining crayon pieces when you’ve made the designed design on the ornament. Then, replace the stem on the ornament and hang it in your home.

Decorate Easter eggs with crayons. Boil eggs for Easter and use broken crayons to decorate them in fun colors. Make sure the eggs are still hot to the touch, as this will help to melt the crayons. Place the eggs in the carton and use the broken crayons to draw on the eggs. The heat should smudge and blend the crayons onto the eggs. This is a great craft for kids. Simply move the warm egg around in the egg carton so they can color on them using the broken crayons.
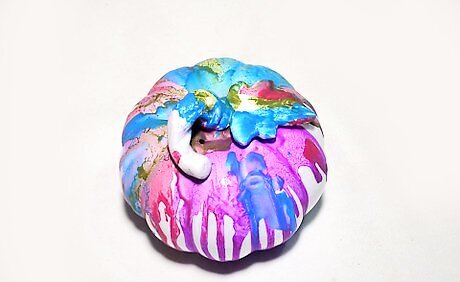
Use crayons on mini pumpkins. Spruce up plain mini pumpkins for a fun centerpiece or a colorful Halloween decoration using broken crayons. Chop up the crayons and grouping them in like colors. Then, glue the pieces to the top of the pumpkin using tacky glue or liquid glue. Once the glue has dried, use a blow dryer to melt the crayons so they run down the sides of the pumpkin. You can customize the mini pumpkins by using Halloween crayon colors or Christmas crayon colors for a more festive look.


Comments
0 comment