views
Taking the Fabric Off
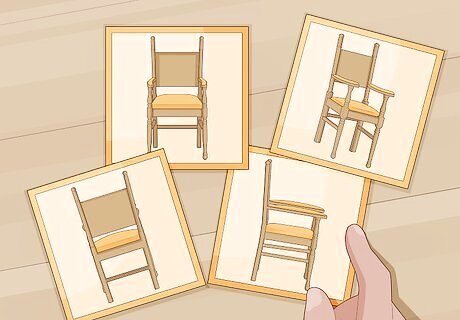
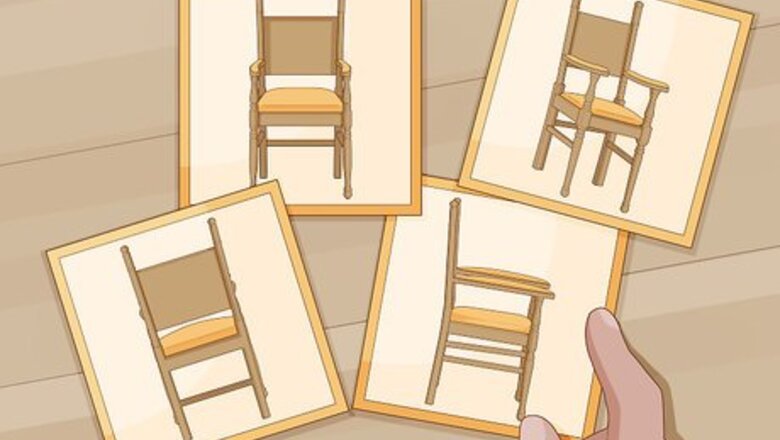
Photograph the chair from all angles before pulling the fabric off. These photos will come in handy when you're putting new fabric on the chair. Make sure to take the photos in good light so that you can see the chair really well. Don't forget to turn the chair over to get photos from below, as well. Also, get up close and personal, too, making sure you get all the small details.
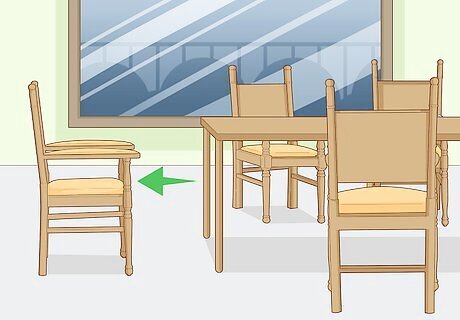
Remove the seat from dining room chairs. If you're reupholstering a dining room chair, the base of the chair may come out, which makes the process easier. Typically, the base is screwed in, so turn the chair over and look for the screws holding it in place. Use a screwdriver or drill to unscrew them. Some seats just drop into place, in which case you can just push them out. If they're glued in, you may need to carefully pry the seats out or use a solvent that dissolves the glue. If you're doing more than one dining room chair, make sure you mark which seat came from which chair, as the seats will fit more easily back into place on the original chair. If your chair has a loose cushion, pull it out. For other chairs, you may need to take off legs or the rockers at the bottom to get to the fabric.
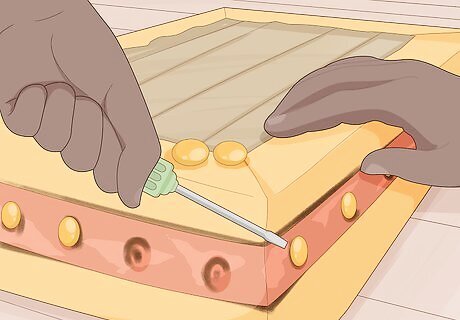
Take off rivets and other decorative items. Rivets are mostly decoration these days, but they will still hold the fabric in place if you don't remove them. Use needle-nose pliers to pull them out. This can take a while if your chair has a lot of rivets. You can save these to put back on, buy new ones, or just leave them off when you reupholster the chair.
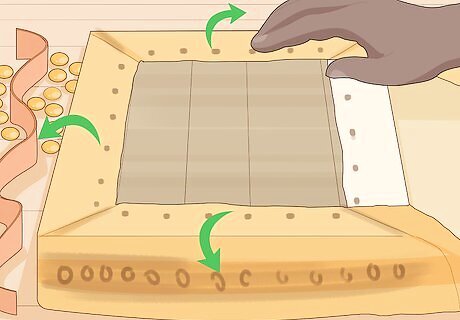
Pull the fabric off the bottom. Often, it's easiest to start at the base of the chair since that's where the final edges and seams are usually hidden. Take off the fabric that's covering the bottom first. You may need to take the tacks or staples out before the fabric will come off. Use a staple remover or a hammer to take the tacks and staples out. You may need pliers to rip the fabric off. Try to take it off in one piece if possible.
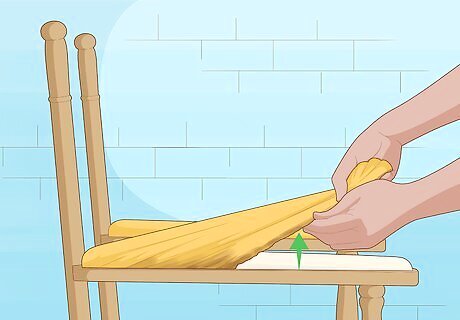
Remove the other pieces of fabric one-by-one. Start from the bottom and gently pull off the other pieces of fabric. If the chair has piping near the bottom, pull that off first, removing tacks and staples as needed so you can take the fabric off. Then, attempt to take the back off if yours has one. Move around the chair, taking off the different layers of fabric in large pieces. Use pliers to help you rip the pieces out, working along the seams of the chair as you do. Some chairs have strips of metal tacking holding the fabric in place. You'll need to pull this out with pliers to get the fabric out. Save all the pieces of fabric, piping, and welting to use as patterns. Don't just throw these items away. They'll make it much easier to figure out the pieces you'll need to put your chair back together. You may even be able to reuse the piping and welting if it's not too damaged.
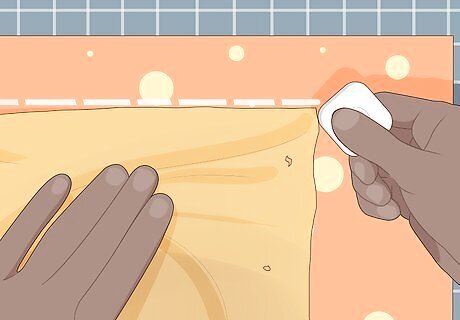
Mark each piece of fabric as you pull it off. Make sure to note where each piece comes from, such as bottom fabric, left side panel, left side arm, etc. That way, you know where each one belongs when you are trying to piece it back together. Note where the top and bottom or front and back side of each piece is, as well. Also, indicate where the fabric was sewn to another piece or where it had piping along the edge. Note any special tucks, pleats, and folds so that you can repeat these when making up the new upholstery fabric. You can just use a permanent marker to write on the fabric since you'll be tossing it anyway.
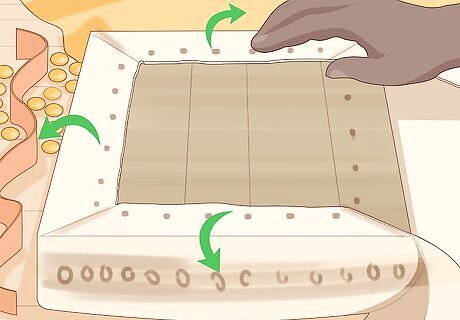
Remove and examine the batting and cushioning. In most cases, you're going to want to replace the stuffing in the chair, as it will likely be worn down from the years. However, if it's still in good condition, you can save it to reuse. Keep it for now, though, so you can use it as a pattern. Batting is a layer of fabric that sits between the outside fabric and the foam. It adds a layer of protection and it keeps the cushioning in place. On large armchairs, you may not be able to replace the batting and foam since it's shaped to the chair. In that case, leave it in place. In some cases, you'll need to cut stuffing that has been glued into place. Use a knife with a long blade to slide neatly under it, such as a serrated knife or a snap-blade knife. Slide along and cut as carefully as you can.
Examining the Chair to Make Repairs
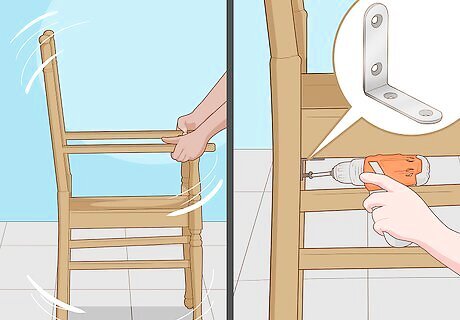
Check the legs for wobbliness. Wobbly legs can be caused by a variety of problems, from loose rungs to slipping screws. To fix the issue, apply wood glue to rungs to fix them back in place; clamp them together for at least 24 hours to make sure they stay together. Tighten up any screws or bolts on the bottom of the chair, which will help make it more stable. If you need to, add small L-shaped braces on the bottom of the chair where the legs attach to the seat. Screw part 1 part into the seat and 1 part into the leg, which will help stabilize the chair. Depending on your chair, you may need to wait to do this until after you've reattached the fabric. With some legs, you may need to glue them back in place to the seat. To help them stick, sand both sides of the wood where the joint meets. If 1 leg is shorter than the others, add a nail-in glide to the bottom.
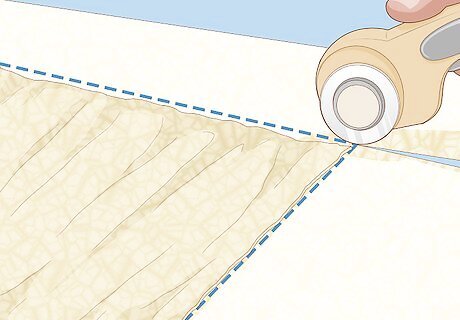
Replace any batting or foam that's damaged. Use the old batting or foam as a pattern, and cut new batting out with scissors or a craft knife. When cutting foam, use small, short strokes to cut it so that you don't tear the edges. Once you're done, staple or glue foam back in place first. Then, cover the foam with the batting, stapling it into place.
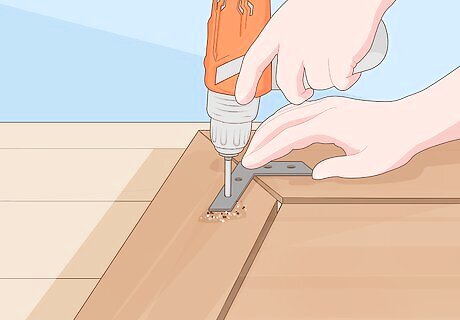
Place braces on loose seams. If the chair is coming apart along the seams, start by adding glue and pushing the pieces back together. Then, add metal braces to hold the pieces in place. Screw the metal brace into the wood on both sides.
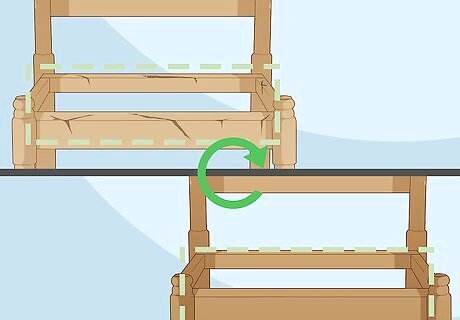
Check the chair base for cracks, particularly on dining room chairs. If the chair base is warping or cracked, you need to replace it. Choose plywood of the same thickness, and then use the old base as a pattern to draw on the new plywood. Cut it out with circular saw or jigsaw. If you need to, use a rotary tool to sand down the edges to match the old seat.
Buying and Cutting New Fabric
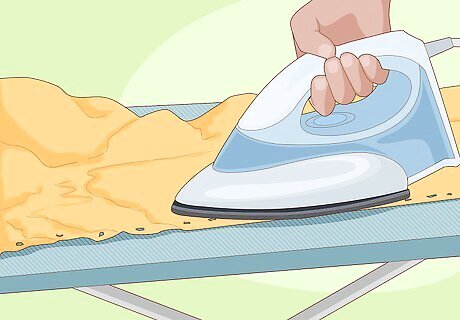
Unpick and iron the old panels. Any parts sewn together need to be unpicked. That way, you can see what you need for seam allowances when you sew new panels together. To unpick the seams, use a seam ripper to cut out the thread along the seam, pulling it apart as you go so you can see the stitches. Also, make sure to iron out the pieces so that they're flat for measuring. If the fabric is too damaged to pull off in whole pieces, you'll need to measure each panel on the chair with a soft tape measure.
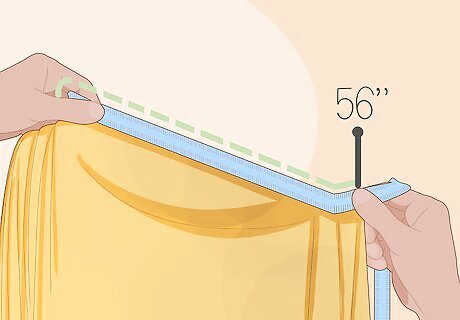
Calculate how much fabric you need. Lay the pieces out end-to-end, trying to fit them into the typical width of upholstery fabric bolts, and then measure the total space they take up. That will tell you approximately how many yards you need, though always be sure to get some extra just in case. Typically, the width of upholstery fabric is 56 inches (140 cm). Also, measure any piping and strip tacking you may need.
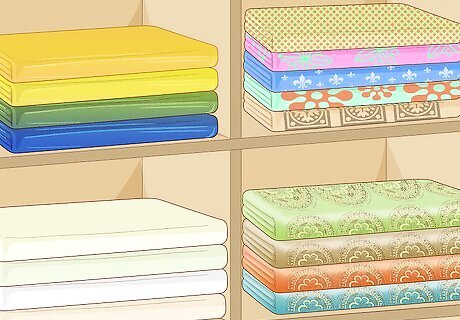
Choose the right type of fabric. In general, upholstery fabric needs to be strong to withstand being sat on and moved about. When looking for fabric, check the upholstery section of the fabric store. Aim for something that's timeless so that you won't want to reupholster the chair again in a few years. Heavy duty cotton is suitable for infrequent domestic use, while linen is a bit stronger and wears well. Jacquard is a cotton fabric mixed with synthetics such as nylon or polyester to strengthen it, and it can handle medium to heavy use in your home. Vinyl, also known as synthetic leather, is strong and waterproof, but it's not ideal for hot environments as skin tends to stick to it. Tapestry is a traditional upholstery fabric because of its beauty and strength. Though expensive, it will stand up to wear and tear, and it's good for antique furniture. Velvet is also a long-lasting upholstery covering that's nice to work with.
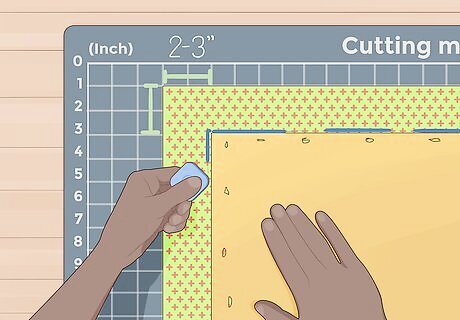
Lay the new fabric on the old fabric and pin it in place. Put the new fabric down with the wrong side up. Place the old pieces on top of the new fabric with the wrong side up. Make sure to leave 2 to 3 inches (5.1 to 7.6 cm) around each piece so you have something to hold onto when you tack the fabric in place on the chair. Use pins to hold the old fabric to the new fabric. When lining up the fabrics, look for the grain of the fabric and how the pattern will spread across the chair. Match the grain direction with the grain of the old piece of fabric. Mark all cut pieces with the panel names you've chosen to prevent mix-ups. Add the directional arrow as well, so you know which way it needs to go. Painter's tape (on the wrong side of the fabric) works well for this, as you can write on it with permanent marker without it damaging the fabric. You can also use a chalk pencil.
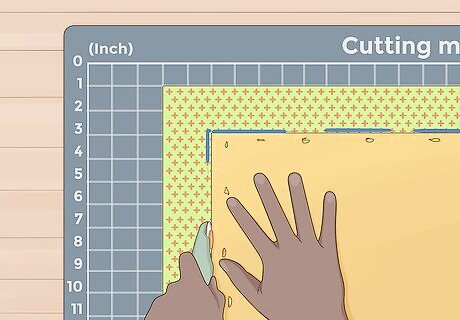
Cut the fabric out. After you've checked the fabric to make sure you have the grain going the right way, cut it out. Remember to leave a space around the edges to make it easier to staple later. Use fabric scissors or very sharp scissors to cut the fabric. Dull scissors will shred it. Lay each panel on the chair to check it for fit and make adjustments as needed.
Sewing and Tacking the Fabric
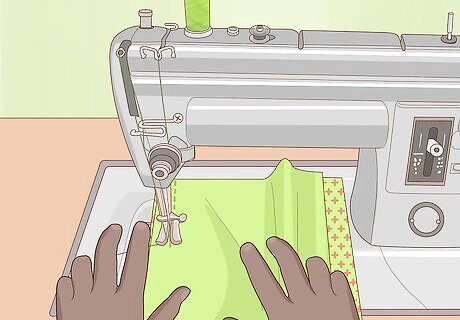
Sew any panels together that need it. Any panels that were sewn together before will need to be sewn together again. Pin the panels together first with sewing pins, then check it against the old panels and the chair before sewing them together. Use straight seams for sewing upholstery fabric. You will also need to add any pleats and folds back into the panels. Strong fabric can easily break a domestic sewing machine. You may need access to an industrial one, or you can send the pieces to someone else to stitch together for you.
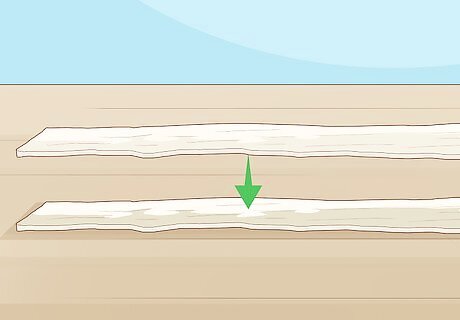
Make bias tape for the piping. Create bias tape by cutting 1.5 in (3.8 cm) strips diagonally across the grain of the fabric. Sew strips together with diagonal seams by placing 2 strips at a right angle to each other. Sew the strips together so you make a flat edge across the corner. Trim the corner off on the other side of the seam, then flatten the fabric out, and you'll have connected the strips. Keep joining strips this way until you have enough to do all the piping. Bias tape is just strips of fabric cut diagonally along the grain of the fabric (on the bias).
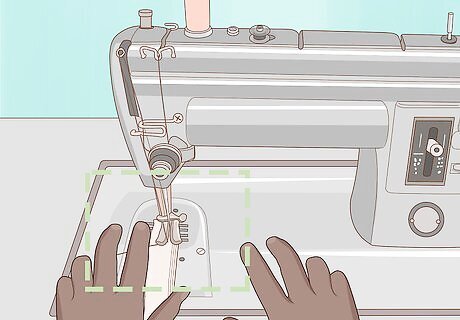
Sew welting into the bias strip. Lay a piece of welting in the center of the bias tape on the wrong side of the fabric. Fold the fabric over the welting and pin it in place with sewing pins. Run a line of stitches along the fabric on the inside edge of the welting. Welting is a type of cord that you wrap in pieces of fabric to form piping. Use a zipper foot to sew the welting in place.
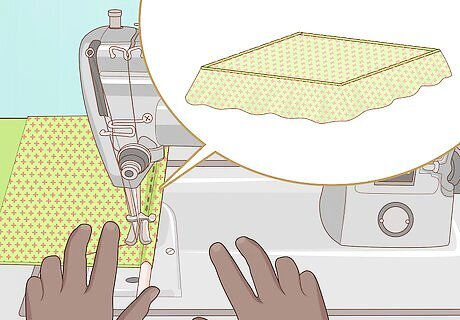
Sew the piping into the fabric panel. Place the panel on the chair and pin it in place. Mark where the piping should go, and then pull the panel off. Lay the piping along the right side of the fabric and sew a line along the inner edge of the piping to hold it in place. You can also sew it between 2 panels if you're making a seam with piping.
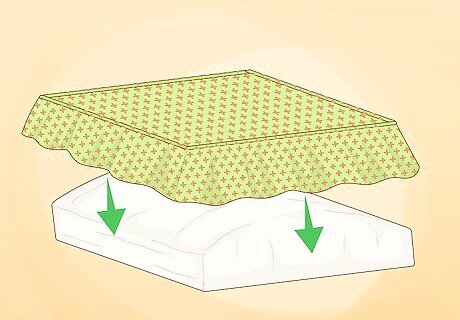
Attach the fabric to the chair, starting at the back. Put the back panel on, and staple it or tack it into place the same way it came off. If you need to, trim off any extra fabric as you go. Add the side pieces next, then work your way to the seat of the chair. Staple the fabric into place on the bottom last. Hammer any decorative tacks back in place if you'd like.
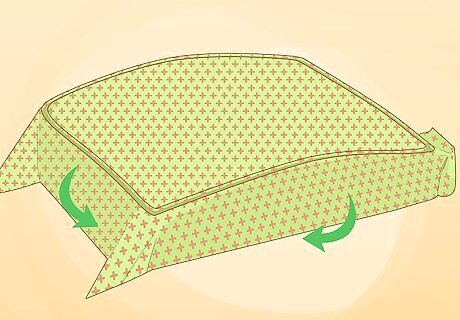
Fold and staple fabric around the seat of the chair as needed. When folding fabric around the seat of a chair, start on one edge. Center the fabric and put one staple in the center of that edge. Flip it around and stretch it tight. Staple the fabric in place along that side, starting from the middle of the edge and working your way out, pulling the fabric tight as you do. Work your way around the rest of the seat, making sure the fabric is tight.
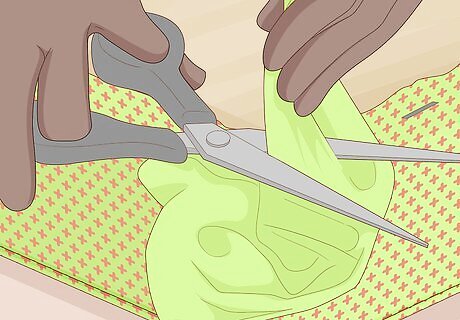
Cut extra fabric off at the corners and fold them into place. If you are going around something like a dining room seat, make sure you trim off the extra fabric. Otherwise, it will bunch, leaving bumps in your finished product. To fold the corners, pull the fabric taut and fold the extra fabric in a triangle. Lay it flat against the edge of the seat, then pull it tight to staple the bottom edge underneath the seat.
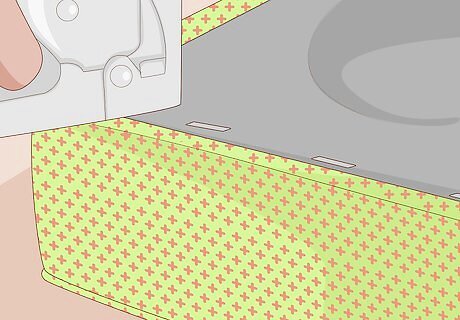
Add a piece of breathable black fabric under the chair. Cut a piece of fabric to match the piece you pulled off. Turn the chair over and staple the new piece into place over the fabric edges. This fabric will hide the edges and act as a dust cover for the bottom.


Comments
0 comment