

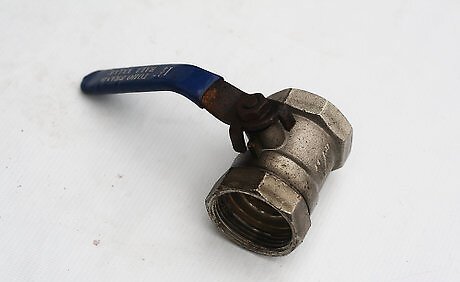
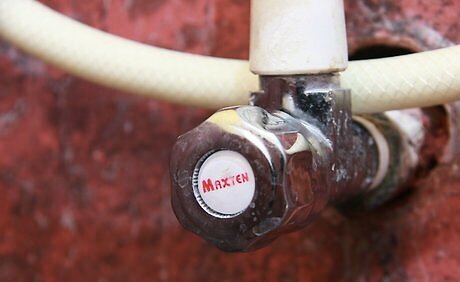
Obtain a replacement valve. The valve you purchase should be an exact match to the old valve in terms of size, thread and type. Remember, compression fittings and iron pipe fittings are not interchangeable. If you are not able to shut everything off and remove the valve to take it with you to the hardware store, then try to take some measurements or photos of it.
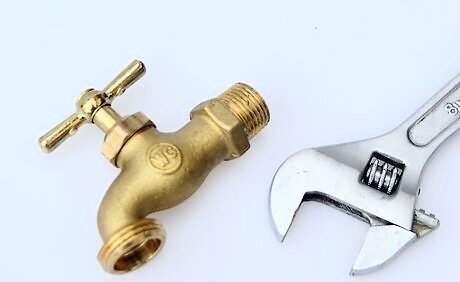
Assemble the proper tools. Supply valves under the sink typically can be removed with a crescent, open-end wrench or channel-lock pliers. Bigger valves will need a pipe wrench, as well as another wrench to hold the pipe and one to turn the valve. Proper tools will prevent you from damaging the fixtures, or causing an injury. Take the time to find them.
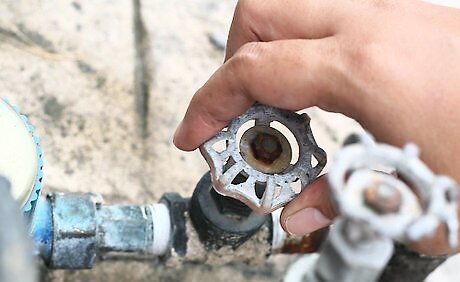
Shut off the next valve up the line. Locate the valve that is closer to the supply than the one you want to shut off. This might be the hot water heater, the house water shut-off in the house, or the main shut-off at the meter. Gas valves typically have some other shut-off in the proximity of the valve before you get to the main. Twist this valve into the off position. If you've located the right one, this should prevent water or gas from gushing out of the valve you wish to replace.
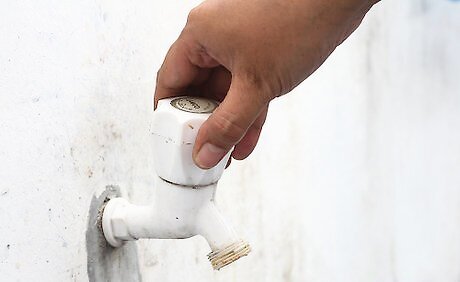
Drain and verify the water is off. If the valve you shut off is located in a basement or first floor of a two-story house, the water above you must drain out. Most systems are not airtight enough to hold back the leftover water. Start draining the system, and wait a few minutes for everything to get out. If the water is still gushing strongly after that, you haven't turned off the valve. If you have a floor above you, go outside and open an outside faucet if those faucets come directly from the house. Now the water will run outside and not into your cabinet or floor. If you're replacing a valve on a faucet, open it up. This will help get the water out of the pipes you're working around.
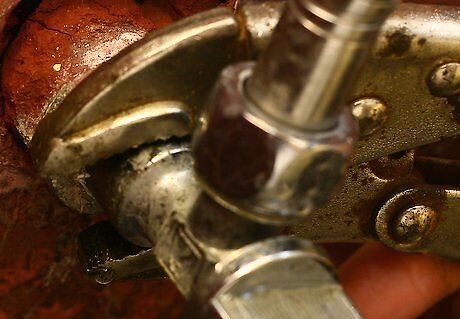
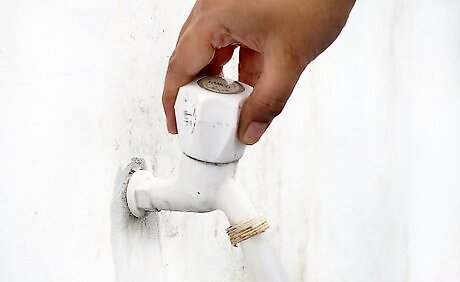
Remove the old valve. With the proper wrench, remove the valve that you're going to replace. Watch the pipe you are threading it off of and make sure the pipe doesn't twist. If it does, you need to put another wrench on the pipe.
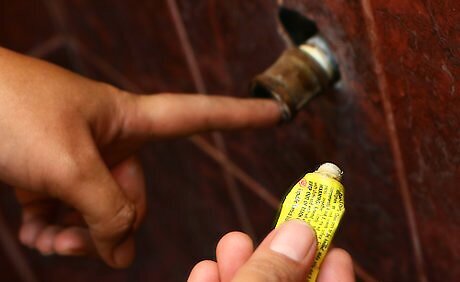
Apply the proper pipe joint compound to the pipe threads. This will vary depending on the pipe. Ask for help at your local hardware store if you're unsure. Most valves don't require pipe compound, but you should inspect the o ring if it is a flexible line. If it is a gas flex line, a little pipe compound needs to be applied to the flare part of the fitting, just at the end of the brass fitting, above the threads.
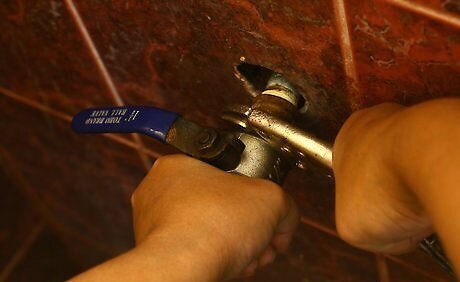
Install the new valve. Tighten with wrench until it is snug and in the proper location for the supply line.

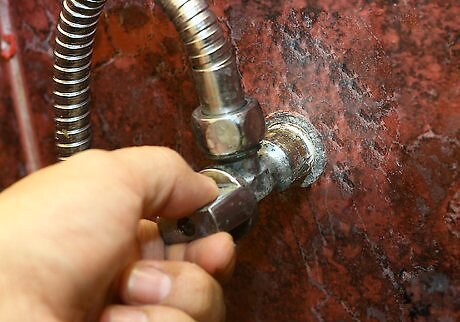
Turn the new valve off. Make sure it's twisted securely into the off position before proceeding to the next step.
Turn off any drains. Go back to the faucets you opened to drain the system and turn them into the off position. You don't want water gushing from them as soon as you turn the water back on.
Turn the water or gas back on.
Check for leaks at the valve. There are different ways to do this depending on whether you're working with a liquid or gas system. If you're checking for water leaks, wipe the valve completely dry with a towel. Then, turn on the faucet or appliance and let it run for a few minutes. If you see new droplets of water forming on the valve, you have a leak. For a gas line, apply soapy water to all fittings and look for bubbles. Tighten if needed, and re-check with soapy water. Instead of soapy water, you can use a commercial compound that will check for gas leaks. These are sold at hardware stores.


Comments
0 comment