views
Locating the Plug Cover
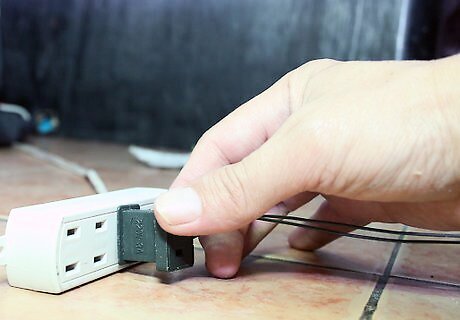
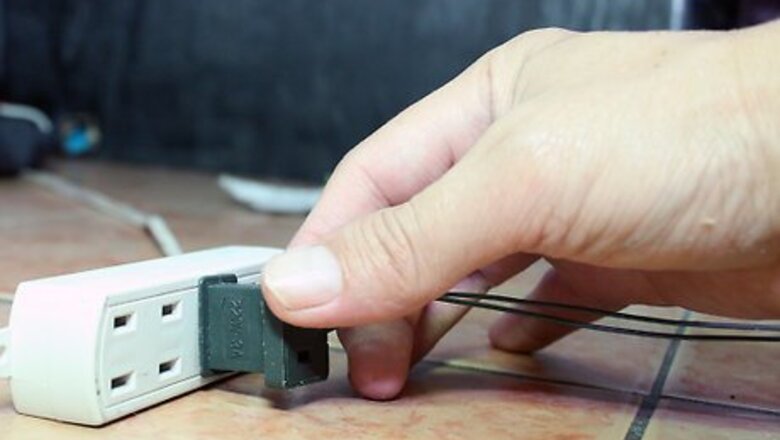
Unplug your Christmas lights. Before you open the plug cover, make sure you unplug the lights. It's always a good idea to unplug anything electrical before you work on it. Be careful not to electrocute yourself. Find the socket that enters the wall. Take a firm hold of the socket and pull it out of the wall. Don’t pull out sockets from the cord. Pulling out light sockets from the cord can cause damage to your lights. Test your lights to verify that they are still not working. Turn on the switch to see if the lights light up.
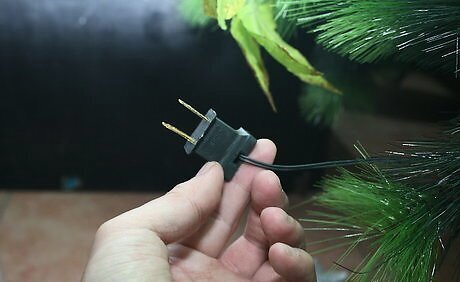
Find the male sockets. Male sockets are those with plugs as opposed to those that have space to receive plugs. They will be those plugged into other light strands or into the wall. Check each socket to see if it's male or female. Male sockets are the only ones that have fuses in Christmas tree lights. Gather all the light strands that are not working. If multiple strands are not working, you may have to replace multiple fuses. Make sure not to miss any male sockets that are not working properly. If a fuse is not working, the entire light strand will not work.
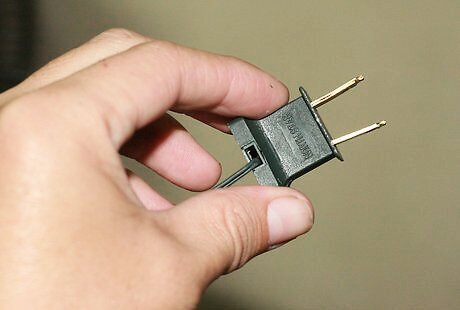
Look at the socket to make sure it is marked and configured correctly. Marked sockets will usually have an arrow pointing away from the cord and a sliding door that conceals the fuse. Find the marked section of the socket. The underside of the plug is where the fuses are located. Look for the arrows pointing on the socket. They should be pointing away from the cord and towards the male end of the plug. Locate the sliding door that conceals the fuses. The piece marked with the arrow slides up to reveal fuses underneath.
Replacing the Old Fuses
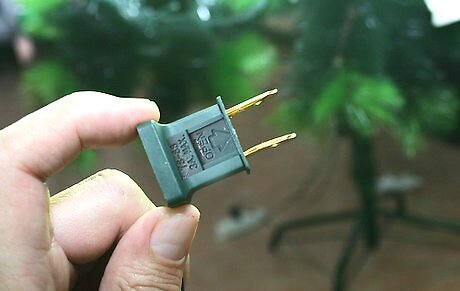
Open the socket door to get to the fuses. Before you replace the fuse, you need to open the socket with the arrow and sliding door. You may need a small screwdriver to do so if you cannot move the door by hand. Find the grooves on the socket door. They should be relatively obvious to your touch.You may be able to push this door up with your fingernails. Don't force it if it does not come up easily. If the socket door won’t come up by hand, you may need a small flathead screwdriver or kitchen knife. Find a knife or screwdriver that fits the small size of the socket door. Use the knife or screwdriver to gently push up the socket door to show the fuses. Don’t use too much pressure, since you don’t want to damage the socket or the fuses underneath.
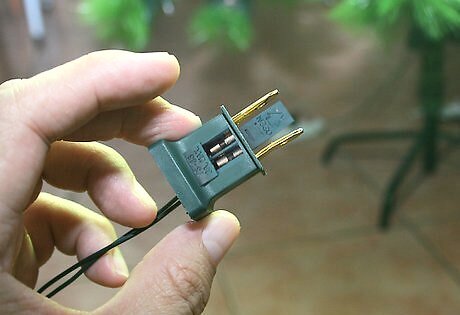
Check the fuse after you've open the socket door. Once the socket door has been opened, you will see the fuses underneath. Observe the fuses to see if they are damaged and need to be replaced. They are very small, so make sure to not lose them. Locate the fuses. There will likely be two, but there may be only one. They should be immediately behind the socket door. Make sure the socket door is slid up far enough so you can comfortably reach the fuses. Remove the fuses. Take your small screwdriver to pop out the fuses. They should be easy to remove. Don’t use too much force as to not damage the fuses. Be careful to not lose the fuses. The fuses are very small and can be easily misplaced.
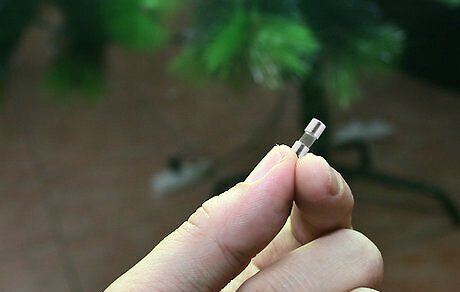
Examine the color of the fuse to see if it is burnt. Burnt fuses are easy to recognize. Look at them carefully before deciding if you need replacement fuses. If you’re not sure, you can also use a voltmeter to check their strength. Burnt fuses appear dark. If the fuse is obviously dark to your eye, then the fuse is burnt and will no longer work. If you can’t tell immediately, take out each fuse and look more closely. Some fuses may be burnt, but do not show external signs. Use a voltmeter to check the fuse strength. If the voltmeter does not register anything when checking the fuse, then it is burnt and needs to be replaced.
Installing Replacement Fuses
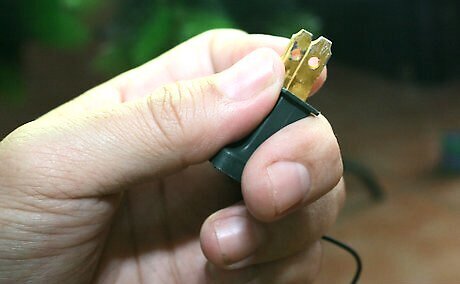
Find the replacement fuses that came with your lights. Hopefully, you saved any replacement fuses. If not, you may have to find an electronics store that carries spare fuses. Locate the spare fuses. For many Christmas light sets, the spare fuses are in little plastic bags taped to the light set. Remember where you’ve put the spare fuses if you removed them from these plastic bags. Keep them in a secure location with other electronic or Christmas lights. Find an electronics store to get spare fuses. If you’ve lost the fuses, you may need to find them at an electronics store. However, it may be difficult to find them at those that do not specialize in Christmas lights or electrical repairs.
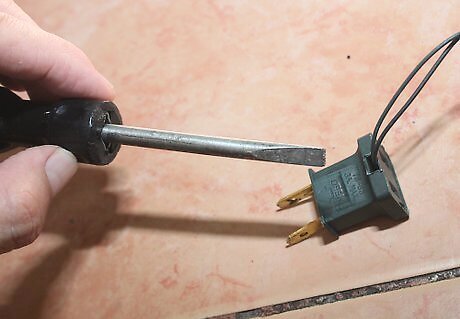
Replace the fuses. After locating the spare fuses, put them back into the plug door. Be careful to not damage them when you're putting them in. Fuses can be fragile and easy to break if you're not careful. Place the fuses into the fuse socket. Don’t force them in. They should pop into place. Make sure both fuses are secure before closing the plug door. They should be firmly in place in the grooves of the fuse socket. Close the plug door. Use the small flathead screwdriver or kitchen knife to cover the fuses back up.
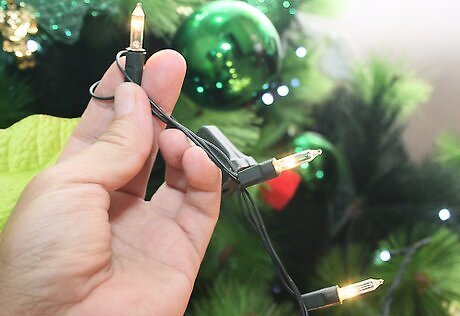
Plug the lights back into the outlet. Once you’re replaced the fuses, test out your Christmas lights to see if they work. If the lights still do not work, there may be another issue rather than burnt fuses. Make sure the socket door is securely closed. You don’t want your fuses to fall out of place. Plug the lights back into the socket. Ideally, your Christmas lights should light up. If your lights do not light up, the problem may not be your fuses. Check your cords for any fraying, verify all the bulbs are secured and working, and make sure your socket is in good shape.


Comments
0 comment