
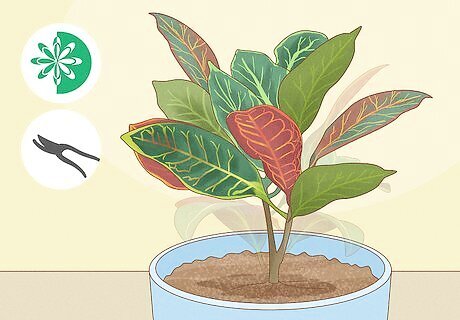
Trimming Dead Branches
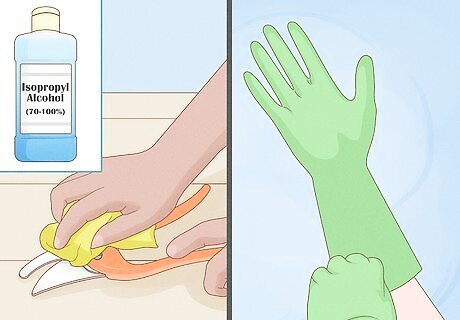
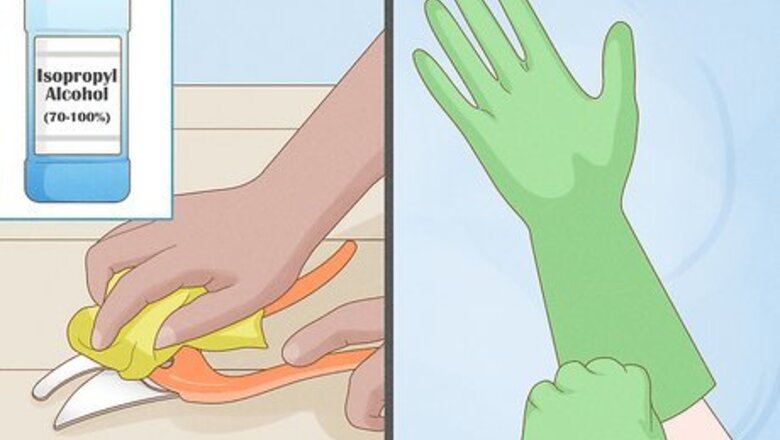
Sanitize pruning shears and put on gloves to protect your hands. Dip a clean cloth in isopropyl alcohol or any 70-100% alcohol and wipe it across each side of the blades. Then, pop on a pair of sturdy garden gloves since croton plants have a sticky sap that can irritate your hands. Get in the habit of trimming dead branches throughout the year whenever you see them. This keeps your plant healthy and makes it look great. If you don't have pruning shears, a good pair of sharp scissors will work in a pinch. Just remember to disinfect them first! Gardening tools can have harmful bacteria on them and you don't want to transfer that bacteria to your plants.

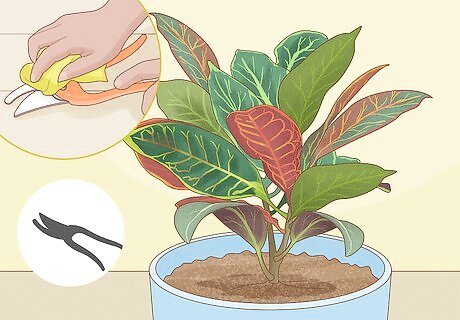
Trim off the dead leaves and branches on your plant. Look for shriveled, dead leaves and cut them off where they meet the branch. If most of the leaves are dead and you think the branch is dead too, cut the branch off where it meets the main part of the croton. Can't tell if a branch is dead? Snap off just the end of the branch and look for green. If the branch is still alive, you'll see green. If not, it's time to cut the dead branch off! Getting rid of dead, dry leaves makes your croton plant look more vibrant. It can also prevent pests like mites and scale insects from feeding on the decaying material.

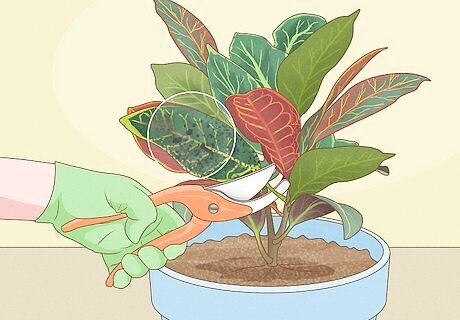
Cut off any swollen growths on the plant's leaf veins and stems. Croton leaves are usually brightly colored and vibrant. If you see any swollen growths on your plant’s leaf veins and stems, you may be dealing with crown gall. Cut off the galls with your pruning shears and disinfect the shears immediately. Get in the habit of checking on the leaves whenever you water your plants. This way, you can catch diseases or pests early.
Snip off any diseased or unhealthy branches to protect the plant. Powdery mildew and black patches indicate a sickness of some kind. Cut the branch at least 6 inches (15 cm) away from the diseased spot to get rid of the infection. Diseases can be caused by bacteria, overwatering, fungi, or wet leaves. To treat bacterial or fungal problems, try a copper fungicide on your plant.
Shaping Foliage
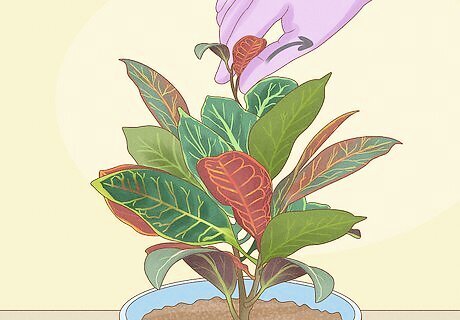
Pinch off new growth if you want to make the plant bushier. Crotons tend to grow tall and leggy, but if you want a shorter, bushier plant, look for new leaves growing near the top of the plant. Pinch them off of the branch before they can grow big to encourage growth near the base. Try to do this in early spring if you want the plant to put on new growth near the base. Remember to wear gloves for this! If you do get some of the irritating sap on your hands, just wash them right away with soap and water.
Wait until early spring to do hard pruning. You can do light pruning, like removing dead leaves or branches, whenever you spot them, but hold off until early spring to do any heavy pruning. Hard pruning encourages new, healthy growth. Summer is also a good season to prune your plant. Avoid pruning during winter and fall, as these tropical plants go dormant during these times.
Cut back branches by a third to control the plant's shape. If you want to cut your plant back, disinfect your shears. Just wipe a cloth dipped in isopropyl alcohol or any 70-100% alcohol across each side of the blades. Then, cut about a third of the branches off. Cut right above a leaf or stem node to encourage new growth during the spring. It can be tempting to cut back more than a third if you've got a really big croton, but don't do it! Pruning too hard can shock the plant and prevent healthy growth. Don't forget to put on a pair of gardening gloves to protect your hands from the plant's sap.
Propagating Cuttings
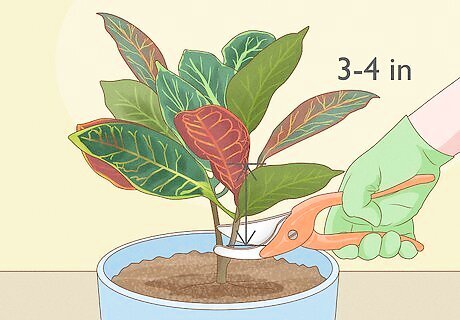
Take a 3 to 4 in (7.6 to 10.2 cm) cutting from a healthy croton plant. Do you have a leggy croton that you want to cut back? Instead of tossing the pruned branches, use them to start new plants! Put on a pair of gloves to protect your hands from the sap. Then, look for a branch with healthy growth and cut a 3 to 4 in (7.6 to 10.2 cm) piece that has 3 to 5 leaves on it. It's fine to propagate any time of year, especially since you can bring the cutting inside where it's warm to encourage roots to grow. You can propagate as many cuttings as you want! Crotons make great gifts, so you might want to propagate a handful to give away as presents. Remember to disinfect your shears so you don't introduce bacteria when you take the cutting. Dip a cloth in isopropyl alcohol or any 70-100% alcohol and wipe it over both sides of the blades.

Strip off the leaves from the bottom of the cutting. If you've got a really leafy cutting, pull off the leaves that are near the bottom so the cutting doesn't put energy towards keeping them healthy. Leave 3 to 5 leaves near the top of the cutting so the new plant can get some energy for making roots. Don't forget to wear gloves! The sticky sap can make your skin itchy or irritated.
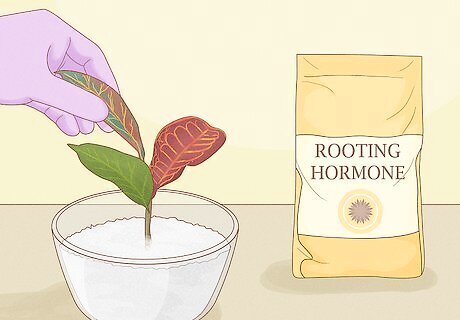
Dip the cut end into rooting hormone. Pour powdered rooting hormone into a small dish. Then, dip the sticky cut end down into the powder and turn it so the bottom is coated in the powder. Rooting hormone is a great gardening product—it can help your cutting put on more roots in a shorter amount of time. Don't have rooting hormone? Don't worry! You can still propagate croton without it. It's tempting to just stick the cutting into the container of rooting hormone, but don't do it! You'll introduce moisture and contaminate the powder in the container.
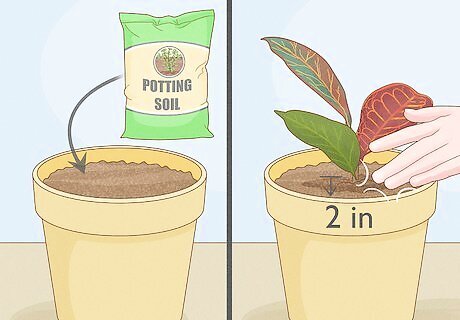
Fill a small pot with potting soil and plant the cutting. Keep the soil loose when you fill your container so the roots can spread easily. Then, take a pencil or chopstick and push it down into the soil to make a hole for your cutting. Put the cutting into the hole so the bottom 2 inches (5.1 cm) are buried and pat the soil around it so the cutting stays in place. You might be wondering why you can't just push the cutting directly into the soil. If you do this, you'll rub a lot of the rooting hormone off before the cutting gets down into the soil.

Water the cutting right after you plant it. Help your cutting get settled in its new container by giving it a drink. Slowly pour just enough water to soak into the surface of the potting soil. It's really important that you don't overwater your cutting or it might cause it to rot. Check the soil every few days. Always drag your finger through the potting soil before you water it. Skip a watering session if the soil feels damp or moist.
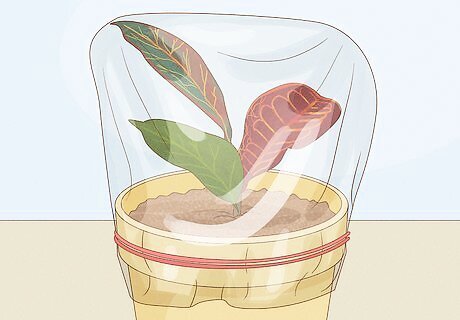
Cover the pot and cutting with a plastic bag to make a humid environment. Crotons love tropical conditions so give your cutting a moist environment. Take a clear plastic bag and wrap it over your potted cutting so the whole pot and cutting are inside the bag. Then, tie the bag closed to trap the moisture inside it. To make it easier to get to the cutting, you can leave the bag untied. Just put the pot inside the bag and tuck the ends under the pot so it's weighted down.

Keep the cutting in a warm spot and look for sprouts within 4 to 6 weeks. Since crotons are tropical, try to put it in a room or greenhouse with the temperature set between 70 and 80 °F (21 and 27 °C). Now, you just wait. After about a month, you should see new leafy growth that's bright green. This means you're ready to plant your new croton! Your croton's leaves will change color as they get bigger and mature.


Comments
0 comment