views
Painting or Spraying on a One-Part Clear Coat
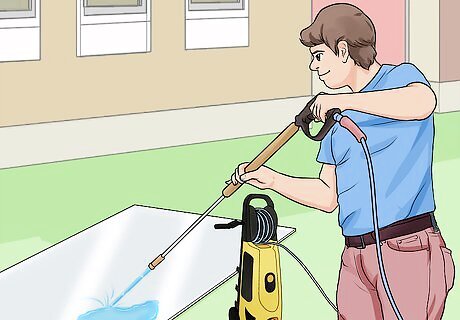
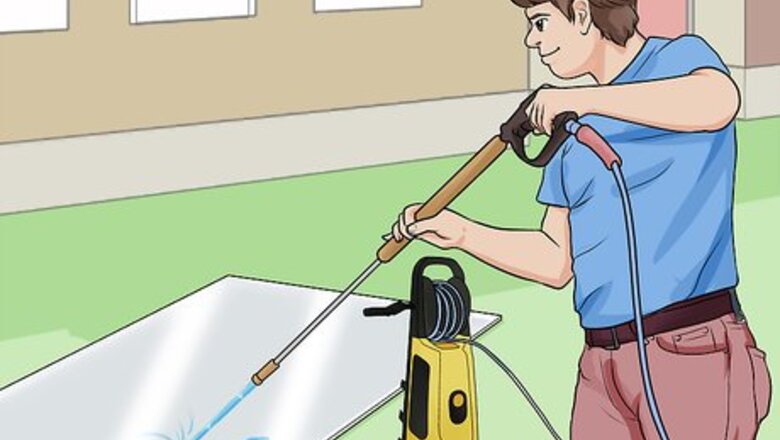
Clean your aluminium. You can use a power washer to clean the aluminium surface you wish to protect. You could also scrub it by hand. Make sure you get rid of chalk, dirt, grease or other contaminants.
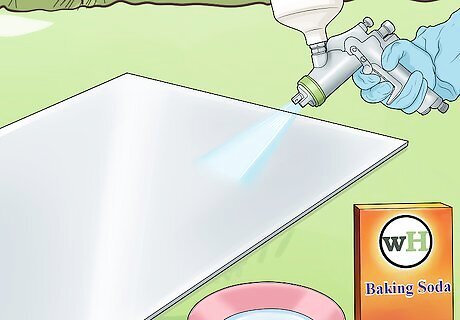
Neutralise the aluminium. Make a water solution of calcium carbonate or baking soda. You can then spray or rub it on the surface using a spray gun or cloth. This is especially important for surfaces which have previously been cleaned with an acid cleaner. This may react with the clear coating and cause black streaks.
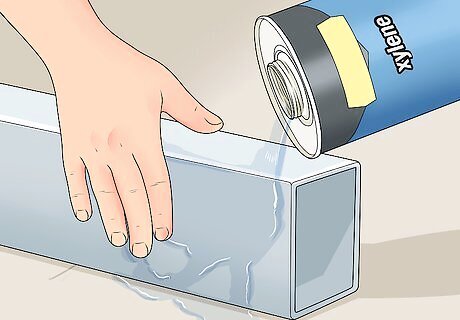
Rub down the neutralized surfaces with xylene or denatured alcohol. Both should be available at a hardware store. Be careful not to use lacquer thinner. Lacquer thinner contains oils that can contaminate the surface.
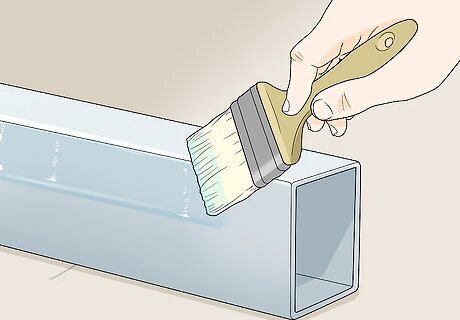
Apply the clear coating. You can paint it on using a solvent-rated or natural brush, an applicator pad or a foam roller. You can also spray on the coating or dip an object in the coating.

Re-apply the clear coating to refinish a surface. If the clear coating starts to disintegrate, the aluminium can be re-coated. Make sure to clean off dirt and residue from the previous coating. Then you can reapply the coating by following the steps above.
Spraying on a Two-Part Clear Coat
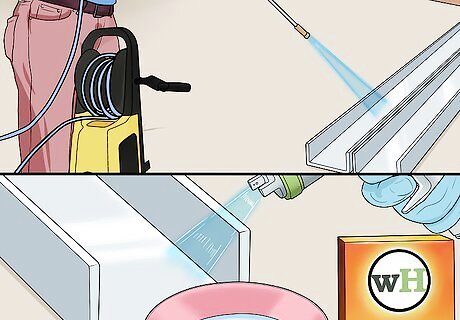
Clean and neutralise the aluminium. Use a power washer to clean the aluminium surface or scrub it by hand. Then spray or rub on a solution of calcium carbonate or baking soda to neutralise the surface and get it ready to coat. After you're finished, rub the surface down with xylene or denatured alcohol..

Disassemble and measure the two-part clear coating. Two-part clear coating (or epoxy) needs to be mixed with a hardener or other catalyst. Open the can and take out the two parts (A and B). Measure 3 parts of part B solution to one part of part A solution in separate clear plastic cups.
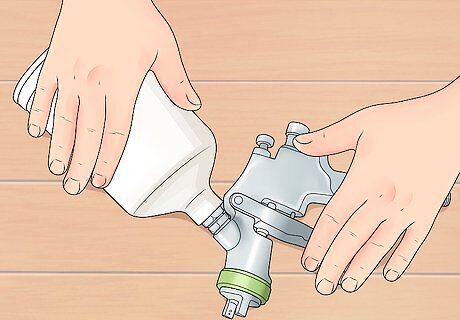
Assemble your spray gun. Mix the Part A and Part B solutions in a metal can. Then attach a spray head to the can to create a detail spray gun.

Test the spray gun. Spray a short burst 2-3 times in the air away from the aluminium object to see if the gun is working.
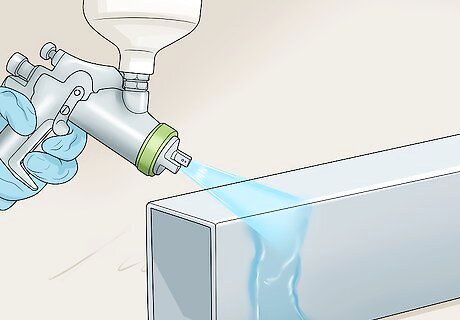
Coat the aluminium. Spray the solution in short bursts along the length of the object you want to protect. Keep spraying until the surface appears glossy and wet. Don’t bring naked flames anywhere near the area you are spraying in. Make sure to not apply too much solution as this may run and dry in streaks.
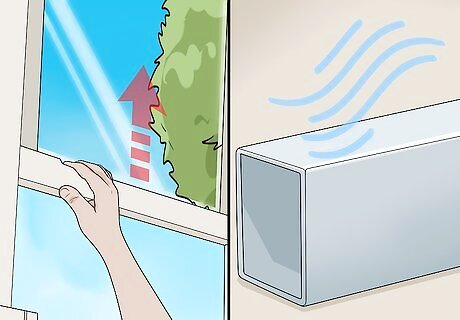
Ventilate the area to allow the solution to dry. Let the coated aluminium dry for 24 hours. If a further coat is necessary, you can repeat these steps after 24 hrs.
Protecting Pure Aluminium Objects by Anodising
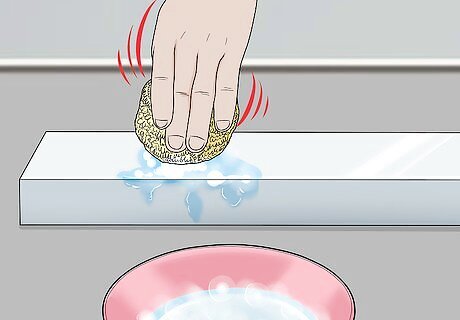
Use water to clean the aluminium object you want to protect. Scrub it completely clean of all marks using hot soapy water. The aluminium object cannot have any marks on it, even a fingerprint, as any marks will be permanently anodized onto the metal.
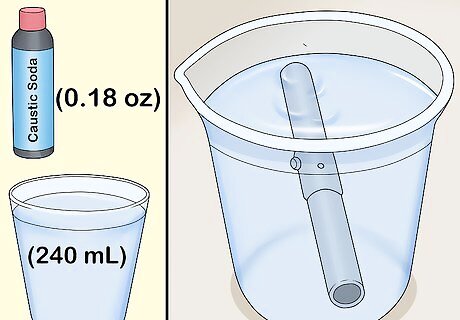
Clean the object in a cup of caustic soda solution. Mix a solution of 5 grams (0.18 oz) of caustic soda to 1 cup (240 mL) of water. Allow the object to soak in the caustic soda for 2-4 minutes until metal looks milky.
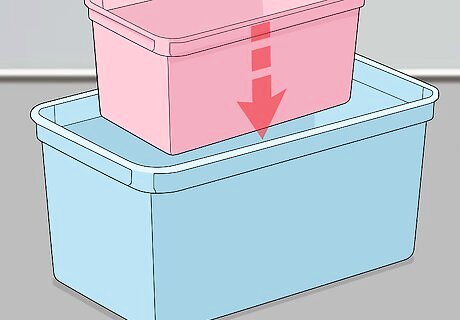
Construct your anodising tank. Get a small rectangular plastic container and put it inside a larger plastic tub. This will help protect your work surface from any spills.
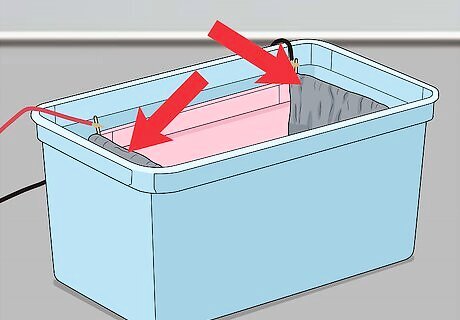
Hang two lead cathodes over the short edges of the inner tank. You can use pieces of lead flashing as cathodes (objects through which a negative current runs). The cathodes need to have a surface area at least twice the size of the aluminium objects that you want to anodise. Lead flashing is commonly used to protect roofs and you can buy it online or at a hardware store. Hang the lead cathodes over the edges of the tank using anodising jigs (hooks for the edges of the tank). These can be bought at a hardware store or online or you can make them out of titanium wire.
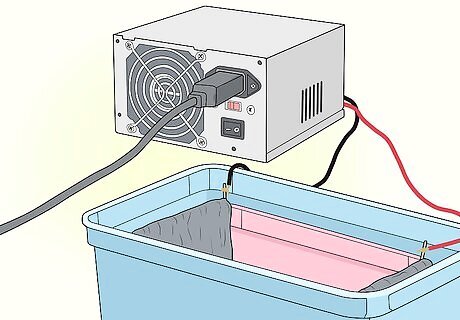
Connect the lead cathodes to a power supply. If possible, you should use a variable-voltage desktop power supply. Use a current of at least 0.145 milliamps per square inch (6.45 square cm) of the aluminium object’s surface area. If you don’t have a variable-voltage power supply, use a fixed-voltage power supply with a voltage appropriate to the object being anodised.
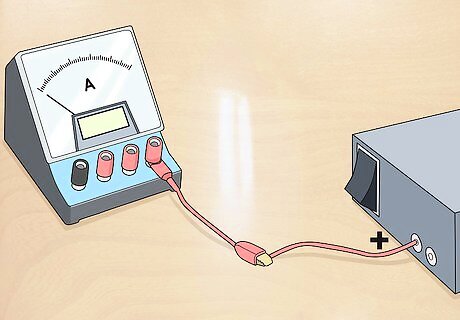
Connect the power supply’s positive lead to an ammeter. Ammeters check and control voltage and you can buy them online or from a hardware store.
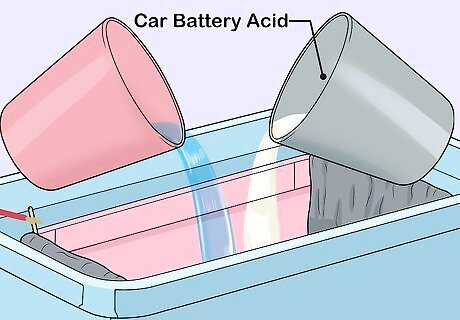
Prepare an electrolyte solution. Electrolyte is the liquid which will sit in the anodising tank and which will cover the object being protected. The amount you need depends on the size of your tank and the size of the object you want to protect. Use a solution of car battery acid diluted with water in a 1-1 ratio. Place the water in the inner plastic tank and slowly pour the acid into the water. The electrolyte may heat up when the acid and water mix, so you should leave the electrolyte to cool for at least 18 hours.

Hang the aluminium object in the electrolyte on a titanium hook. An aluminium wire hook may corrode during the anodising process. Drive the hook through a block of wood large enough to sit on top of the tank.

Connect the power supply leads to the anode and cathode. Connect the power supply’s negative lead and the ammeter’s negative lead to the lead cathodes. Connect the ammeter’s positive lead to the aluminium object (the anode).

Leave the aluminium object in the electrolyte for an hour. Make sure that the aluminium object does not touch the cathodes as this may short them out. Turn on the current. Watch for bubbles rising from the aluminium object. This shows that the anodising process is happening properly.

Wash the aluminium object in water. Take the object out of the electrolyte and place it in a tub of ionized water overnight so that the acid can wash off. Ionized water can be created by running tap water through a water ioniser (available online).


Comments
0 comment