
Click the "Start" button. It is in the lower left corner of the Desktop.
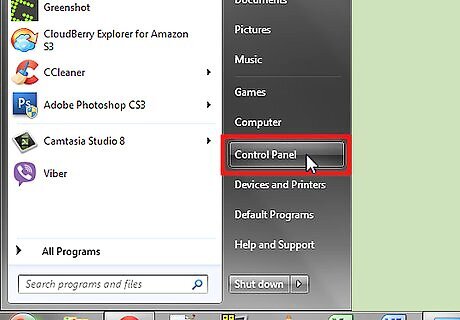
Select "Control Panel" from the menu. A window with a list of settings will appear.
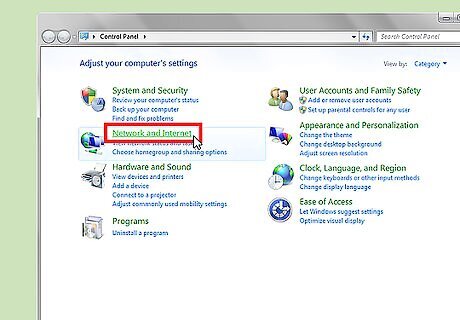
Click on "Network and Internet" settings.
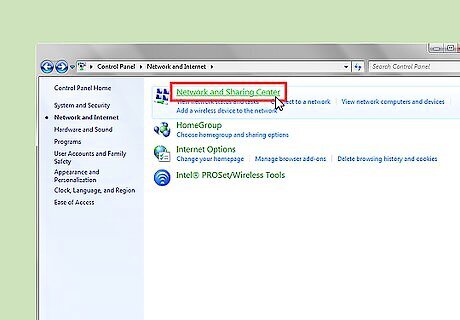
Click on "Network and Sharing Center".
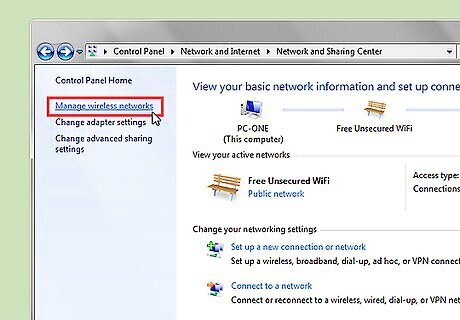
On the left pane, click on the option "Manage wireless networks."
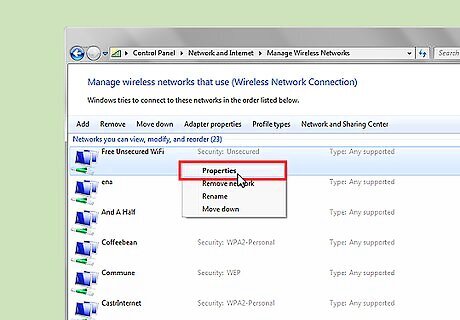
Look for those networks where the Security is "Unsecured." Right click on an Unsecured network, then click on "Properties."
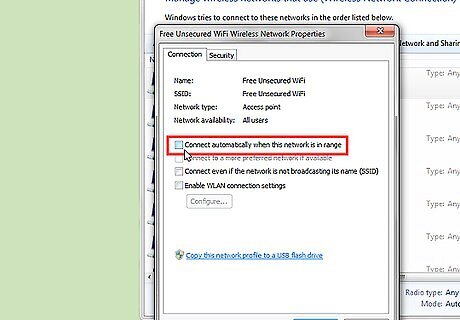
Make sure that the box next to "Connect automatically when this network is in range," is not checked. Then click on "OK" to save your settings. Repeat the steps to uncheck the box for any other unsecured networks on the list.
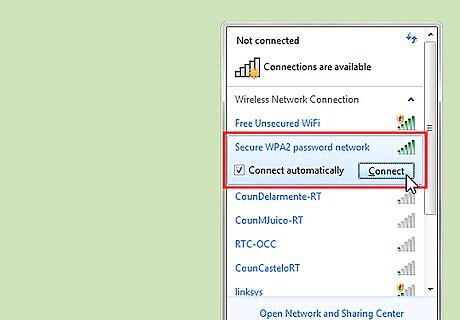
On the lower right hand of the taskbar, click on the "Network" icon (denoted by the signal bars) to see the list of available wireless networks. Then, click "Connect" on your desired security-enabled network. In Windows Vista, click the "Start" button, then "Connect to." A list titled "Show" will appear. Click on "Wireless." For Windows XP, click on "Start." Go to "Control Panel," then choose "Network and Internet Connections." Select "Network Connections." Look in the left pane of the window for "Network Tasks." Click on "View available wireless networks" below it.
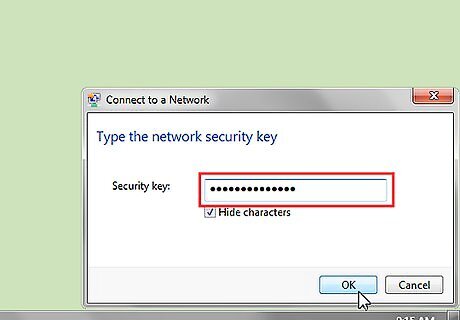
Enter the password if prompted, then click "OK." A window will appear, showing the connection being established.
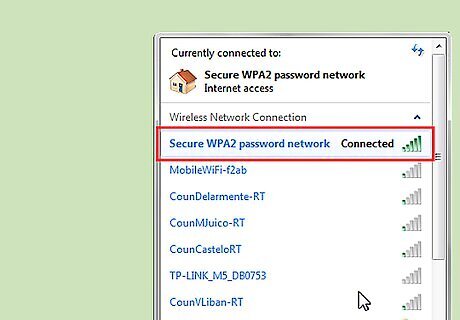
If successful, the Wireless Network Connection will show the "Connected" notification. Congratulations! You are now connected to a secure wireless network.


Comments
0 comment