views
Cleaning the Crystals
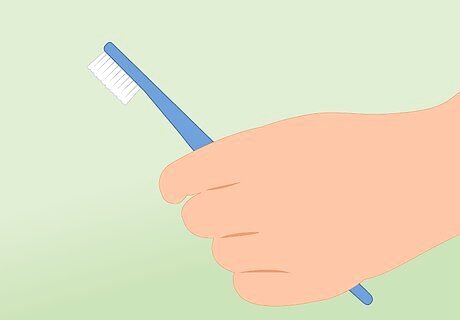
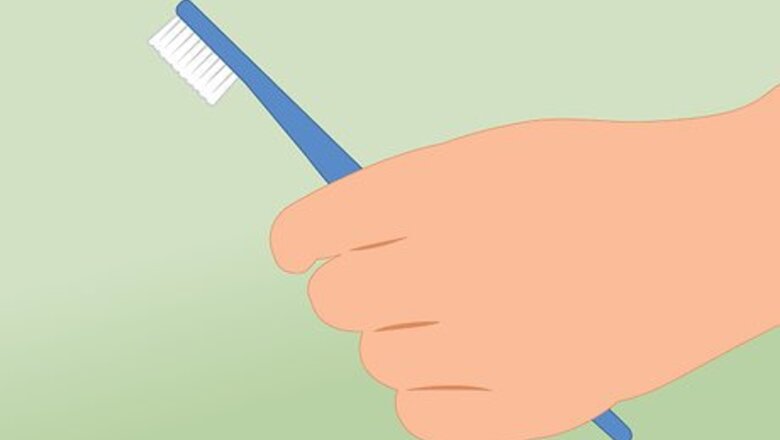
Use an old toothbrush to wash away clay or dirt. You can do some initial cleaning of your crystals with a toothbrush and water. Make sure you wash the crystals outdoors, as clay and dirt from the crystals can clog a sink. Scrub the crystal to remove set in clay. You will have to do several rounds of cleaning, allowing the crystals to dry in between rounds. Once the crystal is dry, the clay cracks and becomes easier to remove. If clay is particularly stuck on, try spraying the crystals down with a hose with the nozzle set at maximum force. As with using a toothbrush, you will have to do this several times a day, allowing the crystals to dry in between sessions. EXPERT TIP Kennon Young Kennon Young Master Gemologist Appraiser Kennon Young is a Master Gemologist Appraiser and the Owner of Vermont Gemological Laboratory in Burlington, Vermont. With over 20 years of experience in the industry, Kennon and his team specialize in handmade engagement rings, wedding bands, and custom jewelry. He attended the Revere Academy of Jewelry Arts, the Gemological Institute of America, and the Rhode Island School of Design Extension. He is a Jewelers of America (JA) Certified Bench Jeweler Technician and received the highest credential in the jewelry appraisal industry, the ASA Master Gemologist Appraiser, in 2016. Kennon Young Kennon Young Master Gemologist Appraiser The brush you choose depends on how vigorously you need to clean. A toothbrush is perfect for cleaning lotion or oil off of quartz crystals, but if you're cleaning dirt and earth, you'll likely need a sturdier brush, like a thick brush made of horsehair or other animal hair.
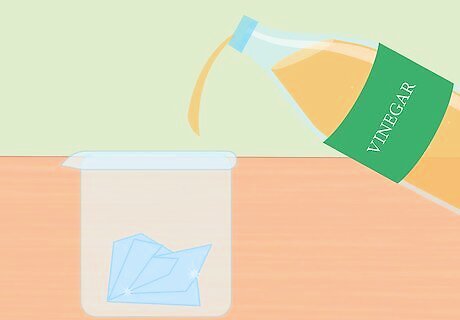
Soak the crystals in vinegar and washing ammonium to remove lime carbonates, calcite, and barite. Crystals may be stained with lime carbonates, calcite, and barite, causing discoloration. You can use vinegar and a household cleaner to remove these stains. Submerge the crystals in enough full-strength vinegar to cover all the crystals. Leave the crystals for 8 to 12 hours. Remove the crystals from the vinegar. Soak them in washing ammonium for an equal amount of time. Then, remove the crystals from the ammonium, rinse them completely, and wipe them dry. You may have to repeat this process several times if the stains persist after the crystals are first soaked.
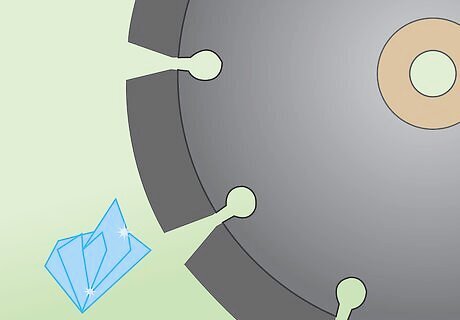
Use a diamond edge saw to cut off excess material. There may still be some unwanted material on the quartz. You may also notice uneven edges. You can trim these materials using a diamond edged saw, which you can purchase at a local hardware store. Diamond edged saws can be expensive, however, so you may want to try borrowing the product from a friend or renting one. Lubricate the crystal with a light layer of mineral oil before you begin. There is no need to saw the crystal or press down on the saw. You simply need to place the crystal under the saw and allow the machine to gradually saw through the crystal. Trim away any unwanted portions of the crystal. There may be areas with stains that would not come out, for example, which you should remove with the saw.
Removing Stains
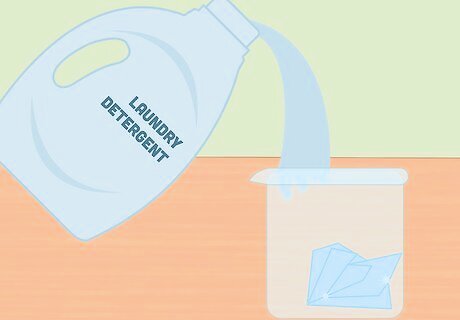
Use water, household cleaners, and bleach. The easiest and safest way to soak crystals to remove stains is using a combination of water and laundry detergent. You can then soak the crystals in bleach overnight. If your crystals have minimal stains, it's best to soak them overnight in a combination of water and household dish soap or laundry detergent. Use a combination of warm water and laundry detergent to wash the crystals. You can use a soft rag to scrub any dirt and debris that comes off easily. From here, find a container you can cover easily, like a sturdy Tupperware container. Fill this container with warm water and 1/4 cup of bleach. Place the gems in the bleach, cover the container, and set aside in a safe place for two days.
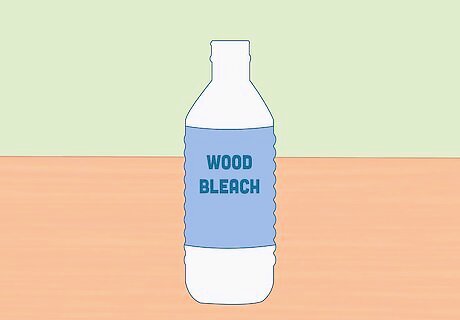
Try oxalic acid for harshly stained crystals. If your crystals have a lot of stains beyond regular dirt and grime, such as discolorations caused by iron, oxalic acid may be necessary to properly treat the gems. Oxalic acid is also known as wood bleach, and you can purchase it online or at a hardware store. Purchase a one pound bag of oxalic acid, and get a gallon container. Make sure the material the container is made out of will not corrode in response to acid. Metal containers cannot hold oxalic acid. Fill the container three fourths of the way full with distilled water. Then, pour in the oxalic acid. Wear an air mask to avoid inhaling the acid. You also want to make sure you work outside. Stir the acid, using a large rod or spoon, until the oxalic acid crystals are dissolved. Add the crystal quartz. There is no set time to soak quartz in oxalic acid. Depending on the staining, it can take a few days to a few hours. Check the quartz periodically and remove them when the stains are gone.

Be careful when handling acid. You need to take extreme precaution if you choose to handle oxalic acid. Only do so if your quartz are very stained. It is always safer to use bleach and water. If you choose to use oxalic acid, adhere to the following safety precautions: Wear eye protection, gloves, and a face mask when handling oxalic acid. Always pour acid into water. It is very dangerous to pour water into acid. Get a friend or family member to help you. Make sure to protect your work area and go slowly to avoid spills. Baking soda can neutralize acid spills, so have some baking soda on-hand.
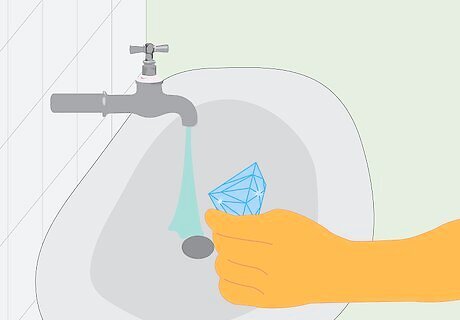
Rinse the crystals. Once you've soaked the crystals to remove the stains, you can now rinse the crystals. Make sure to use gloves for this process and, if you were working with oxalic acid, a face mask and eye protection. Wash away any excess bleach or acid with warm water. This should also help remove any remaining dirt.
Sanding and Smoothing the Quartz
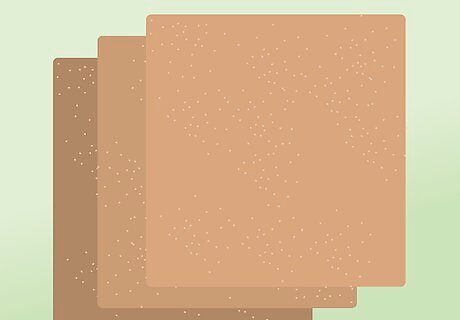
Obtain the correct materials. Once the crystals are clean and free of any stains, you should sand them down so they're soft and shiny. To do so, you'll need to gather certain materials. Stop by your local hardware store and pick up the following: 50 grade sandpaper 150 grade sandpaper 300 to 600 grade sandpaper

Wear safety goggles, gloves, and an air mask. When sanding crystal, dust and powder may come off the gem. This can cause irritation of the nose, mouth, and eyes. Make sure you wear safety googles, gloves, and an air mask when polishing your quartz.
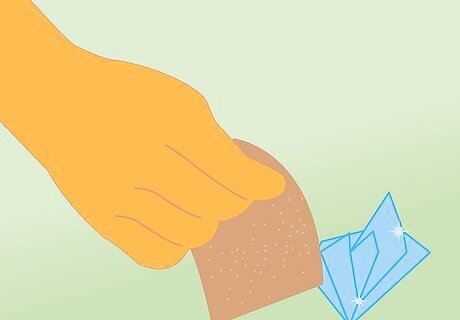
Work over the quartz with 50 grade sandpaper. To start, you'll want to use your mildest sandpaper. Gently work the sandpaper over the surface of the crystal. Make sure you go for consistency. You do not want any portions of the gem to be more or less sanded than others.
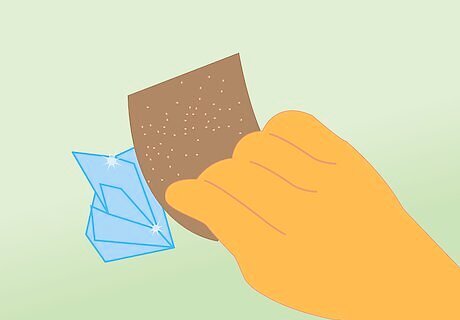
Continue sanding the stone with 150 grade sandpaper, and then move on to the finest grade sand paper. You'll want to work up to finer and finer grades of sand paper. Once you finish with the 50 grade sandpaper, rub the crystal down with 150 grade sandpaper. From there, move on to the 300 to 600 grade sand paper. Once again, rub the stone gently through its entire surface. Make sure to smooth away any blemishes or discolorations on the stone. When you're done, your crystal should like bright, clear, and shiny.
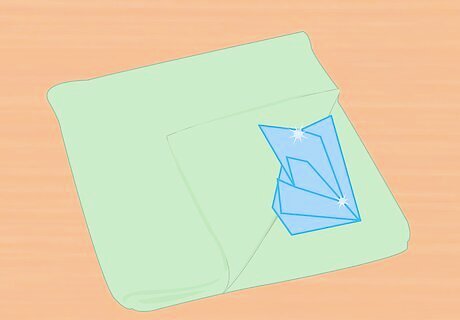
Clean and rub the stone with a soft cloth. After sanding down the stone, you can use a soft cloth to give it an added gleam. Gently rub the stone clean with somewhat damp cloth. Get rid of any lingering dust from the sanding process, then set the stone aside to dry. You should have a clean, polished quartz crystal.


Comments
0 comment