
Growing Hymenocallis Spider Lilies
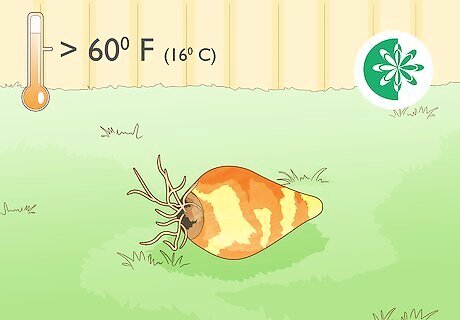
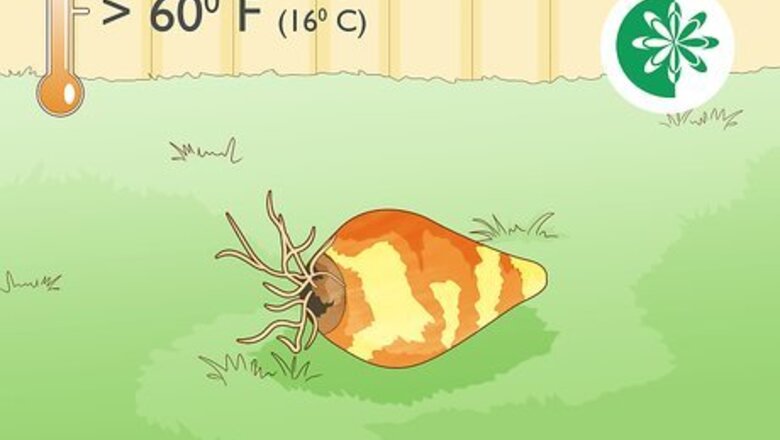
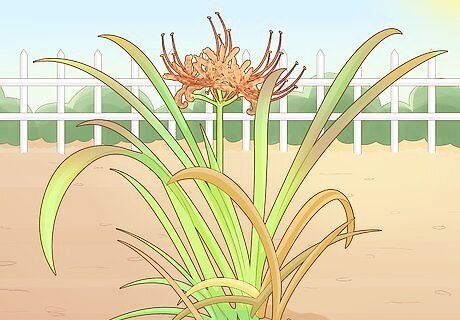
Sow the bulbs in the mid-spring. Look online to find out when your area expects the last frost during the spring. Wait until after the last frost before planting the bulbs. Avoid planting any earlier in the season since the temperatures could damage the bulbs. If you have any unplanted bulbs, store them in a bag in an area that stays above 60 °F (16 °C). All hymenocallis blooms are white and have a central flower with tendrils extending out from the sides.
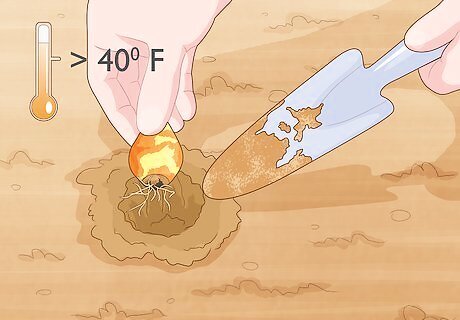
Plant the bulbs directly in the ground if temperatures stay above 40 °F (4 °C). Check annual weather reports for your area to make sure temperatures don’t drop below 40 °F (4 °C), or else your bulbs may get damaged or die. If temperatures stay warmer, look for a place in your yard that receives daily sunlight. Hymenocallis spider lilies can spread up to 3–5 feet (0.91–1.52 m) from wherever you plant the bulb, so check that there’s enough space in the area for your plant to fully grow. If you live in USDA growing zones 10 or 11, then you can easily grow hymenocallis lilies.
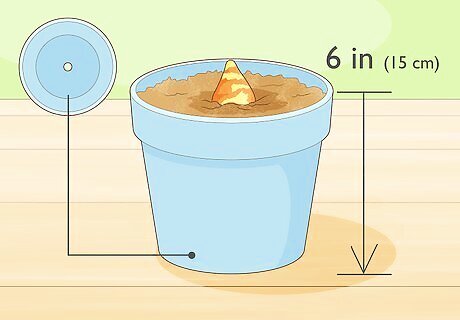
Keep the bulbs in containers with drainage holes to bring the flowers indoors. Use pots that are about twice the height as the bulbs so they have room to expand. Opt for a pot with a 6 in (15 cm) diameter for a single bulb so it has space to grow. Choose pots with drainage holes on the bottom so the soil doesn’t get too waterlogged.
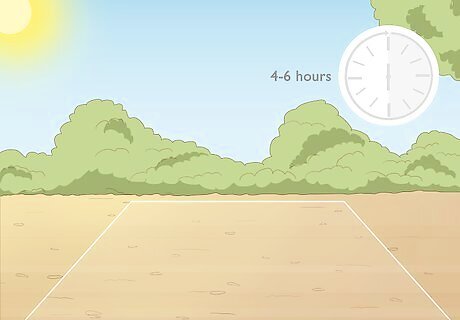
Choose a planting location that receives 4–6 hours of sunlight. If you’re planting the hymenocallis spider lilies in the ground, make sure the spot in your yard gets at least 4 hours of direct sunlight each day. If you’re growing the lilies in containers, then set the lilies in a sunny place or by a south-facing window if you’re keeping them inside. Hymenocallis lilies can handle partial shade throughout the day, but grow better in the sun. Check the spot where you want to plant the lilies multiple times throughout the day so you can see how shadows more over the area.
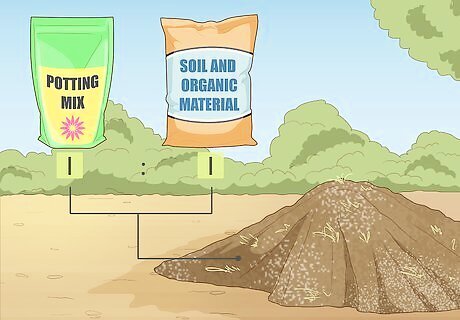
Use potting mix with equal parts soil and organic material. If your soil has clay or drains poorly, try mixing in equal amounts of sand or compost to amend it. Don’t compact the soil since it could prevent water from flowing through it as easily. If you’re using a container, opt for a potting mix that’s half soil and half organic matter, such as compost or manure, to help provide the lilies with more nutrients. It may be easier to choose a new planting location than trying to amend the soil.Tip: If you want to check the soil in your yard, dig a hole that’s 12 inches (30 cm) wide and 12 inches (30 cm) deep. Fill the hole with water and let it drain. Refill the hole with water the next day and measure how much it drains in every hour. If the water level goes down by 1–3 inches (2.5–7.6 cm) each hour, then the soil drains well.
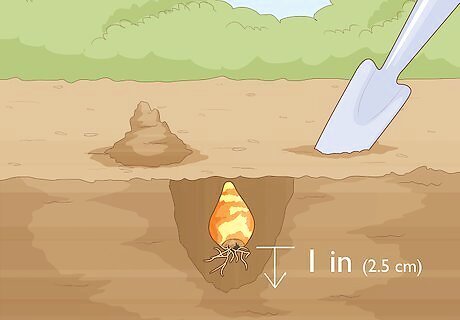
Dig a hole with a trowel that’s 1 in (2.5 cm) deeper than the bulb’s height. Push the trowel into the ground where you want to plant the bulb, and pull the handle down to scoop out the soil. Make the hole just wider and 1 inch (2.5 cm) deeper than the bulb. If you’re growing spider lilies in a container, then only fill the bottom with about 4 inches (10 cm) of soil. That way, you can set the bulb right on the soil and don’t have to dig a hole.
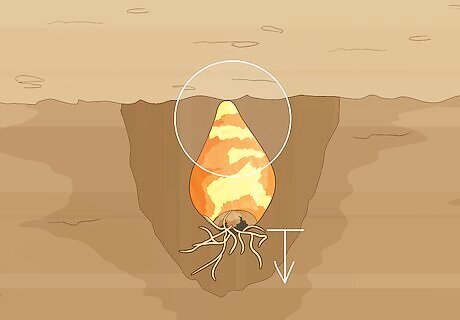
Put the bulb upright in the hole so the roots point down. Clean off any soil from the bulb to help expose any clumped roots. Hold the bulb so the side with the roots points down and the narrowest side points up. Lower the bulb into the hole and press the roots firmly against the soil so it stays in place. Only plant 1 bulb per hole, or else the spider lilies may get overcrowded and prevent them from growing.
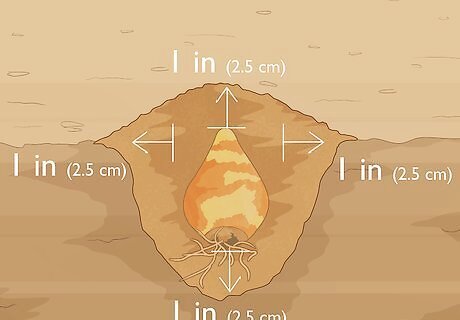
Fill around the bulb with 1 in (2.5 cm) of soil. Scoop the soil back into the hole with your trowel. Bury the entire bulb so it doesn’t have any exposed parts above the surface. Form a small 1 in (2.5 cm) mound over the bulb to help the water run off easier and prevent rot. Compact the soil lightly to ensure it makes contact with the bulb. If you leave the bulb exposed, it may not grow properly or could be susceptible to rot.
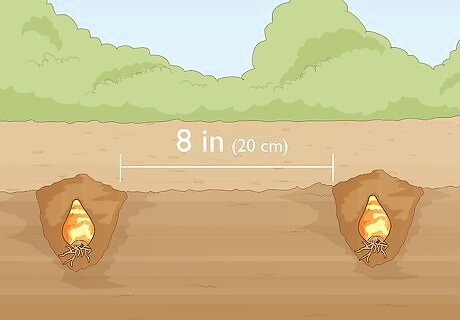
Space other bulbs at least 8 in (20 cm) apart. Dig any additional holes or prepare containers for each of the spider lily bulbs you want to plant. Push the roots down to make good contact with the soil before filling in the hole. Compact the soil into mounds on top of each bulb to improve the drainage. Hymenocallis spider lilies tend to grow about 3–5 feet (0.91–1.52 m) wide when they’re fully grown.

Water the soil whenever the top 1–2 in (2.5–5.1 cm) feels dry. Stick your finger into the soil up to the first knuckle to check if it feels wet below the surface. If it does, leave the soil to dry out longer. If it feels dry, fill a watering can and pour it directly on the soil around the bulbs. Keep watering the ground until the soil is wet 4–5 inches (10–13 cm) deep. Some hymenocallis spider lilies can survive in damp soil. Check the packaging on the bulbs to find out their specific growing conditions. Keep drainage dishes underneath spider lilies in containers to help the soil retain some moisture so you don’t have to water as frequently.
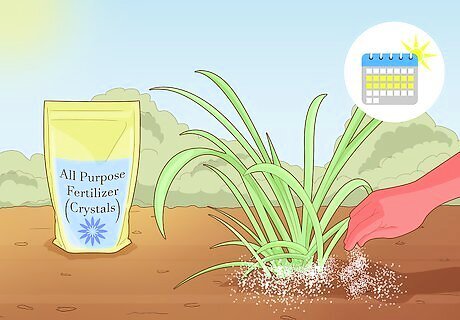
Apply fertilizer at the beginning and middle of the growing season. Use standard all-purpose fertilizer crystals or mix and spread half of the amount into the soil around the bulbs. Immediately water the soil so the fertilizer soaks into the soil and provides the bulbs with nutrients. In the middle of the growing season, which tends to be in the mid-summer, apply the other half of fertilizer. You can buy all-purpose fertilizer from your local garden or outdoor care store.
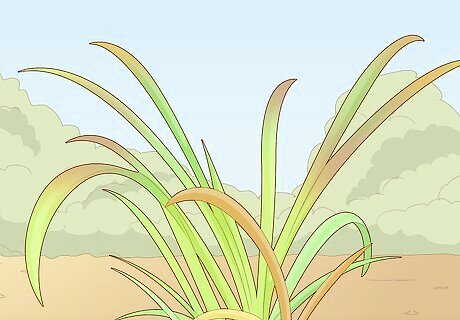
Prune the foliage once it turns brown. Wait until after the flowers bloom in the summer or fall, and pay attention to the stems and leaves. Once they start withering and have yellow or brown colors, cut them as close to the ground as you can so they can grow during the next season. You can leave the bulbs in the soil since they will bloom again during the next growing season.Tip: Hymenocallis spider lilies are pest-resistant so you don’t need to worry about them getting eaten or damaged.
Planting Lycoris Spider Lilies
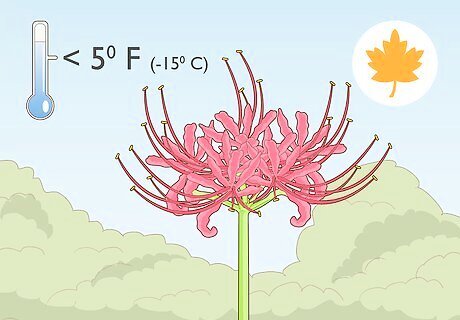
Plant the bulbs in the early fall. Wait until the end of the warmest summer months so you’re able to care for the bulbs easier. Check for the expected first frost date in your area online and plant your spider lilies before then. Avoid planting any sooner or later, since you could damage the bulbs. Lycoris spider lilies can thrive in areas with temperatures as low as 5 °F (−15 °C). The color of your lycoris spider lilies depends on the bulbs you get. Lycoris radiata has red blooms, lycoris aurea has yellow, lycoris albiflora has white, and lycoris sprengeri has pink and purple.
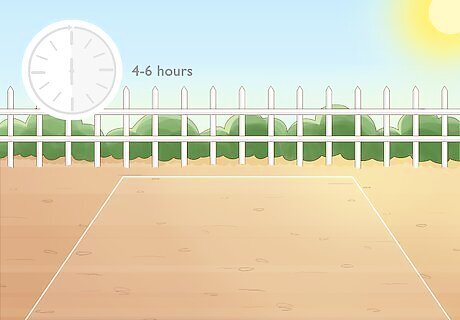
Choose a place in your yard that gets 4–6 hours of sunlight daily. Check the spot where you want to plant the flowers multiple times throughout the day to see how the light changes in the area. Make sure there are at least 4 hours of sunlight so your spider lilies get the nutrients they need. Lycoris spider lilies don’t grow well in containers. You may plant lycoris spider lilies anywhere in your lawn as long as you don’t mow over the area during the flower’s growing season, which would kill the blooms.
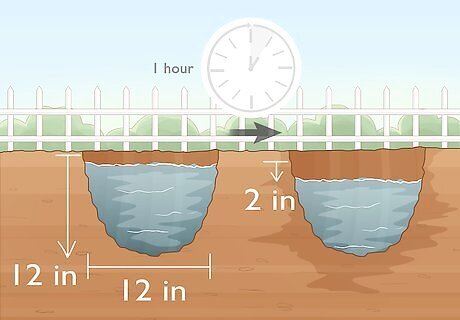
Check if the area has well-draining soil by filling a hole with water. Dig a hole that’s 12 inches (30 cm) wide and 12 inches (30 cm) deep in the spot where you want to plant and fill it with water. Let the hole drain completely before filling it again. Check the water level to see if it goes down by 1–3 inches (2.5–7.6 cm) each hour, which means you have good soil. If your soil drains too slowly, try mixing in sand, compost, or gravel. For soil that drains too fast, use clay or peat moss to help retain water.
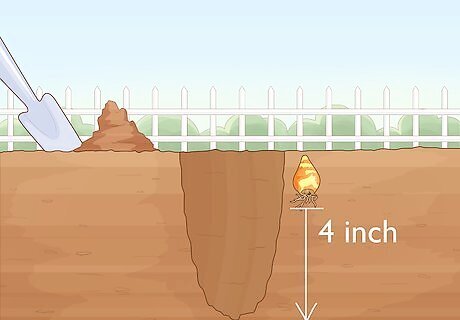
Dig a hole that 4 in (10 cm) deeper than the bulb’s height. Use a trowel or shovel to make a circular hole that’s about 2–3 inches (5.1–7.6 cm) wider than the bulb you’re planting. Add 4 inches (10 cm) to the height of the bulb so you know how deep you need to dig.Tip: Space any holes for additional bulbs 6–10 in (15–25 cm) away so they have room to expand.
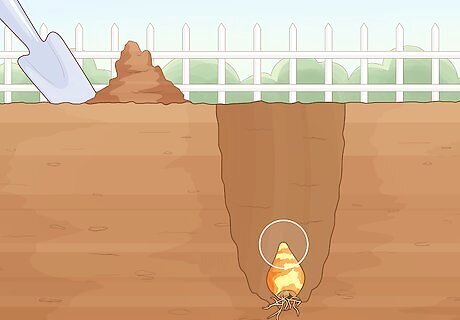
Set the bulb in the hole so the roots point down. Wipe off any soil that’s still stuck to the roots to help the bulb establish easier. Hold the bulb so the narrowest side is on top and roots point down. Lower the bulb into the hole and press it down firmly to ensure the roots have good contact with the soil. Only use healthy bulbs that don’t have any soft or discolored areas, since they may rot and prevent them from growing.
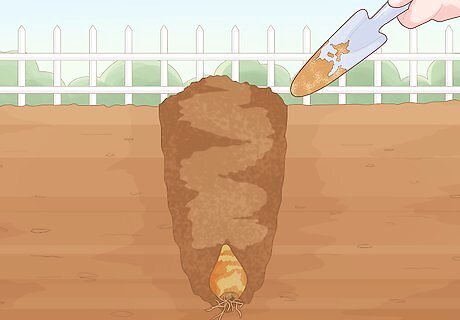
Fill the hole with soil to cover the bulb. Scoop the soil back into the hole and let it fill in around the bulb completely. As you add soil to the hole, press it against the bulb lightly to ensure it makes good contact. Keep 4 inches (10 cm) of soil between the top of the bulb and the surface of the soil to help it grow easier. You may also use a mix that’s equal parts compost and soil to backfill the hole to help provide the bulb with more nutrients.
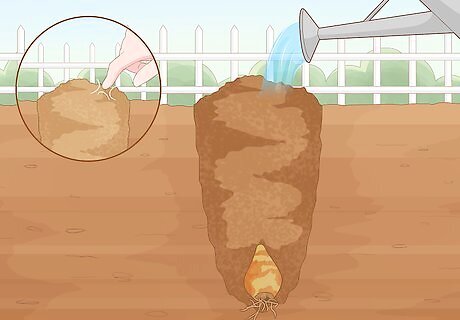
Water the bulbs when the soil feels dry to the touch. Push your finger down to the first knuckle into the soil to check if it feels wet. If it does, leave the soil so it can dry out further. Otherwise, use a watering can to wet the soil to a depth of 6 inches (15 cm). Check the soil each day while the bulb grows and establishes. The main growing periods for lycoris spider lilies are during the spring and fall.
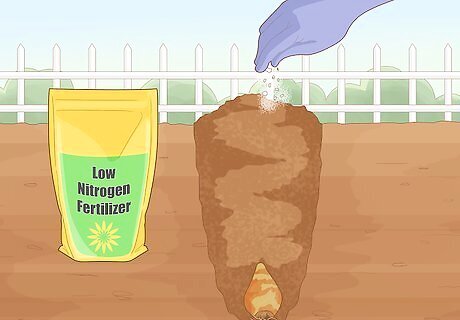
Add nutrients to the soil with a low-nitrogen fertilizer. Spread the fertilizer directly into the soil at the beginning of the growing season. Water the soil immediately so the fertilizer soaks in and absorbs into the bulbs. Continue fertilizing once a month during the growing the season to help keep your spider lilies healthy. Lycoris spider lilies don’t require fertilizer to grow, but it may help your blooms appear faster.
Allow the plants to die back in the summer so they bloom in the fall. Water the plant during each day of the spring until you notice it starting to wither and yellow. Stop watering the plant over the summer and allow the soil to dry out. After the hot summer, the spider lily stem will sprout from the ground and bloom in the fall. It may take 1–2 years after planting bulbs for your spider lilies to bloom.Tip: Lycoris spider lilies are naturally disease- and pest-resistant.


Comments
0 comment