views
Deciding What to Plant and When
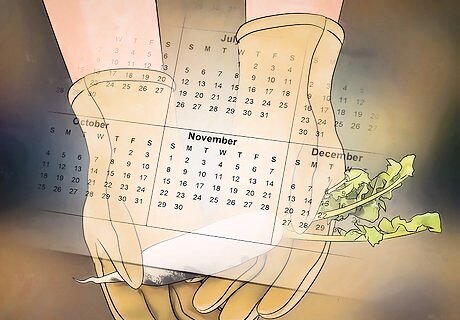
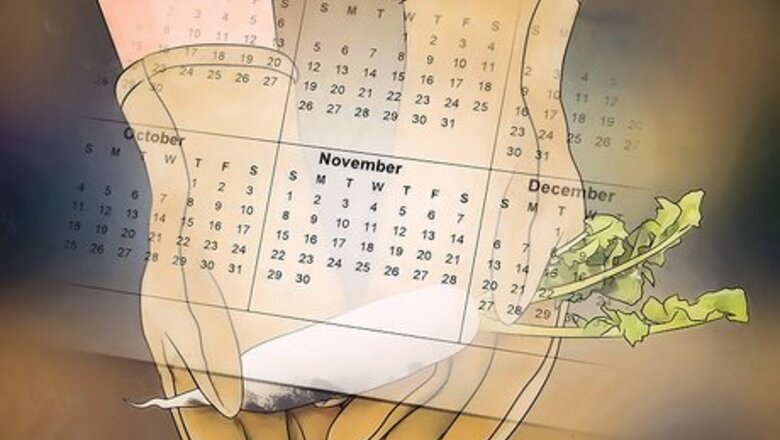
Plan early. Keep in mind that the “fall” in “fall vegetables” usually refers to when they are harvested, not planted. Expect most of these veggies to require planting between the middle and end of summer in order to grow to full maturity before winter. Give your garden the best chance at success by forming a plan well before then. Two exceptions to the rule are onions and garlic. These are planted shortly after the summer months and then grow over the winter for a spring or summer harvest.
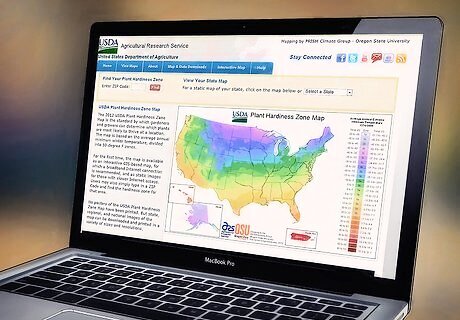
Research when to expect your first frost. Expect your garden to stop growing once nighttime temperatures fall below freezing. Find out when your area typically experiences its first frost of the season. Gain a firmer idea of how long your growing season will last. Helpful resources include online almanacs, and weather forecast applications. Additionally, you could ask staff at local co-ops, nurseries, and farmers markets.
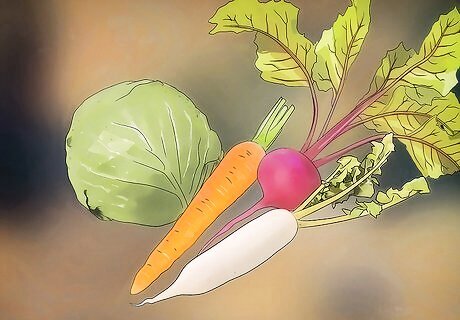
Choose cool-weather vegetables. Understand that some vegetables require more heat than others in order to grow into a healthy harvest. Ensure your fall garden’s success by sticking to vegetables that thrive in cooler temperatures. Pick crops that only require average daytime temperatures between 70 to 85 °F (21 to 29 °C). Such crops include arugula, beets, broccoli, brussels sprouts, cabbage, carrots, cauliflower, chard, kale, kohlrabi, lettuce, mizuna, mustard, radishes, rutabagas, spinach, tatsoi, and turnips.
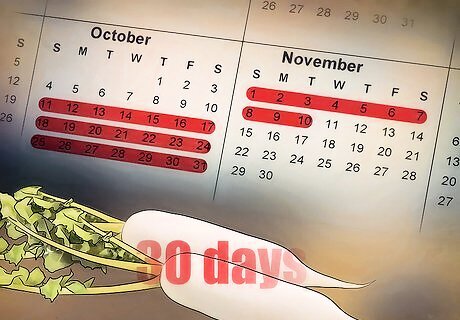
Determine how much time each veggie needs to grow. Expect some vegetables to take longer to mature than others. Once you decide on which to grow, find out how long each one takes before they are ready to harvest. Know which to plant right away so they have ample time, and which to delay so they don’t suffer from too much summer heat in the beginning. From longest to shortest, the estimated number of days needed for each vegetable are: Cabbage: 95 Brussels sprouts: 90 Broccoli and carrots: 80 Cauliflower and rutabagas: 75 Beets, kale, and kohlrabi: 60 Chard: 55 Lettuce and turnips: 50 Spinach, mizuna, and tatsoi: 45 Arugula and mustard greens: 40 Radishes: 30
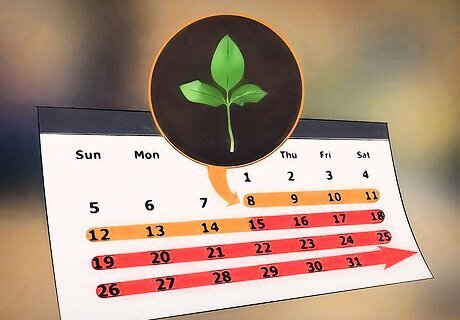
Plan a calendar around your frost date. For each vegetable, choose a planting date that will allow enough time for it to grow before your first expected frost. To play it safe, allow for the possibility of an early frost. Add an extra week or two to each vegetable’s growing time just in case colder weather comes early this year. You can also use the frost date and growing times to determine which vegetables to grow. For instance, if you want to grow as many veggies as you possibly can in a limited space, consider growing multiple harvests of crops that need less time, one after the other.
Growing Seedlings
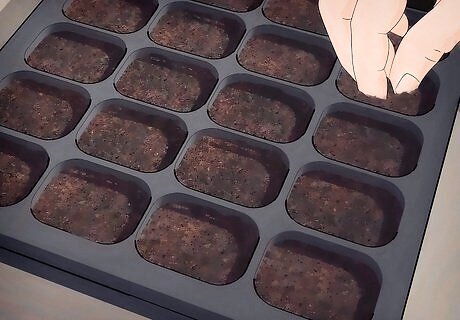
Sow your seeds in a “flat” or “tray.” Keep things organized by using one tray per type of seed. Fill the tray with compost or planting soil until it’s as deep as the seed is wide. Water the soil until it is thoroughly moist, but not oversaturated. Plant the seed, layering just enough soil over it to cover it without burying it too deep. Continue to water as needed to keep all of the soil uniformly moist. Starting your seeds off in a tray will allow you to move them as needed to keep them in the shade and/or ideal temperatures. To prevent the soil from drying out so quickly, set a sheet of glass or a plastic tray cover over the tray to trap moisture. Gardening “flats” and “trays” are the same thing, but may be labeled as one or the other depending on region.
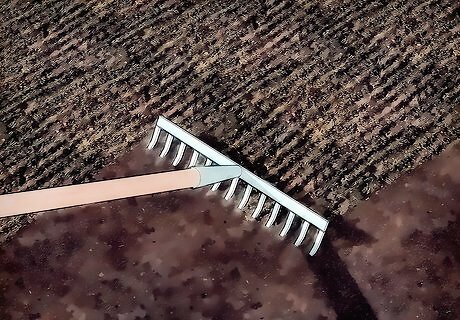
Make room in your garden. Watch for the seeds in your tray to grow into seedlings. Wait for them to grow at least 2 leaves, then clear out any diseased summer vegetables currently in your garden. Then, break up the soil with a trowel to a depth of 4 to 5 inches (10 to 13 cm) for better circulation. Since temperatures may still be high, utilize the shade cast by any summer vegetables that are still growing. Plan to transfer your seedlings at their base to keep your fall veggies out of the summer sun. The roots of your remaining summer vegetables should be strong enough by now to be unfazed when you rake up the soil close to their base. If you didn’t grow any summer vegetables, till the soil to remove weeds and other unwanted vegetation.
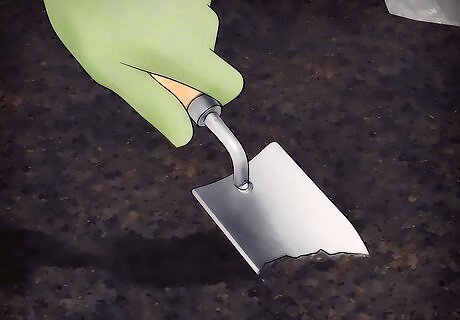
Dig a hole in your garden for each seedling. Once you’re ready to transfer the seedlings to your garden, check the garden’s soil for dryness. If necessary, water the soil to moisten it (not soak it). Then, with a trowel, dig a hole of equal depth to the seedling’s roots in the tray. Make it twice as wide as the root itself so the root isn’t damaged from contact with the hole’s sides. If you grew summer vegetables, there should still be plenty of nutrients in the ground to feed your seedlings. If not, layer a bed of compost and soil amendments over the existing soil. Dig your holes here instead of in the ground underneath.
Transplanting Seedlings
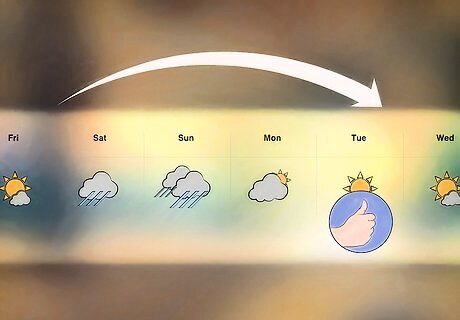
Delay if necessary. Understand that transferring seedlings into new soil can be a shock to their system. Check the forecast beforehand. If light rain and/or cloudy skies is due in a few days, wait for them to arrive, since these conditions will help them recuperate. If a heat wave is on the way, wait even longer. If you can delay the transplant, shade the veggies to protect them.
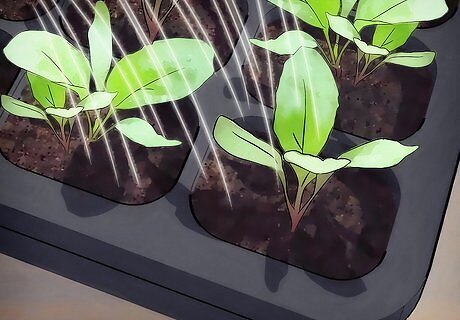
Harden off the seedlings. Once you decide when you will transplant, spend the week beforehand strengthening the seedlings. Put the seedlings outside in a shaded area. Increase the amount of time they spend outside each day so they can get used to outdoor conditions. Also check the garden’s soil for dryness. Keep it moist (not soaking wet) so it’s ready to receive the seedlings.
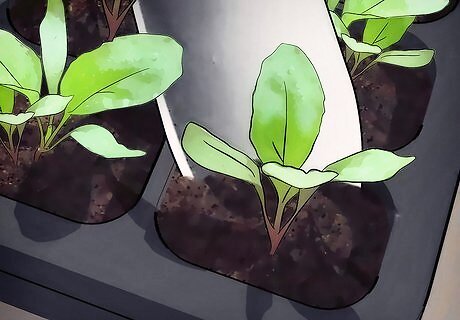
Remove your seedlings from the tray. Wait until the late afternoon before transplanting. Allow your seedlings to recuperate overnight before having to face a full day of sun. With a gardening trowel, dig a hole of equal depth to the seedling’s roots in the tray. Make it twice as wide as the root itself so the root isn’t damaged from contact with the hole’s sides. Then: If each seedling is currently in a small tray of its own, spread your fingers around the stem, slowly turn the pot or tray over, and gently catch the soil and root as it falls loose. Pat the bottom of the tray lightly to nudge the seedling out if it doesn’t budge at first. If each tray has multiple seedlings, don’t turn it over. Use a knife to cut through the soil well around each root. Then use a spoon to scoop the root out. In both cases, avoid handling the stem once the root is clear. Gently cup the root in your palm instead or use a large spoon.
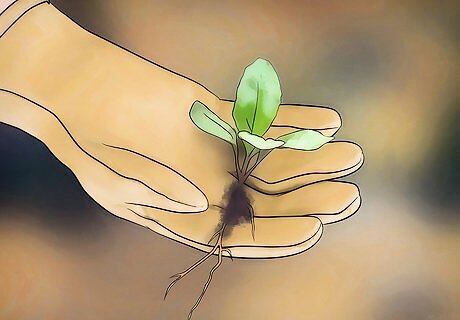
Inspect the root ball. Although this sounds counterintuitive, don’t shake off any soil clinging to the root. Instead, be on the lookout for soil that falls away on its own, revealing roots that have tangled themselves into a solid ball. If no soil falls away, treat this as a good sign. This means that the roots are growing outward into the soil, where they will reach the most nutrients. If the roots have tangled into a dense ball, gently work a few loose with a finger, fork, or similar tool.
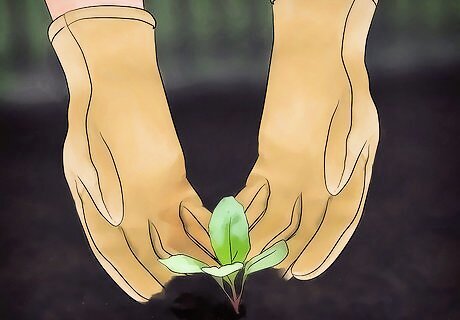
Plant each seedling. Gently insert each one into its designated hole in your garden’s soil. Fill the hole with soil. Cover the roots all the way up to the base of the stem, but keep the soil on top loose and breathable. Don’t suffocate the roots by packing soil in too densely. If you planted a summer garden with compost and soil nutrients, the soil should still be healthy enough to support your fall garden. For added insurance, feel free to mix more compost into the soil. Once planted, check the soil for dryness frequently, especially toward the beginning, when the weather may still be hot. Water immediately if the top 1 inch (2.5 cm) of soil feels dry and crumbly.
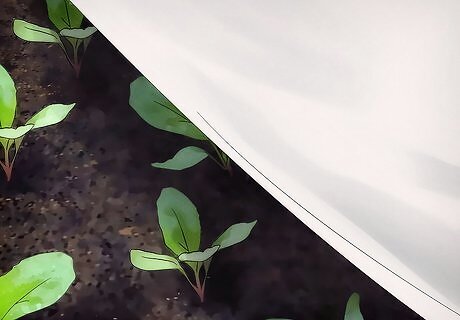
Consider covering your garden. Depending on your climate, protect your fall garden by shielding it from the elements. Purchase floating row covers to drape over your vegetables. Shield young seedlings from the sun in the late summer. Insulate them from the cold at night once fall weather settles in. The fabric for covers comes in a variety of thicknesses. Consult local nurseries and farms to find out which is best suited for both your climate and the particular vegetables you’re growing. Although you can simply drape these directly over the plants, they may weigh down on your plants, especially when wet from dew or rain. To keep the cover off your plants, build a simple hoop house to support the fabric.




Comments
0 comment