

Planning the Ceiling
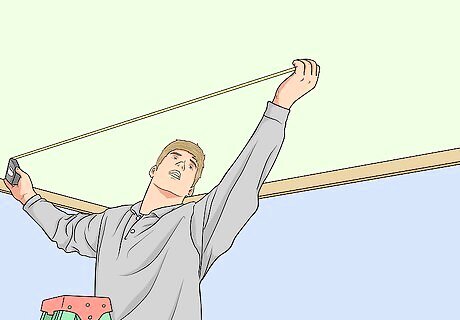
Measure the ceiling. This determines the size of the "canvas" you have to work with. For a small room, you may not have enough room to paint all the planets on the ceiling. You can choose to put the outermost planets on the upper walls or limit the painting of the solar system to only the planets visible to the naked eye (Mercury through Saturn). With Pluto's 2006 demotion to the status of dwarf planet, one option is to paint the recognized eight planets of the solar system on the ceiling and Pluto on the upper wall. This both represents Pluto's new status and that the angle of its orbit (17 degrees) is greater than that of the regular planets.
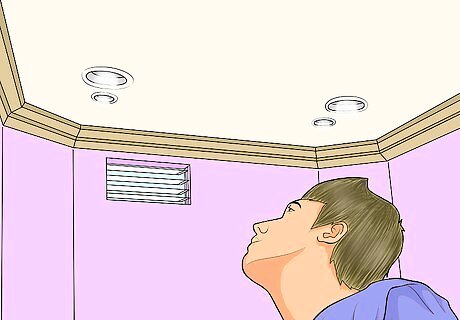
Examine the available lighting. Look at how much natural light enters the room. This will determine how dark you can make the sky when painting the solar system. If there isn't enough light in the room to allow a black sky, you can use a dark or medium blue for it instead. You can also use phosphorescent (glow in the dark) paints for some or all of the planetary features, such as Saturn's rings or Jupiter's Great Red Spot, as well as for representations of planetary satellites, asteroids, or ancillary stars. If the ceiling has a central light, you can use it for the sun. If the room's electric lighting comes from another source, such as a wall or table lamp, then you'll want to paint a sun in the center of the ceiling.

Decide what level of realism you want. You need to have the solar system's planets in the correct order from the sun (Mercury, Venus, Earth, Mars, Jupiter, Saturn, Uranus, Neptune) and correctly sized from largest to smallest (Jupiter, Saturn, Uranus, Neptune, Earth, Venus, Mars, Mercury). Beyond that, you only need to include enough of each planet's distinctive features to make it recognizable as one of the planets in our solar system. The level of realism you choose should be determined by these factors: Your budget. Your painting skills. Your child's age. For younger children, lighter colors for the sky and planets are more appropriate, while older children can better handle a black sky. (A decorating option for teenagers would be to use fluorescent paints to paint the planets to represent the false color imaging astronomers use to make certain planetary features more distinct.)
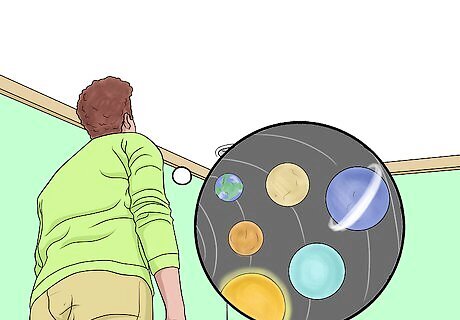
Determine where the planets will be on the ceiling. While you need to have the planets in the correct order from the sun, you should arrange their positions so the overall solar system painting will look balanced. Similar-sized planets (Uranus and Neptune, Earth and Venus) can be placed on opposite sides of the sun, or larger planets can be placed opposite smaller planets. One way to do this is to take a picture of the ceiling and experiment with various planetary positions. You can either use cutout circles with a printed picture, or upload the picture into a graphic editing program and use digital images of the planets, each in its own layer. Move the planets around until you find the layout that looks best to you and your child.
Painting the Ceiling
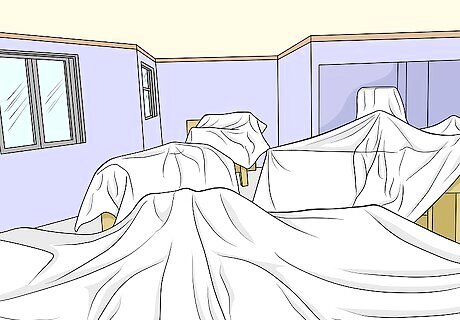
Prepare the room for painting. Remove unnecessary items from your child's room. Lay down drop cloths to cover the items that aren't practical to move, then sand and prime the ceiling surface as necessary.
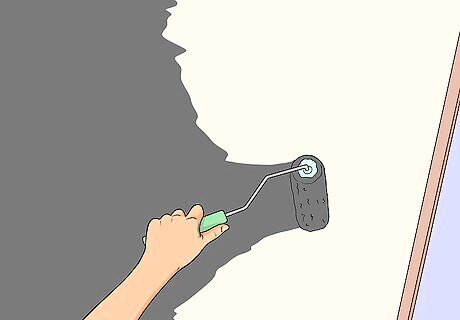
Paint the sky color on the ceiling. You can do this with a paint roller, ideally one with a long handle that lets you paint without climbing a ladder.
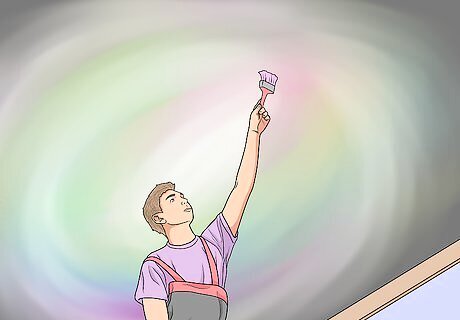
Paint in any other background images. Depending on how large the ceiling is, you may want to add other space background images, such as nebulae, before painting in the planets, particularly if you want to have a planet overlap them. You can paint these in with artist brushes or sponges. You can also mix colors onto a board and dip a paint brush until it's loaded full with the paint mixture, then stipple it on the ceiling so that the mixed colors transfer from the brush to the ceiling surface.
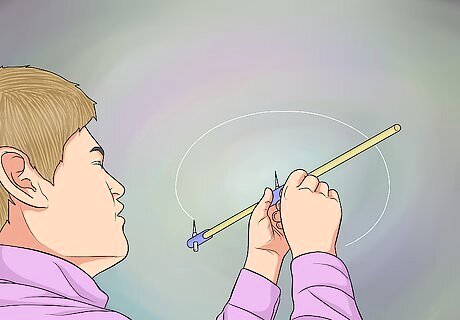
Lay in the planets. Trace the circles for each planet at the locations on the ceiling you figured out earlier. You can either draw the circles in freehand or use a compass. Sketch in any significant planetary features. One way to map in planetary features is to draw a grid over the reference image for each planet, then reproduce the grid over the circle on the ceiling in the appropriate size to aid you in transferring the planetary details to the ceiling. Use a pencil or chalk color that contrasts with your sky color.
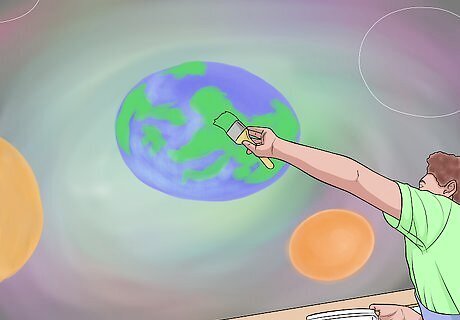
Paint in the planetary details. Mentally break each planetary image into layers. Paint in the base color for the planet; then paint the individual details over it. To make the details stand out more, paint in a darker color first and a lighter color over it. (If you're painting with a sponge, however, you can often get more striking results by using a lighter painted color underneath a darker sponged-on top color.) You can also use the stippling technique described above.

Add ancillary details. After you finish painting the planets themselves, you can add in touches as moons of the outer planets and individual stars in the Milky Way. These only need to be individual points or dots of a single color.


Comments
0 comment