views
Prepare to Paint Your Pumpkin
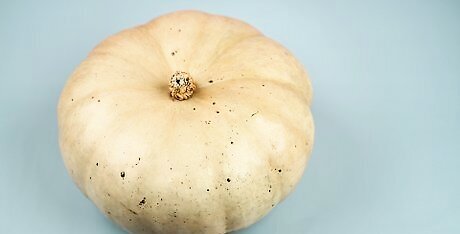
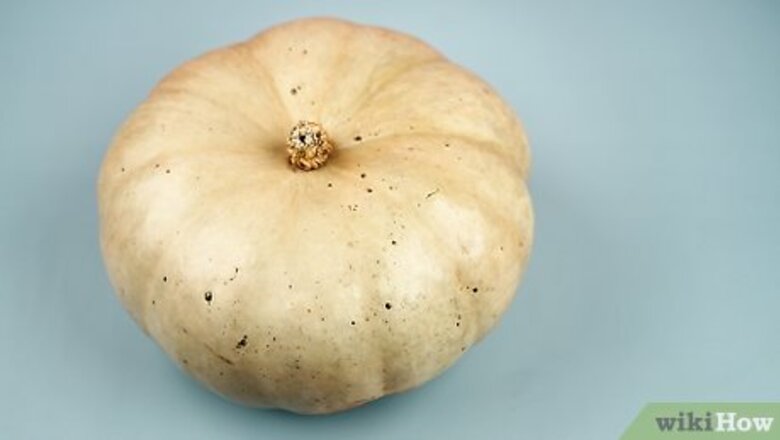
Choose your pumpkin. A good pumpkin for painting has a smooth, even surface with no bruises, scratches, or blemishes. Pumpkins with light or very light or shallow ribbing will have the smoothest surfaces. Avoid pumpkins with too many lumps and bumps, or they will be difficult to paint. Look out for any cuts or wormholes that will cause problems, and make sure that the pumpkin is flat enough to sit upright. Watch out for any soft spots in the pumpkin because that may be a sign of rot. You want your pumpkin to be fresh and to last as long as possible. Almost any variety of pumpkin can be painted, but the following are especially good: Baby Pam, Sugar Pie, Neon, Lumina, or Cotton Candy.
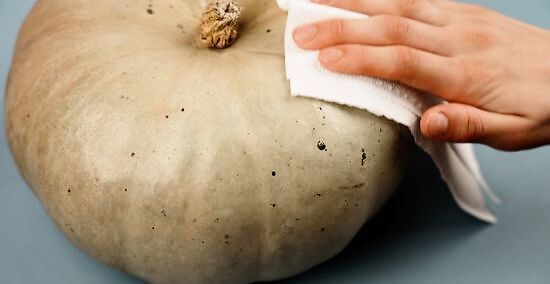
Clean and dry your pumpkin. Gently remove any dirt or grime using a dampened paper towel or a baby wipe. Use a soft, dry cloth to thoroughly but gently dry your pumpkin. Avoid brushing the pumpkin with a hard brush because you might bruise or scratch your pumpkin or just damage the skin. Take care not to get the stem area (top) or the blossom end (bottom) of the pumpkin wet. This can cause the pumpkin to rot.

Choose a design. Before you start painting, you should have your heart set on a design. Almost any design can look good on a pumpkin, as long as it's not too complicated. Faces are popular, but you could also choose a black cat, bats, a haunted house, geometric shapes, or anything you like. Once you've chosen your design, lightly sketch it on a piece of paper for reference. Let the shape of your pumpkin inspire your design. For example, a squarish pumpkin could become Frankenstein's head. Who says painting pumpkins is just for Halloween? You can paint your pumpkin to echo a fall theme, such as painting leaves or scarecrows, or just paint something completely random on your pumpkin. Have fun with painting your pumpkin and paint a self-portrait or a portrait of a member of your family.
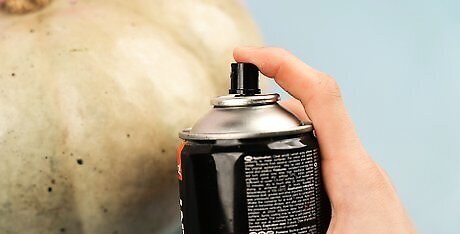
Apply a sealer (optional). Though this is optional, applying a sealer to the pumpkin's surface before painting will help the paint better adhere to the surface. Purchase a craft-grade sealer at a hobby or craft store. Sealers are available in either aerosol cans or squeeze bottles, according to your preference. Use a brush to apply a liberal coat of sealer evenly to the entire surface of the pumpkin, and allow to dry thoroughly. Clean this brush thoroughly if you plan on using it for painting. Give the sealer time to dry before you move on to paint the pumpkin.
Paint Your Pumpkin
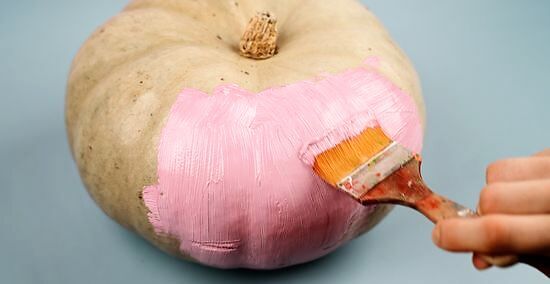
Paint your entire pumpkin with a solid color (optional). You can use the natural color of your pumpkin as the background for your design, or you can paint the entire pumpkin another color. Use an acrylic paint to paint the pumpkin. If you have other paint at home but aren't sure if it'll work on the pumpkin, test it out on a small part of the pumpkin to see if it sticks first. Pick a color that complements your design. If you're drawing a goblin, pick an eerie green color for your background. Paint your pumpkin in sections, allowing each to dry before moving on to the next. This way, you won't be stuck holding a pumpkin dripping with wet paint. Watch out for the wet paint on the bottom. Make sure you don't set the pumpkin down on its bottom when the bottom is wet, or it will stick.
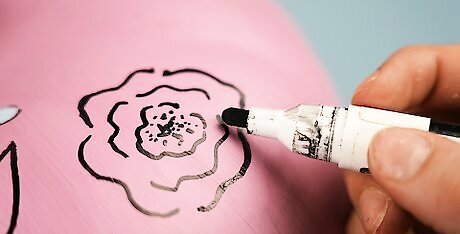
Trace your design onto the pumpkin. With a permanent marker and a stencil, or a pattern you have made yourself, lightly trace your design onto your pumpkin. Don't overthink it. You'll be painting over what you've traced, so it doesn't have to look perfect. If you're feeling uncertain, you can start drawing the design with a pencil first, and then go over it with the permanent marker. To keep the pattern or stencil steady, it might help to tape it in place. To create straight lines, stripes, or shapes, tape pieces of masking tape to your pumpkin in the desired pattern. Optional: Use transfer paper (graphite paper) to trace your design. Transfer paper is a popular craft product used to transfer a design or pattern onto any surface. Here's how to use the transfer paper: Print out or draw your design on a piece of paper. Tape a piece of transfer paper to the pumpkin. Tape the paper with your design on top of the transfer paper. Use a pencil to trace the outlines of the design. When you're finished, remove the two layers of paper, and you'll find the outline of your design traced onto the pumpkin.
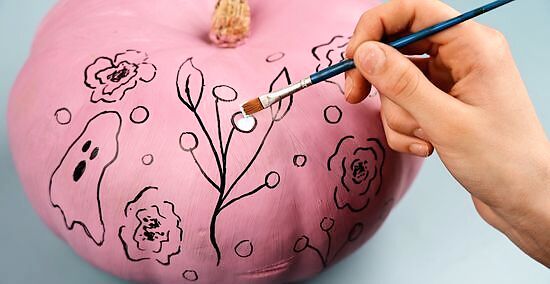
Paint your design. Using acrylic paints, paint your design onto your pumpkin. You can use any tool you like to paint: paintbrushes, cotton swabs, sponges, or cotton balls. Keep a damp cloth at your side to quickly clean off any mistakes. Pretend that you're just painting an ordinary canvas. This one just happens to be round. If you are using light colored paints, you may need to add additional coats. Make sure your paint is thoroughly dry before adding layers on top. Make sure that the design covers all of the visible parts of the pumpkin so you're not just tracing it onto the front. Step back to admire your pumpkin to see how much of it is actually visible.
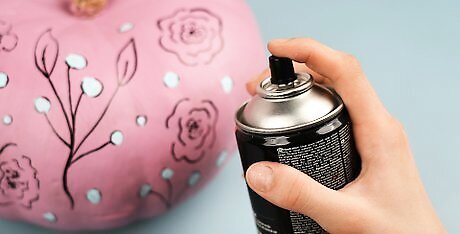
Use a sealant to set your design. When your paint is completely dry, spray a light layer of craft sealant all over the painted areas of your pumpkin.
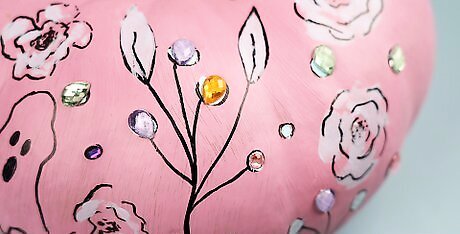
Add decorations or embellishments (optional). If you like, you can make your design even more fun and exciting with decorations and embellishments. Wait for the pumpkin to dry and then add a variety of fun adornments to your creation. Glue yarn or raffia around the stem of the pumpkin for hair. Sprinkle glitter on wet paint to add sparkle. Using glue dots, a glue gun or craft glue, add googly eyes, sequins, rhinestones, pom poms, beads, or craft foam shapes. Top your pumpkin with a hat for a final touch.
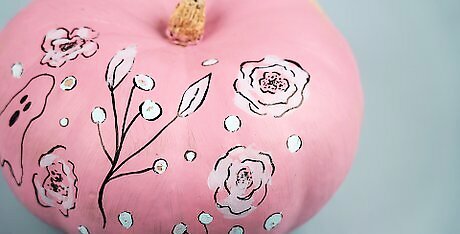
Place your pumpkin in a visible location. Put your pumpkin somewhere that will catch the eye whether it becomes the centerpiece of your dining table or sits on your front porch. Make sure it's in a place where people can see it head-on. If you're placing it outside, try to keep it out of direct sunlight or heat to make it last longer.


Comments
0 comment