views
Line Check
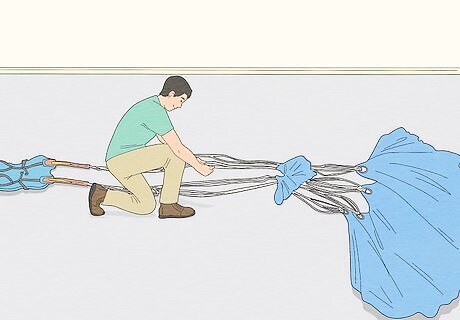
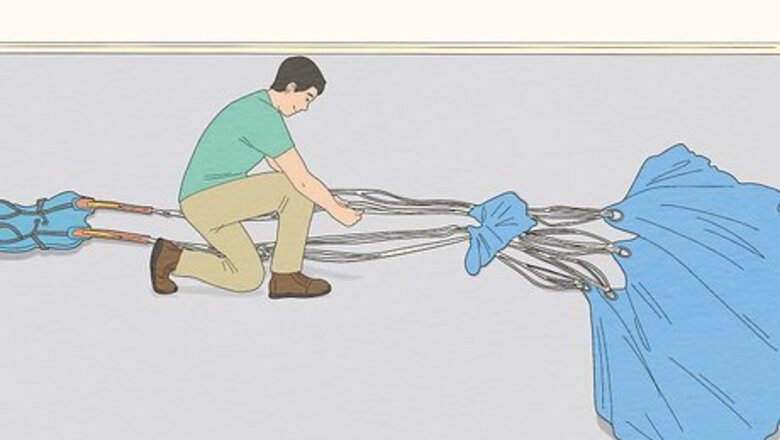
Lay the canopy flat on the ground. The canopy is the main part of the parachute and is attached to the backpack by a series of lines. Place the backpack on the ground so it’s facing up. Stretch out the lines and lay the canopy as flat as you can on the ground. There may be some air or puffiness in the canopy, but that’s fine right now.
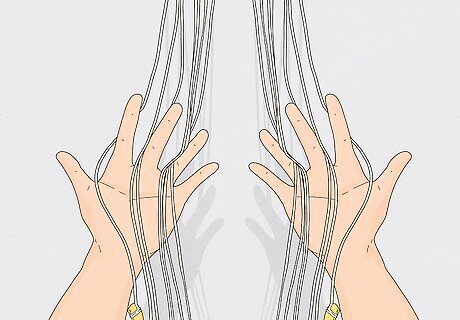
Gather the brake lines where they connect to the back straps. Locate the brake lines, which are the long strings that connect the canopy to the straps of the backpack. Use your fingers to hold the lines so they’re separated and aren’t tangled up together. For instance, you can lay 1 line over your index finger and another over your middle finger. Keeping the lines separated makes it easier to remove any twists and tangles.
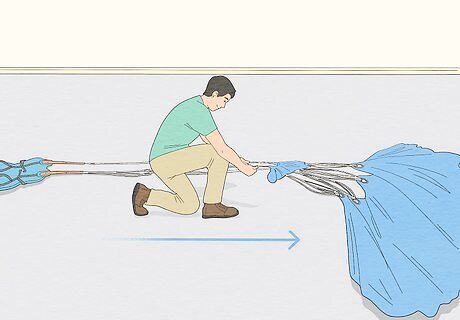
Hold the lines and walk toward the canopy to remove twists. Pick up the lines, keeping them gathered in your hands with the lines separated. Slowly walk toward the canopy to untangle and untwist the lines so they’re straight. Take your time and pause if you need to spend some extra time untwisting the lines.
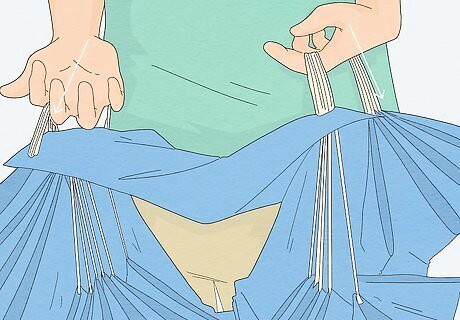
Pull back the slider to make sure the lines aren’t tangled at the end. When you get to the canopy, locate the small rectangular piece of fabric known as the slider. Pull it back to you so you can see the lines connected to the canopy. Run your hands through the lines to untangle and untwist them. The slider helps control the way air flows through the chute when it opens.
Flaking the Canopy
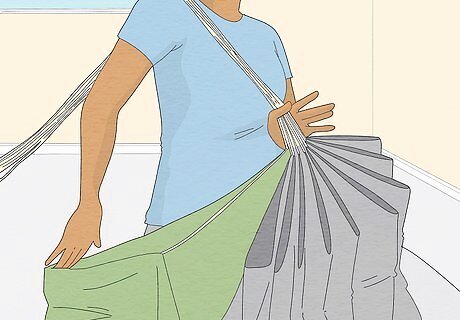
Stand to the side of the lines and place them on your shoulder. Stand either to the right or the left side of the lines near the canopy. Gather up all of the untangled lines into a bundle. Lay the bundle over 1 shoulder so you can easily access the canopy.
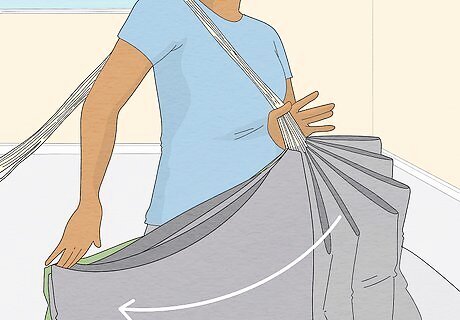
Count each of the 9 cells to make sure they aren’t tangled. A “cell” is a small section of the canopy created by the space between the lines. Starting at 1 side, use your hands to separate and count each of the cells. It’s common for the cells to tangle or fold into the canopy, so it’s important that you count and separate them. Most parachutes have 9 total cells, but some have 7.
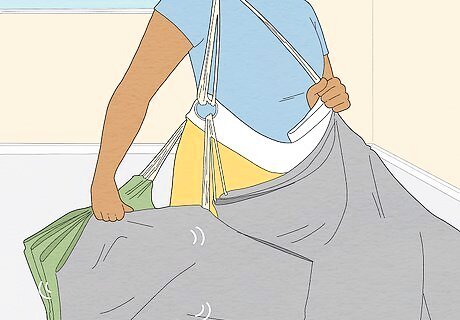
Hold 1 side of the canopy and shake out the fabric. Grip either the left or the right side of the canopy so it’s collected together and won’t unfurl. Shake the fabric back and forth to loosen it up and make it easier to flake and separate. Shaking helps to separate the fabric of the canopy.

Place the nose between your legs to hold the canopy. The “nose” is the front of the parachute, which is the side facing your body. Gather the nose of the chute, stuff it between your legs, and pinch your knees to hold the material steady while you flake it. The nose lined up with the center of the canopy.
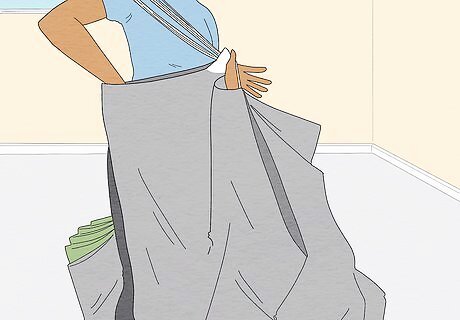
Start with your A-lines and flake the fabric between each line group. The A-lines are the first lines to the left and right of the nose. Flaking is the process of separating each of the panels or cells of the parachute so the canopy opens up correctly. Keeping the lines over your shoulder, slide your hand down into the space between the lines and fluff and flake the fabric so it’s separated and untangled. Then, move to the cell next to it and flake it as well. Work your way around the entire canopy, fluffing and flaking the material. Flaking helps to remove any folds that could affect how the parachute opens.
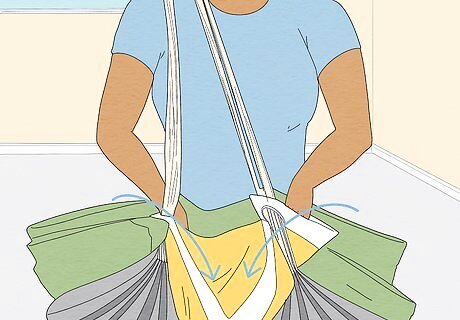
Bring the slider down as far as it will go and spread it out. With the lines still over your shoulder, pull the slider down the lines and push it into the canopy as far as it will go. Then, spread it out evenly so it fits in the space between the lines. Some people call it “quartering.” Spread out each of the 4 sections of the rectangular slider into the spaces between the lines.
Rolling the Tail
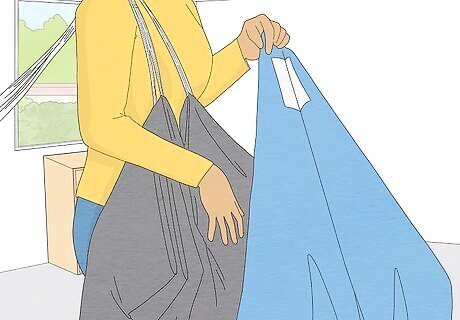
Find the center seam of the tail and bring it up to your lines. The “tail” is the rear of the canopy, opposite from the nose. With the lines still over your shoulder, reach down and grab the center seam of the tail. Bring it up to where your lines connect to the canopy. Use 1 hand to hold the tail against the lines so it doesn’t come undone.
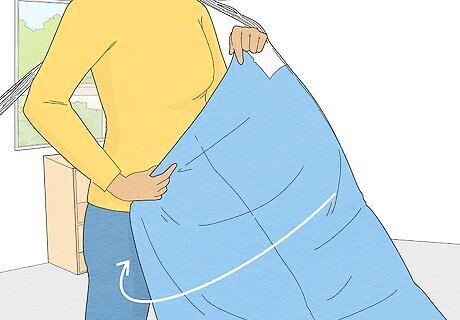
Wrap each side of the tail around the bundle. Keeping the center seam of the tail held against the lines, use your hand to wrap one side of the canopy around the back of the bundle. Then, use your hand to wrap the other side around the back. Line up both sides so their edges are even. Your canopy should look like a smooth, uniform bundle.
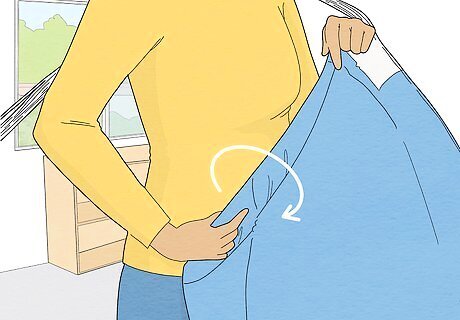
Twist the edges of the tail so they don’t come undone. Line up the edges of the tail and pinch them together with your fingers. Roll the edges over each other 3-4 times so they’re twisted together and won’t come undone.
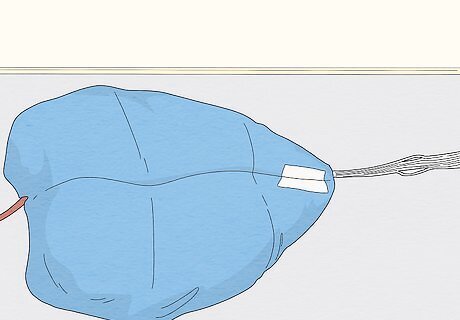
Lay down the canopy so the edges of the tail are on the ground. Support the bottom of the canopy with 1 hand and hold the lines with another. Carefully lay the canopy down on the ground so the edges of the tail are rolled up underneath. Don’t just drop or flop the canopy down. Be as gentle as you can so it doesn’t come undone or get tangled up.
Folding and Stuffing
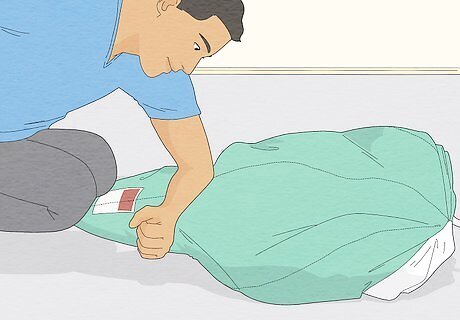
Place your knees and forearm on the canopy. Kneel down on the canopy where it connects to the lines so it’s held securely. Lean your forearm on the canopy so you can use it to push out air.
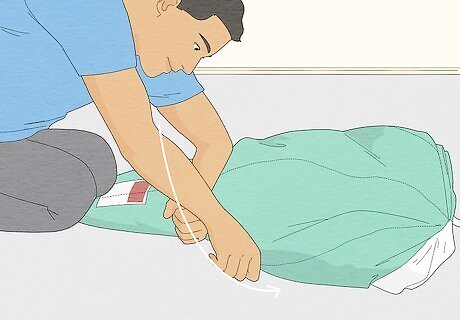
Slide your forearms up the canopy 6–8 inches (15–20 cm) at a time. Press down on your forearm and slide it a little way up the canopy to press out the air. Tuck under any fabric that comes out and work your way up the canopy, pressing out air with your forearms. Don’t remove your weight from the canopy. Keep pressing on the fabric with your knees and forearms to keep it tight and controlled.
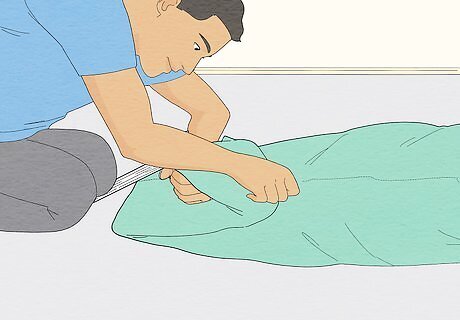
Bring the tail end of the cocoon up and press it down with your knees. Grab the bottom of the canopy where the lines connect to it and fold it over about 6–7 inches (15–18 cm). Then, press down on top of the fold with your knees to press out the air.
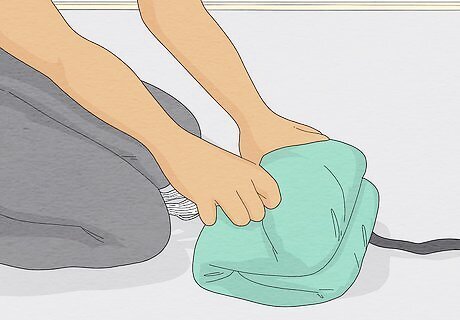
Lift the top of the canopy and fold it towards you and then over itself. Keeping your weight on the canopy, reach up and grab the top. Fold the canopy down towards you, then fold it over itself again and press out the air. The canopy should be a tight little bundle of fabric.
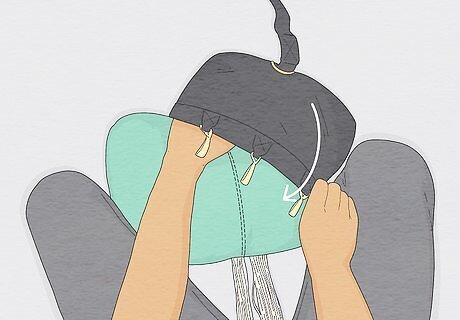
Pull the bag over 1 side of the folded canopy and push it into the bag. Grab the parachute bag and slide it over the corner of 1 side of the canopy. Push the material as far into the corner of the bag as you can.
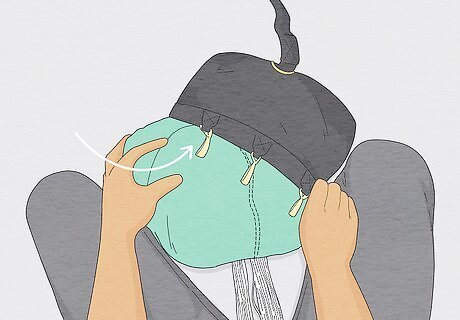
Use your knees to control the fabric and pull the other side of the bag over. Put pressure on the canopy with your knees so it doesn’t move around. Pull the bag over the material and then push it in so all of the canopy is contained in the bag.
Stowing the Lines
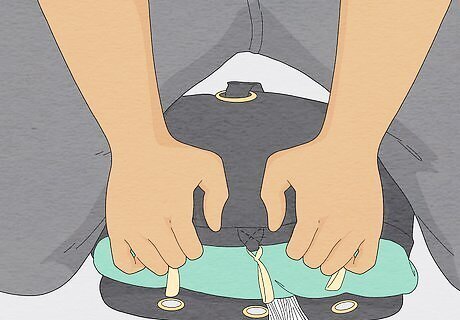
Press on the bag to bring the rubber band close to the grommet. The grommets are the metal rings on the top of the parachute bag. Push down on the bag to bring the grommets closer to the rubber bands. If you try to pull the rubber bands to reach the grommets, they can break if they’re stretched too far.
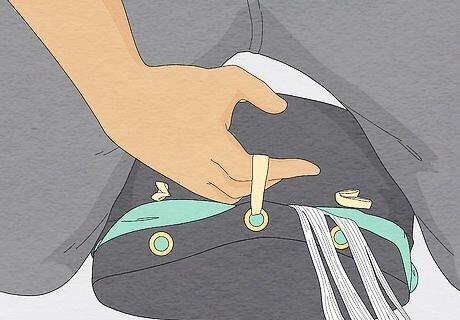
Slide a rubber band through the center grommet and hold it. Find the center rubber band and slide it into the center grommet. Use your fingers to hold the rubber band on the other side of the grommet so it doesn’t come undone.
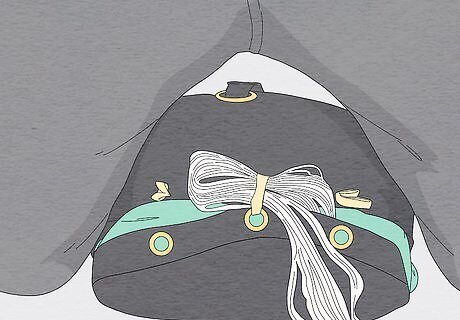
Wrap the rubber band twice over a small section of the lines. Keeping the lines in a bundle, gather a 1.5–2.5 in (3.8–6.4 cm) section at the top of the lines, where they connect to the parachute in the bag. Wrap the center rubber band 2 times over the small bundle of lines to create a stow.
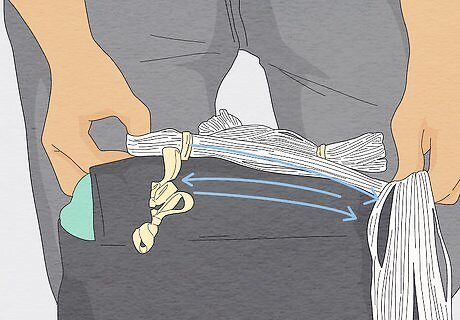
Use the remaining rubber bands to make additional stows. Push another rubber band through the grommet across from it and hold it. Wrap it twice around another 1.5–2.5 inches (3.8–6.4 cm) section of the lines. Continue making stows with the remaining rubber bands using similarly sized sections of the lines until the parachute is securely closed. When the parachute deploys, the stowed lines will separate from the rubber bands.


Comments
0 comment