views
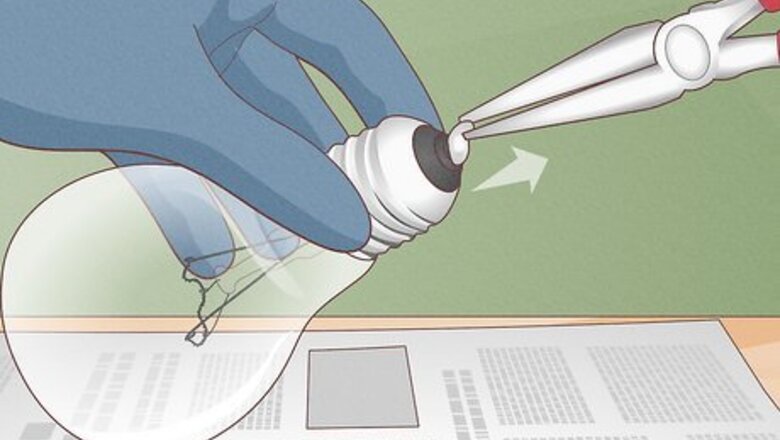
- Use needle-nose pliers to pry up the contact point in the middle of the light bulb’s base.
- Peel up the edges of the insulation with pliers and use a flathead screwdriver to break up the bulb’s interior.
- Wear thick gloves to avoid cutting yourself and avoid getting muriatic acid on your skin if you remove the metal collar.
Accessing the Light Bulb
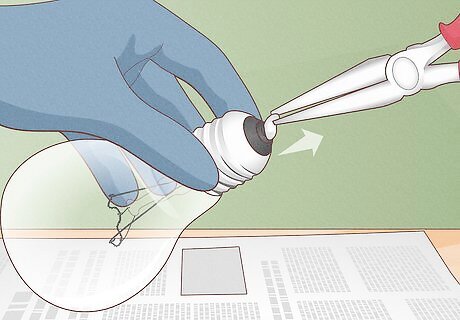
Grip the solder point at the bottom of the bulb with pliers. Look at the bottom of the light bulb and find the small metal solder point. It’s almost always black with a metal pad in the middle. Grab the metal point firmly using a pair of needle-nose pliers. Key Safety Tips: You'll be breaking glass during this process, so put down several sheets of newspaper or do this outside. Also, be sure to wear goggles and gloves. Warning: Only perform these steps with an incandescent bulb. Opening up CFL and fluorescent bulbs will release harmful gases.
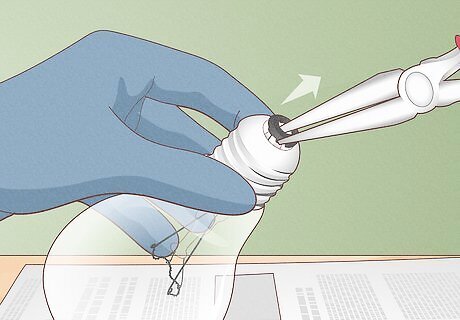
Twist and gently remove the metal contact point. Slowly and gently twist the soldered contact point up with your pliers until you feel the interior brass cracking the glass at the base of the bulb. This is a sign you’ve severed the wires and glass connected to the filament. Once that happens, the metal contact point is free and you can lift it out. Keep a firm grasp on the light bulb with your other hand while lifting out the solder point, but don’t squeeze the bulb! If you maintain too much pressure, the bulb may shatter. You may need to nudge the sides of the solder point back and forth if twisting it does not prove effective. The sides of the metal should be raised enough for you to get a good grip on the tip with your pliers before you lift that point out.
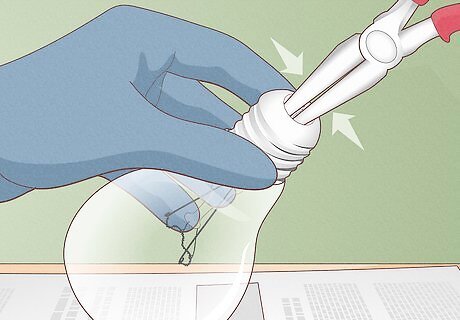
Crack the glass insulator with your pliers or screwdriver. Hold one side of the black glass insulator at the bottom of the bulb with your pliers. Twist it up with your pliers to snap the glass apart. If that doesn’t work, insert a thin flathead screwdriver inside the bulb and move it back and forth until the tube in the middle of the bulb breaks. The glass here is usually thick, so it may take a bit of force to actually break it. Make sure that you hold onto the bulb firmly with your other hand as you work. The insulator will break into a bunch of chips when you do this, so go slow and be careful. You may need to break the insulator from several angles around its perimeter if the entire thing does not break off the first time.
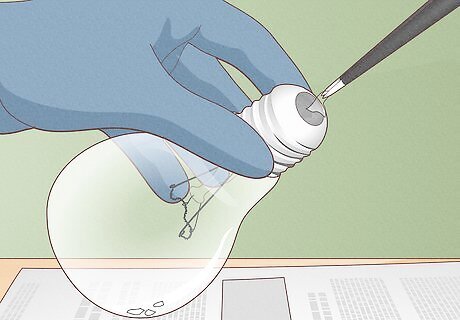
Remove all of the broken bits of the insulation. Use tweezers or your pliers to clean away any black insulator glass (or plastic) from the socket of the bulb. These pieces tend to be a little malleable, so work slowly and bend/snap the pieces as needed. These pieces of glass will probably be very sharp, so you should not touch them with your bare hands. After clearing away the insulator glass, you should be able to see the inner components of the light bulb from the bottom of the bulb.
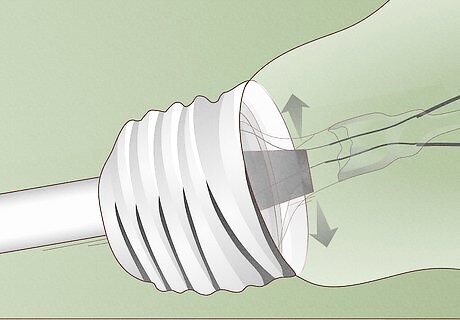
Snap away the interior fill tube with a screwdriver. Insert a flathead screwdriver in the bottom of the light bulb, next to one side of the interior tube. Press the screwdriver against the side of the tube repeatedly to break it free. The bulb will be filled with argon, or some other inert and harmless gas. When you break the tube free, you'll hear a noise that will signify the release of the argon gas.
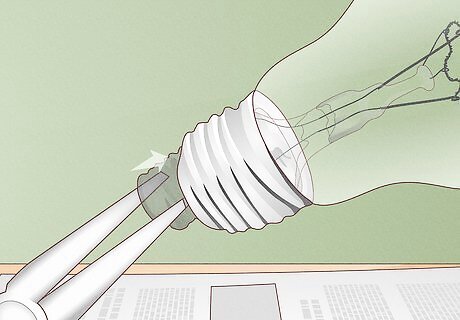
Remove the tube. Slide the screwdriver around the sides of the tube to break it completely free, then lift it out with tweezers or pliers. Alternatively, you can try dumping it out of the hole at the bottom of the bulb. If you cannot break the tube free from the sides, you may need to twist the screwdriver around more forcefully, breaking the tube itself in the process. Remove the broken shards with tweezers when done. You'll need to use considerable force, so make sure that your other hand has a firm grasp on the light bulb as you work.
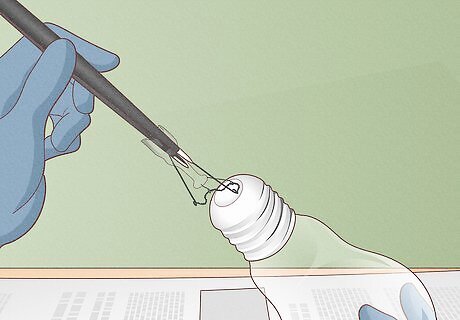
Remove the tungsten wire with tweezers. Gently shake the rest of the filament assembly out of the bulb if it’s small enough to fit through the hole. Otherwise, use tweezers to grip the wire and pull it out through the bottom.
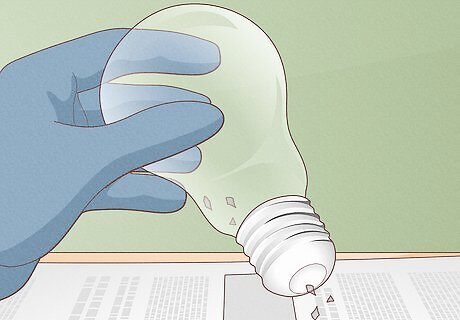
Break and remove any final bits of glass. You don’t want to cut yourself on a random piece of glass you didn’t remove from inside the bulb. Turn the lightbulb upside down and shake out the glass over a garbage can. If there are any small bits of glass remaining around the interior edge of the bulb, carefully break them off with the screwdriver and remove them. Lift the broken bits of glass away with tweezers. At this point, the light bulb is open and empty. You can stop here, but you may want to remove the metal collar or clear the coating depending on your project.
Removing the Metal Collar
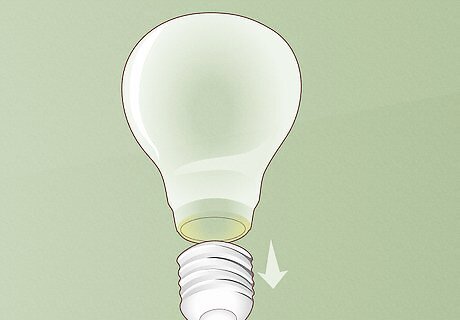
Make sure you need to remove the collar for your project. For most projects, you can keep the metal socket piece intact. If you only want the actual glass bulb for your project, however, you will need to remove the socket piece before continuing. Just know that with the collar, it’s actually a lot easier to identify the lightbulb as a lightbulb, if that’s important. Just FYI, you cannot force the collar off—you’ll just end up breaking the bulb. If you want to reattach the metal socket after removing it, you can do so by simply applying a little glue to the top edge and pressing it back onto the bottom of the glass bulb.
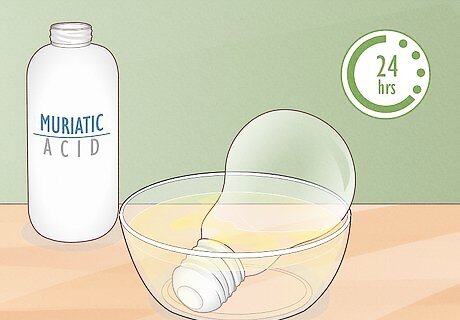
Soak the socket in muriatic acid for 24 hours. Put on a dust mask and rubber gloves. Place a shallow amount of muriatic acid in a glass bowl. Rest the attached socket in this acid and let it soak for at least 24 hours. You can try using pool cleaner instead of muriatic acid if you happen to already have the cleaner laying around. Muriatic acid is a powerful cleansing agent, so avoid getting it on your skin.
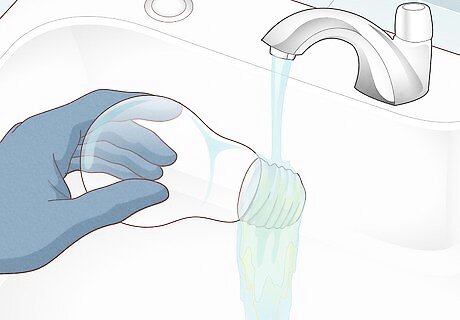
Clean off the acid under running water. After soaking the socket, remove it from the acid with a gloved hand. Set the bulb in a sink and rinse it well under running water. Key Safety Tip: Use a little soap or a mild base, like baking soda, to neutralize the acid still clinging to the surface of the bulb socket after rinsing the acid off.
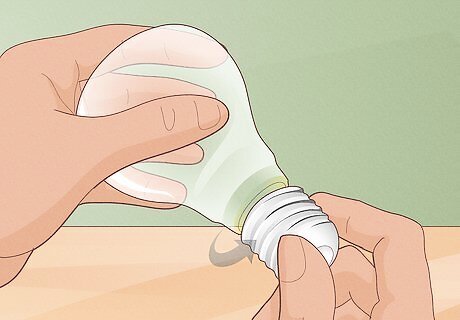
Carefully twist off the metal socket by hand. Hold the bulb firmly with one hand, then slowly twist the socket off the bottom with your other hand. The acid should have dissolved the powerful adhesive glue holding the metal socket to the glass, making the socket loose and fairly easy to remove. If done carefully, you should be able to avoid breaking any glass at the bottom of the bulb. Go very slow, though. If the bulb’s collar still won’t come free, soak the bulb for another 24 hours and try again.
Removing the Translucent Coating
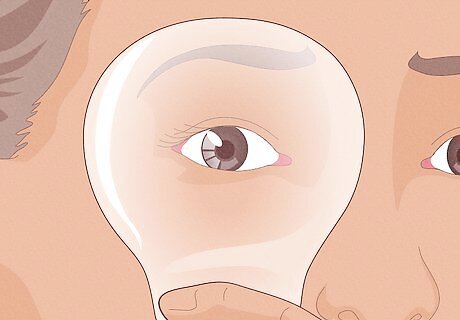
Determine if you need to take any coating off. If you can see right through the bulb like it’s a window, you get to skip this process. If you have a powdery coating on the bulb though, your bulb is coated in kaolin—a powder designed to keep incandescent light from blinding you. Kaolin is considered a safe substance. It’s even used in some medications. Still, keep your goggles and gloves on—you never know what other metals or minerals lightbulb manufacturers use with the powder.
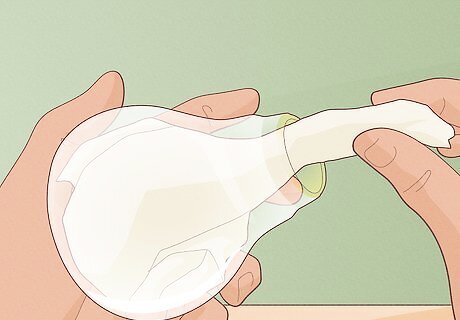
Insert paper towels into the bulb. Stuff enough paper towels into the bulb to fill most of it up, leaving a long enough paper towel sticking out from the bottom for you to grab. Watch out for any sharp edges or sharp bits of broken glass.
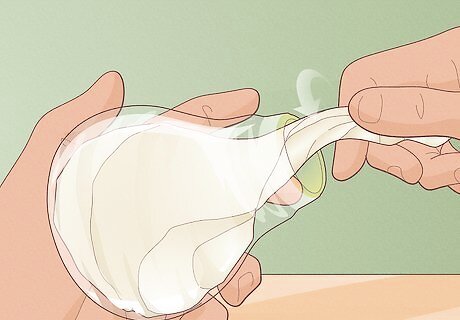
Scrub away the powder using the paper towels. Using the tail of the paper towel, twist it around the interior of the bulb, wiping away the powder in the process. If the powder doesn’t come off, remove the paper towels. Dry paper towels will usually work well enough, but you can dampen the paper towels first if you’d like.
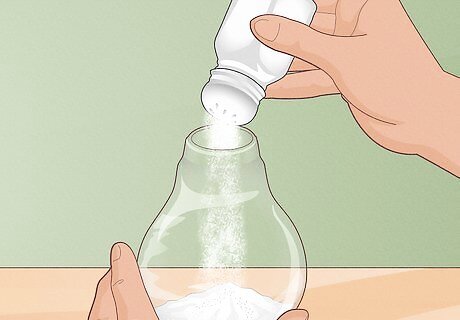
Fill the bulb with salt. If some of the kaolin will not come out, fill the bulb one-quarter to half full with regular old table salt. You'll use the abrasiveness of the salt to help scrub the corners and angles of the bulb. Don’t use big rock salt, like the kind you’d use to clear sidewalks of snow. That stuff will scratch or crack the lightbulb.
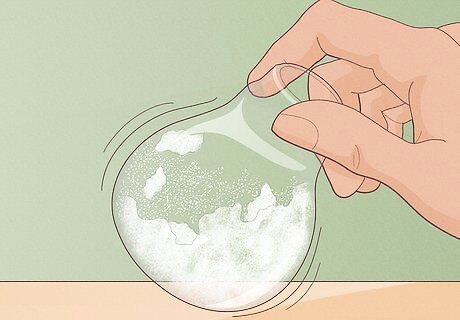
Shake the bulb back and forth to remove the coating. Carefully cover the bottom of the bulb with a thick wad of paper towels and give the entire thing a good shake. The salt will scrub away most of the remaining traces of kaolin. Dump out the salt when done. Needless to say, you shouldn’t reuse the salt to cook or anything.
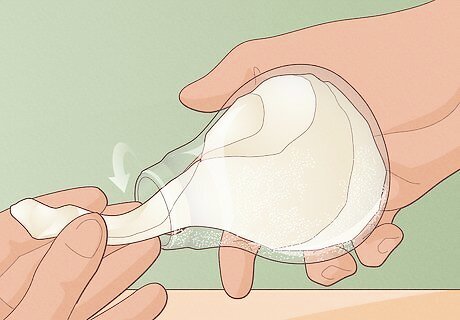
Switch back to the paper towels and repeat as needed. If there is any salt or kaolin inside the bulb, use your paper towels to clean it out. Continue going back and forth until you’ve completely cleaned the bulb. Once you are finished with this step, the bulb is completely open, clean, and ready to use for whatever project you have in mind.


Comments
0 comment