

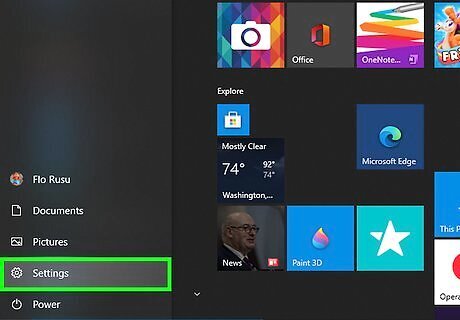
Open Settings. To do so, click on Windows Start Start and click on the Windows Settings Settings gear.
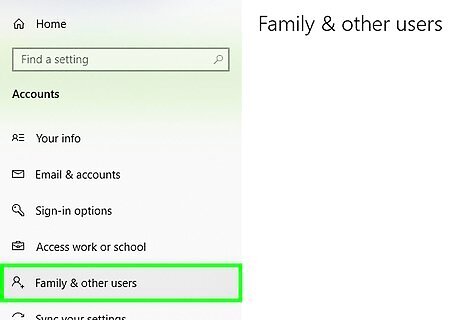
Click on "Accounts" > Family & Other Users. This is where you will find the settings regarding other user accounts.

Click on Assigned Access. This is where you will be able to make your PC a kiosk.

Click on Get started. This will start the process of creating a kiosk account.
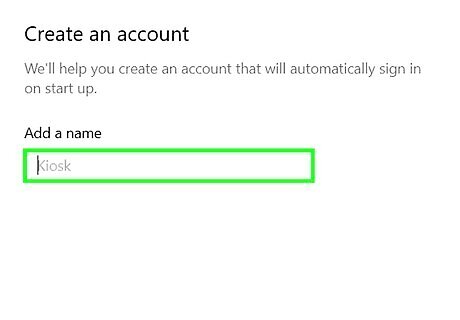
Enter a name for the kiosk. By default, it is "Kiosk". You can also bind an existing account to the kiosk account. Then click on Next.
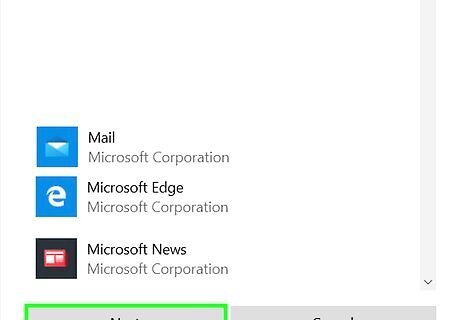
Click on the only app it can use. Click on Next. If you chose Microsoft Edge, there are a few additional steps. Otherwise, you are done!
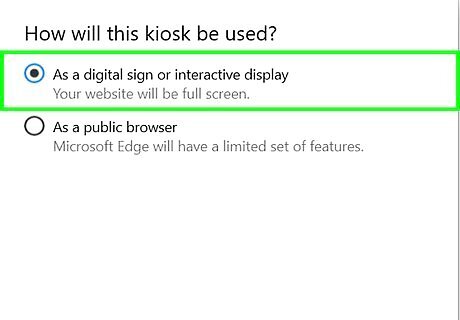
Choose how you want Microsoft Edge to run. You can run it as an interactive display (useful for kiosks) or as a public web browser (useful for libraries and Internet cafes)
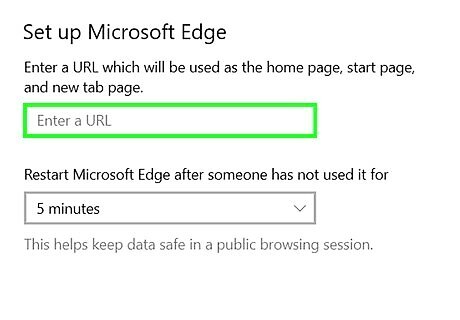
Choose the home URL. This will be the page that is loaded after inactivity or after the user clicks "End session". When Microsoft Edge is a public web browser, the user will also see the home URL when they click the home button.

Configure the idle time. After this time, the browser will delete all the data and reopen.
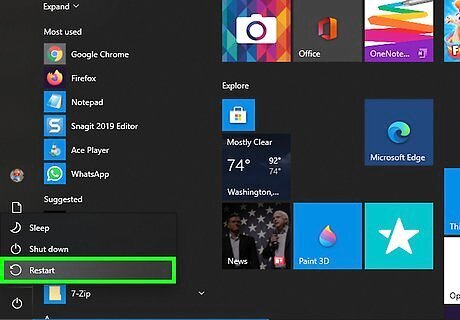
Restart your computer. After restart, you will see the kiosk. To exit assigned access, press Ctrl+Alt+Del.


Comments
0 comment