

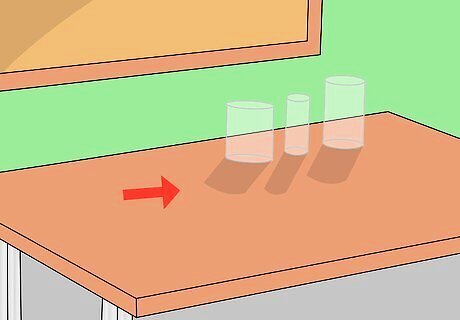
Set up your area. Good work always starts with having a good workspace. Clean up an area to work on.Make Your Own Glass Beads from Scratch Step 1Bullet1 Version 2.jpg Pick up any objects that you wouldn't like to be damaged.Make Your Own Glass Beads from Scratch Step 1Bullet2 Version 2.jpg Clamp the torch head and gas canister to the table (follow instructions provided by the manufacturer).
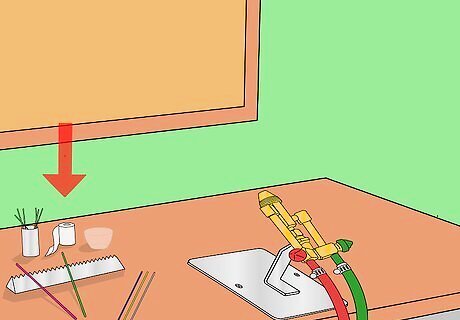
Arrange the rest of the equipment for easy access. Make sure you can get to everything without reaching across the torch (even when off it will retain heat).
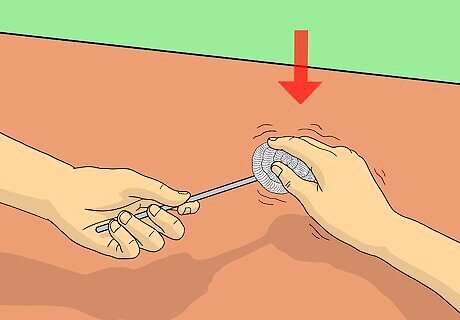
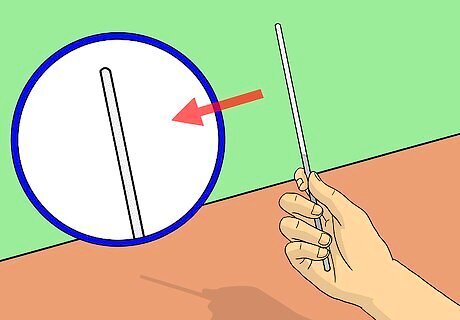
Before you make a bead, prepare the mandrels. Take each one and rub firmly with wire wool. This cleans the metal and helps the bead release adhere to the surface.
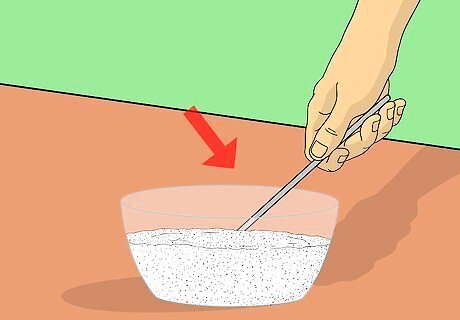
If a powdered bead release is to be used, mix it according to the manufacturer's instructions. Dip each mandrel in the bead release and leave to dry. Some bead releases can be dried in the flame; however, if yours does not say to do this, then leave to air dry, as it may crack otherwise.
When dry, check each mandrel to make sure that the coating is even and intact. Discard any mandrels with cracked bead release because if the glass comes in contact with the mandrel, it will stick and will likely be impossible to remove.
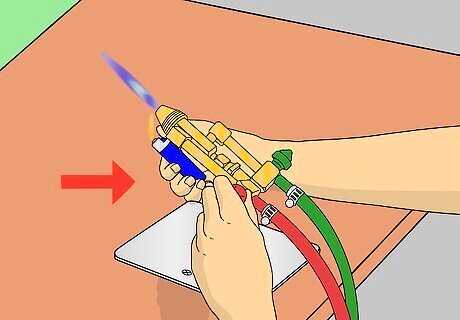
Turn on the gas to your torch head. Bring up a lit match from underneath to light it.
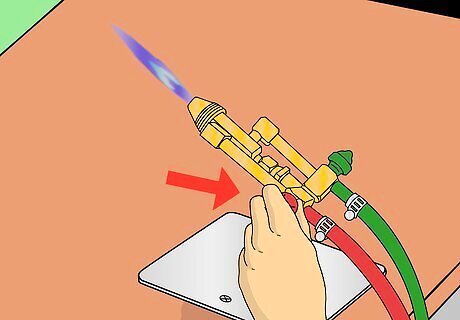
Adjust the flame until you have a sharp edged blue cone. A bushy flame means you have too much gas.
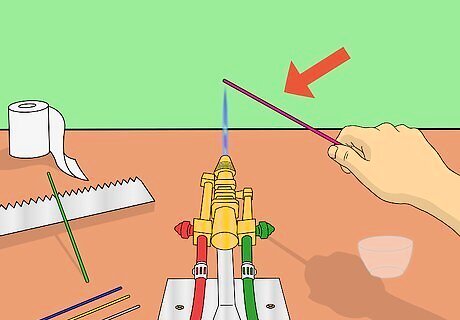
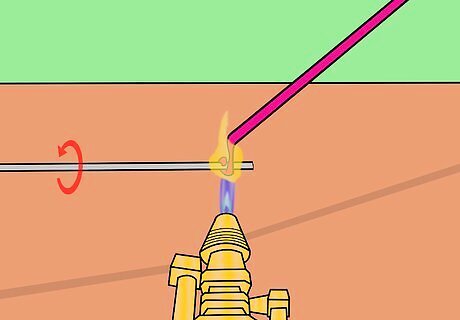
Select the color of glass you want to start with. Take it into your dominant hand and, holding it horizontally, slowly wave it in and out of the flame just above the tip of the blue cone. If you heat the glass too quickly then it may "shock" or shatter.
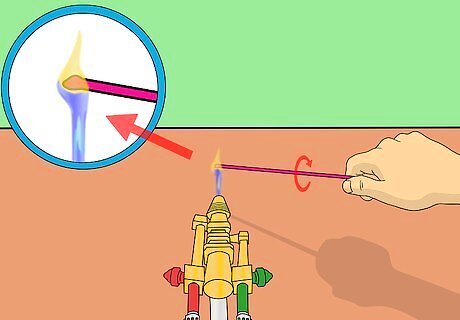
When the tip begins to glow, leave the glass in the flame a little longer, then start rotating the rod as a ball starts to form at the tip.
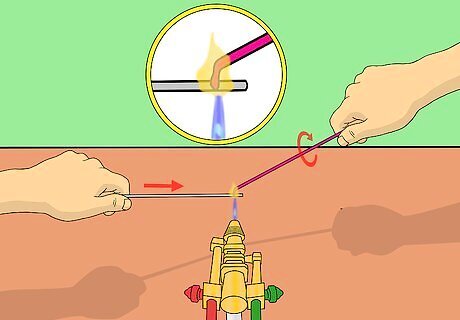
When ready to start forming your bead, take the mandrel with your other hand. Try to keep the glass in the flame and keep rotating and so that it doesn't droop or cool, warm the mandrel in the flame just behind the glass. Hold the mandrel horizontally.
Carefully alter the position of the rod in your hand so that you are holding it like a pencil.
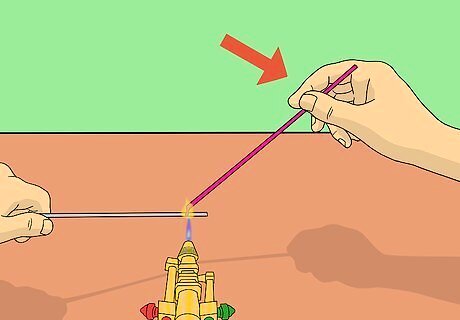
Gently press the ball of molten glass through the flame and onto the mandrel. At the same time, start rolling the mandrel slowly away from yourself.
Stay in the flame. The rest of the glass rod will slowly soften as you roll more onto the mandrel.
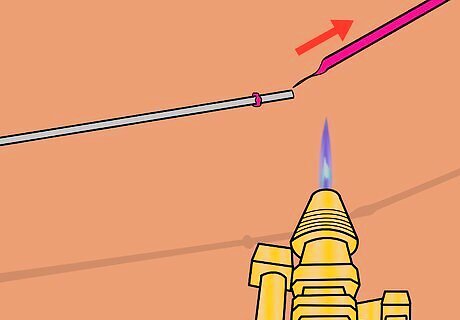
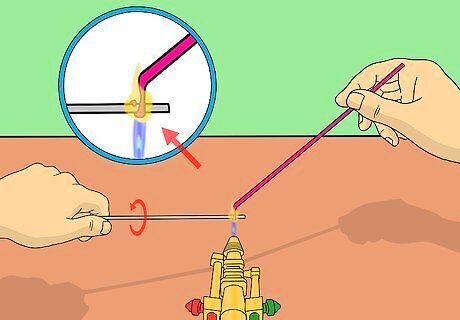
When you have added enough glass, pull away the glass rod (remember to keep the mandrel rotating in the flame). You will get a thin string of glass, just allow the flame to melt through it. Place your glass rod onto the rod rest, out of the way.Make Your Own Glass Beads from Scratch Step 14Bullet1 Version 3.jpg You may want to switch your mandrel into your dominant hand at this point. To do this, carefully bring the mandrel in front of the torch. Never try reach over the flame.Make Your Own Glass Beads from Scratch Step 14Bullet2 Version 3.jpg

To round up your bead, keep the mandrel rotating in the flame until a smooth form is achieved. Add any decoration or other colours.
When finished, slowly remove the bead from the flame (remember to keep rotating) when the glow fades. Put the bead and mandrel in between two sheets of fiber blanket, or into a pot of vermiculite to cool. Be careful not to disturb the bead – if it cools too fast it may crack. To check if your bead is cool enough to go into the fiber blanket or vermiculite without damaging it, hold the bead under your work area (don't forget to rotate) and see if it is still glowing – as soon as the glow fades, put it into the fiber blanket or vermiculite.
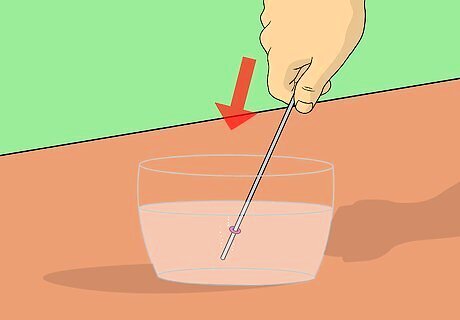
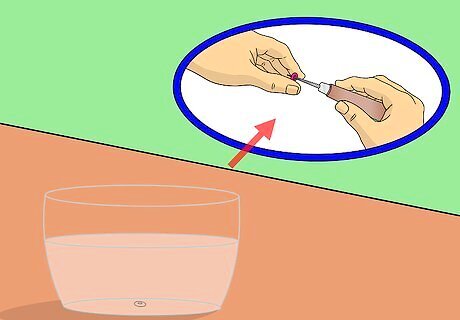
When cool, soak the bead and mandrel in water to remove the bead release. If you have trouble removing the bead, grip the mandrel with a pair of vise pliers and try to twist and pull the bead off.
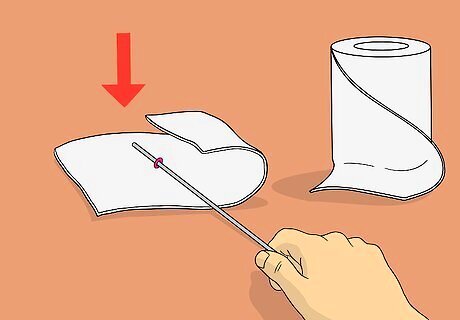
Leave the bead to soak in water. Then scrub the inside with a bead reamer or a pipe cleaner. Now your bead is ready to use. If wished, surface treatments such as etching can also be used at this point.


Comments
0 comment