
Making the Scones
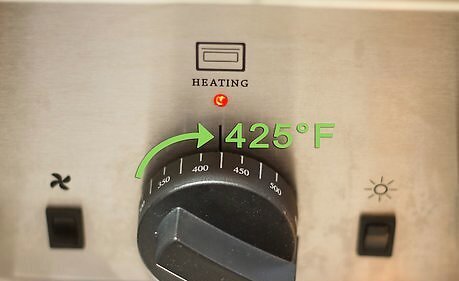
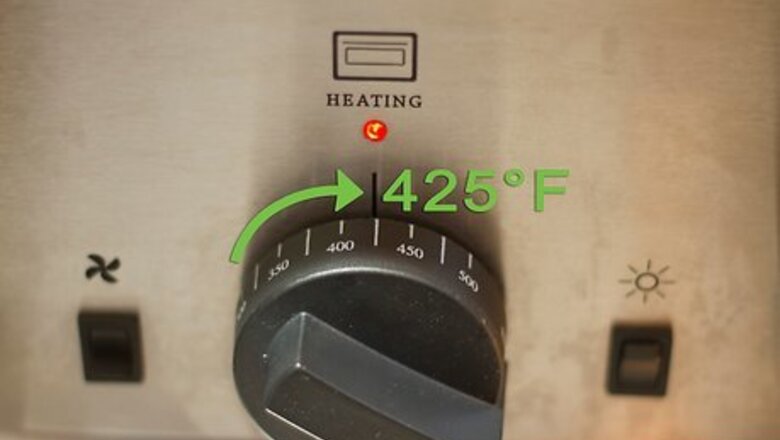
Preheat your oven to 425°F (215°C) and prepare your baking sheet. You can lightly grease your baking sheet with oil or cooking spray, or you can line it with parchment paper. Set the baking sheet aside when you are done.
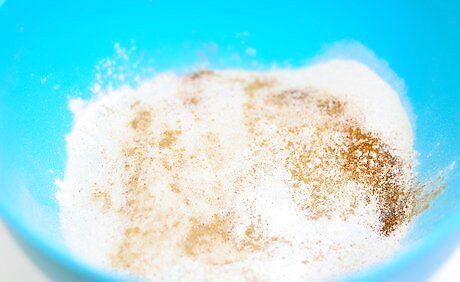
Mix the flour, sugar, baking powder, salt, and spices together. Pour the flour into a large mixing bowl, then add the sugar, baking powder, salt, and spices. Stir everything together until evenly combined. If you cannot find all of these spices, you can use the equivalent amount of pumpkin pie spices instead, although the flavor won't be nearly the same.

Cut the butter into the flour mixture until it resembles coarse crumbs. Cut the butter into small cubes first, then cut it into the flour using a pastry blender. If you don't own one, you can use two knives or even a food processor. Keep cutting the butter until the mixture resembles coarse crumb, then set the bowl aside. Make sure that the butter is cold.

Mix together the pumpkin, half-and-half, and egg in a separate bowl. Put the pumpkin into a new bowl, then pour in the half-and-half and egg. Stir everything together with a whisk until evenly combined an no streaks of egg yolk remain. Make sure that you are using 100% pumpkin purée and not the pumpkin pie filling. The pumpkin pie filling has extra ingredients, which will affect the recipe.
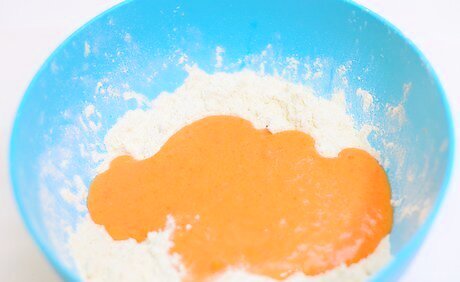
Fold the pumpkin mixture into the flour mixture. Once the pumpkin mixture is evenly combined, scoop it into the flour mixture. Use a rubber spatula to fold the two together. Be sure to scrape the bottom and sides of the bowl often. Be careful not to over-mix the dough, or the scones will turn out tough.

Roll the dough into a ball, then turn it onto a lightly-floured surface. Using your hands, pat the dough into a 1-inch (2.54-centimeter) thick rectangle. It will be about 9 inches (22.86 centimeters) long and 3 inches (7.62 centimeters) wide. If the dough is sticking to your hands, lightly dust your hands with flour. If the dough isn't coming together, knead it 3 to 4 times.
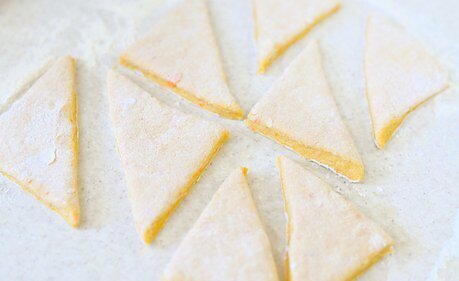
Cut the dough into scones. Start by making two vertical cuts to divide the rectangle into three smaller rectangles. Next, cut each rectangle in half diagonally to make six triangles. If you want smaller scones, cut each triangle in half widthwise. You can also cut the scones into squares or circles for something different. If the knife you are using isn't cutting through the scones easily, lightly coat it with flour.

Transfer the scones to the prepared baking sheet, then bake them for 14 to 16 minutes. To prevent the bottoms of the scones from burning, bake them in the upper portion of your oven. The scones are ready when they turn light brown. Don't cram the scones onto the baking sheet, or they won't bake properly.
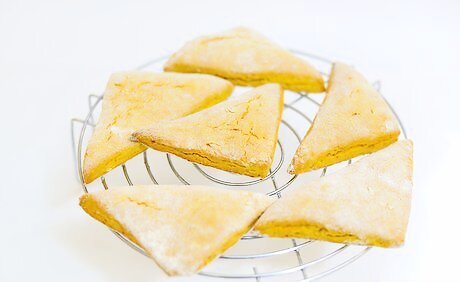
Move the baked scones to a wire cooling rack. Let the scones cool off before you start preparing the icing. The icing will start to set up very quickly, so you want to prepare it once the scones are cool. The scones must be cool before you pour the icing over them, or the icing may not set up properly.
Making the Icing
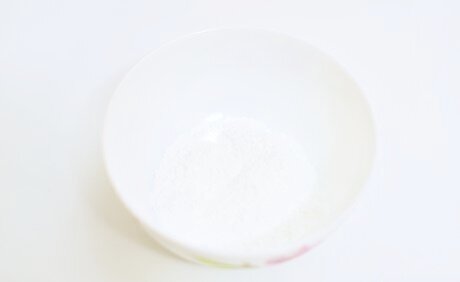
Sift the powdered sugar into a large mixing bowl. Place a fine, mesh sieve over a clean mixing bowl, then pour the sugar into it. Gently tap the sieve to sift the sugar into the bowl. This will help break up any clumps, and give you a smoother icing in the end.
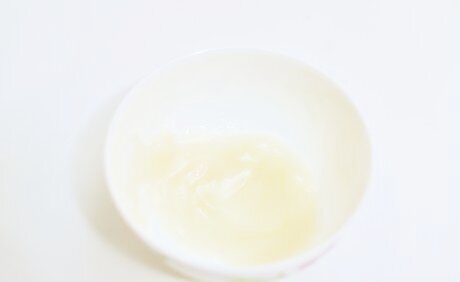
Stir 2 tablespoons (30 milliliters) of milk into the sugar. Keep stirring until the icing is smooth. If the icing is too thick, add a little bit more milk.
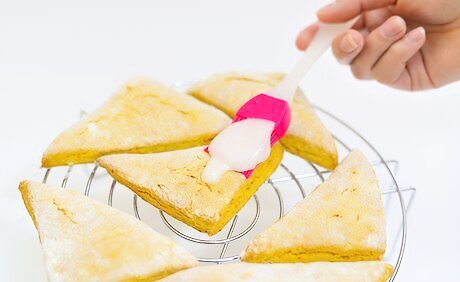
Use a pastry brush to spread the icing over each scone. You can also use a spoon to pour the icing over the scones. Make sure that you coat each scone with the icing evenly.

Wait 15 minutes for the icing to set. At this point, your scones are done. You can serve them as they are, or you can take things a step further by making a spiced glaze, and drizzling it over the plain icing.
Making the Spiced Icing Drizzle (Optional)

Sift the powdered sugar into a clean bowl. Once again, place a fine, mesh sieve over a clean mixing bowl, then pour the powdered sugar into it. Tap the side of the sieve to sift the sugar into the bowl.
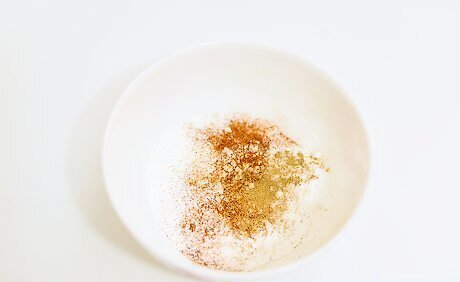
Add the spices, and stir everything together. Keep stirring until the spices are evenly mixed throughout the icing.
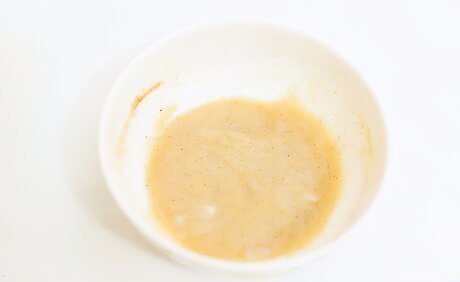
Stir the milk into the sugar mixture. This icing needs to be a little bit thicker than the basic icing so that you can drizzle it. If it is still too thick, however, add a little bit more milk. You want the icing to be thick enough so that it can hold its shape when drizzled, however.
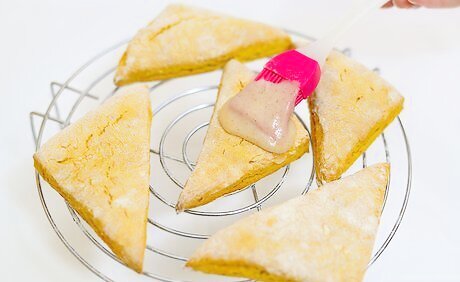
Use a spoon or whisk to drizzle the glaze over the scones. You can also use a clean, squirt bottle to do this. Drizzle as much spiced glaze over the scones as you'd like, then discard the rest.

Allow the icing to set for at least 1 hour before serving the scones. After this, you can serve your scones.


Comments
0 comment