
Lining Your Pot

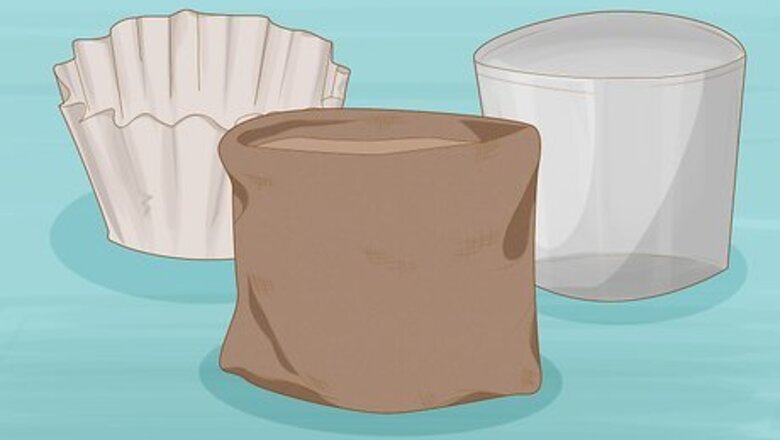
Choose your pot liner material. The most common materials are plastic and fabric, such as burlap. Smaller plants can even use coffee filters. The material you use simply depends on the size of the pot you’re lining and what material you have at your disposal. Look around your house for material you can repurpose into pot liners. Plastic milk gallons, bottles, and similar items can be great pot liners. You can cut off the spout, wash out the inside, and nestle the body of the jug or bottle into a similarly sized pot. You must use a material that you can poke holes in. It is critical that water can drain from your pot liner.
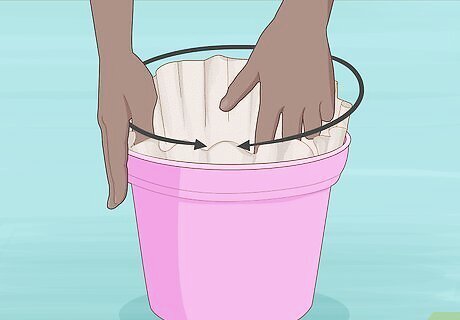
Measure the liner against the pot. In other words, place your liner within the planter and use a writing utensil to mark the places you’ll need to cut or trim. For example, if you are using a piece of burlap, place it within the planter and mark where the burlap extends beyond the rim of the planter. If you’re using an old plastic carton, mark where you’ll cut the plastic so that it nestles discreetly into the pot. The liner can fit all the way to the bottom of your planter, but it doesn't have to. If you have a very deep pot, you might not want to fill the entire thing with soil. If you create a pot liner that is sturdy and strong enough to hold your soil and plant, you can always try creating one that hangs from the rim of the planter without actually going all the way to the bottom. The planter or pot will appear to be completely full, but only the liner will actually be full. If the liner doesn't reach the bottom of the pot, you can also place rocks or packing peanuts in the pot.
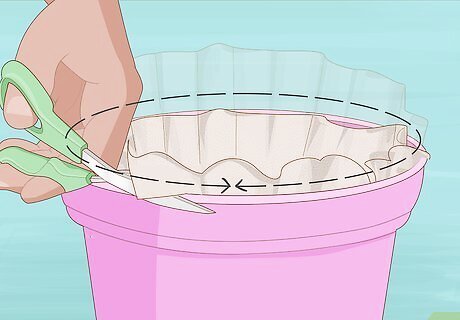
Trim your liner. Typically, you will want to cut it so that it’s not easily visible, and it appears that the plant is directly placed in the decorative pot or planter. However, you should leave enough material so that you can grasp it when you need to pull out the liner from the pot. Using sharp scissors, cut the liner material along the marks you made against the planter. Place it in the pot, and double check if you need to trim again. If you’re using a fabric liner, such as burlap, try letting the liner show for a decorative, rustic look. You can leave excess material on either side of the liner so that they act almost as handles when you need to pull the liner out of the planter or pot. Just make sure that you practice pulling the liner out of the vessel a couple times before you fill it with heavy soil. You need enough material to get a sturdy grasp.
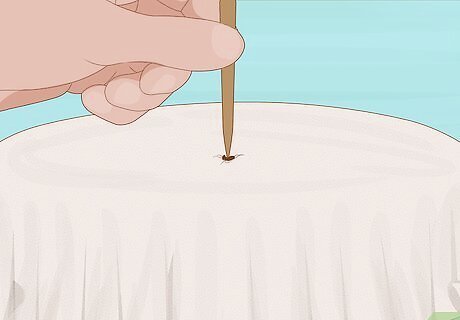
Cut drainage holes in the bottom of the liner. The holes should be dispersed evenly along the bottom of the liner, and they should be big enough just to let water drain out but not so big that you are losing chunks of soil every time you move the pot. That will defeat the purpose of your liner! The drainage holes are absolutely crucial for healthy plants. If the roots are constantly soaked, they cannot get the air they need. Plants often die from sitting in stagnant pools of water and developing rot. Whether you’re using plastic, fabric, of filters, you must cut or poke holes into the bottom. This is another huge benefit of using pot liners. When you’re planting in a pot or planter that does not have drainage holes, the pot liner will allow you to lift the plant out of the pot, let the roots drain properly, and place it back into the pot.
Planting

Fill your liner with potting soil. The potting soil you use will depend on the plant. A good soil will hold moisture and nutrients at the roots, while still allowing them to breathe. You can find various potting soils at any store that sells gardening supplies. Look for ones that specifically contain peat moss, pine bark, and perlite or vermiculite. Fill the pot about half way before placing the plant. It is important to buy soils that are specifically for potting. Things like garden soil and mulch were not created for planting in containers. Leave two or three inches between the top of the soil and the lip of the pot.

Place your plant in the soil. The largest plant should go in the center of the pot, and smaller plants can go closer to the perimeter. After you’ve transferred your plant into the potting soil, add more soil so that the roots are fully covered. The soil shouldn’t be packed extremely tightly— “fluffy” soil is the best soil for growing in pots.
Place your pot in sunlight and water it regularly. However, be cautious of overwatering. Touch the surface of the soil, and add water whenever it feels dry. Slowly add water until there is water running from the drainage hole. Ideally, there is a drainage hole in your decorative pot or planter. If not, you will need to lift the liner and plant, drain the pot, and put the liner and plant back down into the pot. The entire root zone should be damp, but not constantly soaked. Ventilation and drainage are crucial.


Comments
0 comment