views
Brushing on Baking Powder
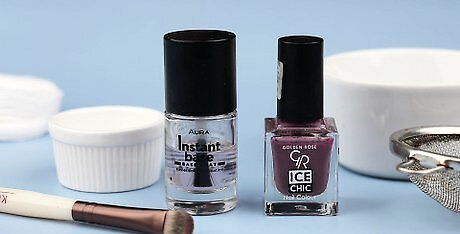
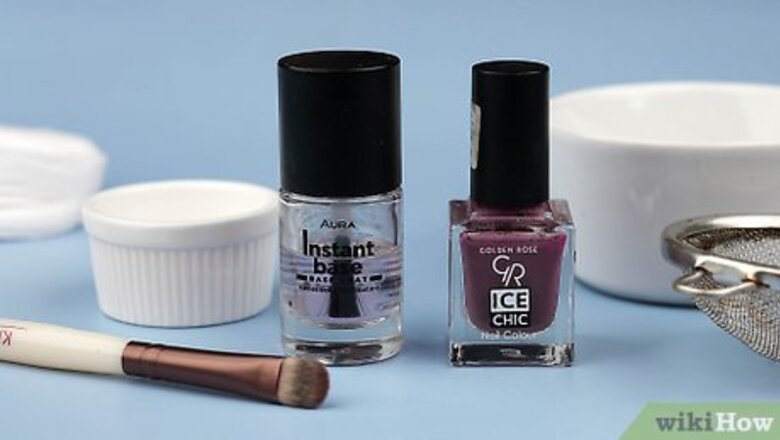
Gather your supplies. Once you paint your nails, you will have to work quickly, or the polish will dry and become hard to work with. Here is a list of what you will need to have ready: Basecoat and nail polish Baking powder Tightly-woven sifter Small dish or container Small, soft makeup brush
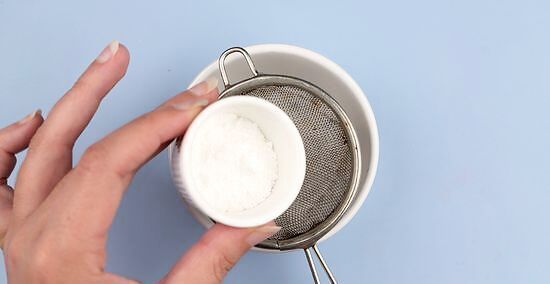
Pour the baking powder through a tightly-woven sifter into a small bowl. You will need to break up any clumps that are in the powder, or they will ruin the surface of your manicure. If you still see any clumps, break them up using a toothpick.
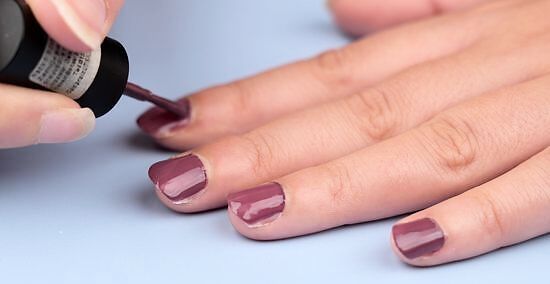
Paint the nails on one hand. Be sure to apply a basecoat first. Then, choose any nail polish you want, and paint your nails with it. Leave the other hand unpainted for now; this is so that the nail polish does not dry out too quickly.
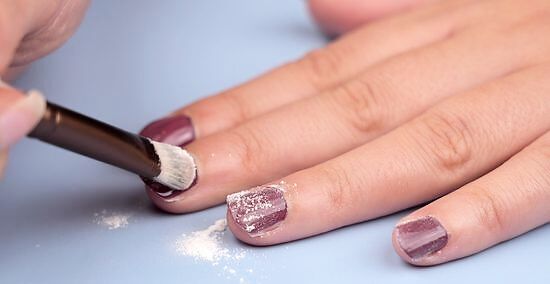
Brush the baking powder onto your wet nails. Dip the brush into the baking powder, then gently sweep the brush over the wet nail polish. The powder will stick to the polish. Dip the brush into the baking powder each time before you brush your nail with it. If you don't do this, the bristles will get caught in the wet polish and become ruin. Make sure that your nails are evenly coated with the baking powder. If there are any gaps in the powder, there will be gaps in the matte effect. Make sure that you are using a soft-bristled makeup brush. If the brush is too stiff, it may cause streaks in the manicure.
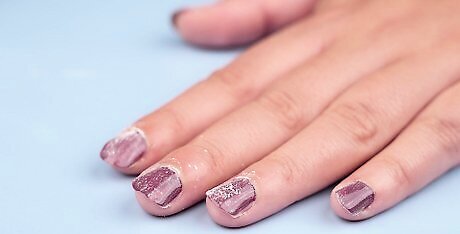
Let it sit on your nails for a few seconds. This will be enough time for a thin layer of baking powder to sink into the nail polish, giving it a matte effect.
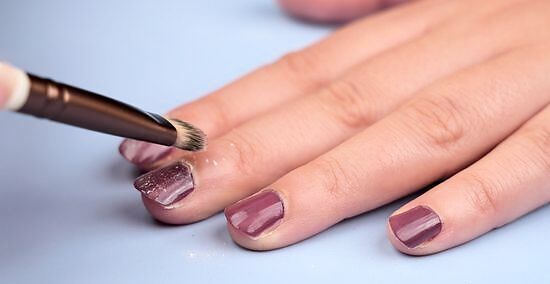
Brush or rinse the powder off your nails. Be sure to remove any specks of powder. Your nails should now be matte. If the powder has dried into the polish, dip the brush into some water and try brushing the powder off again. This should help remove the stuck powder.
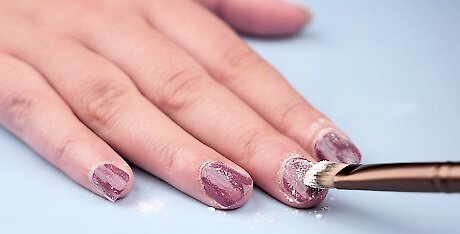
Repeat the process for your other hand. Apply a basecoat and some nail polish, then dust your nails with baking powder. Brush the powder off using a clean brush.
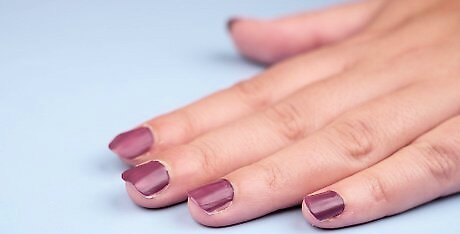
Let your nails dry. Your nail polish may still look glossy while wet, so it may be a good idea to let it dry completely in order to see the final results. Also, you might want to avoid using a topcoat. Most topcoats are glossy, and will take away the effect. If you can find a matte one, then use that.
Making an Entire Bottle of Matte Polish
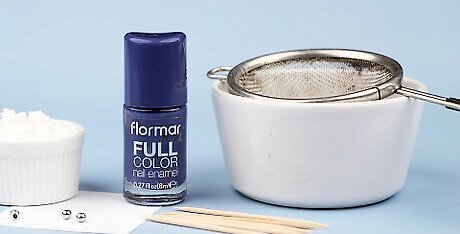
Gather your supplies. If you plan on using matte nail polish often, consider making an entire bottle. This way, you won't have to mix the ingredients every time. Here's a list of what you will need: Nail polish Cornstarch, matte eyeshadow, mica, or cosmetic pigment powder Tightly-woven sifter (for cornstarch) Toothpick (for eyeshadow) 2 inch by 2 inch (5.08 centimeters) square of paper Nail polish 2 – 3 ball bearings (optional) Small cup or dish
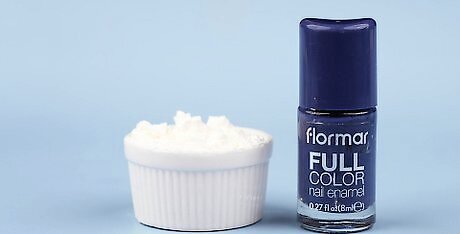
Choose your nail polish and powder. Make sure that the bottle you are using is only partly-full. Do not use a full bottle, or the powders you will be using will cause it to overflow. If you want to make a matte topcoat, you will need clear nail polish and cornstarch/cornflour. You can apply this topcoat over any manicure to make it matte. If you want to make regular matte nail polish, you will need a solid-colored polish and cornstarch or cornflour. If you want to make a custom color, you will need a clear nail polish. You will also need matte eyeshadow, skin-safe mica powder, or cosmetic pigment powder into it. Adding some cornstarch will help make the finish even more matte.
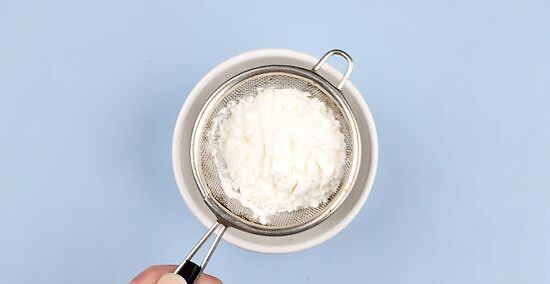
Prepare your powder. Whatever powder you choose to use, it needs to be very fine. Any clumps in the powder will make your polish lumpy. If you are working with cornstarch or cornflour, pour it through a sifter into a small container. If you are working with eyeshadow, scrape it out of its pan first, and then smash it up using the end of a pencil or brush. Mica powders and pigment powders should already be fine and not have any clumps. You will need only a few pinches of cornstarch or cornflour. If you are using eyeshadow, plan on using an entire pan per ½ bottle of polish.
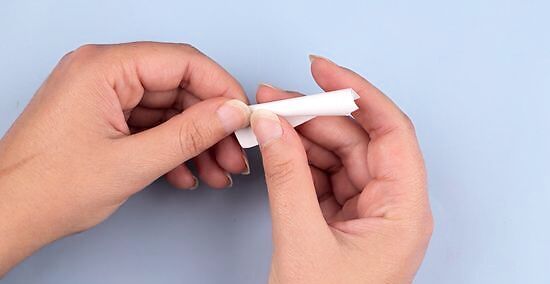
Make a funnel out of a 2 inch by 2 inch (5.08 centimeters) square of paper. Roll the paper into a cone shape. Make sure that the pointy end has an opening in it, so that the powder can pass through.
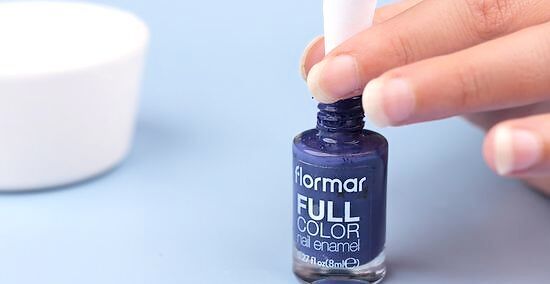
Open the nail polish bottle and stick the funnel down into the neck. The pointy end should not be touching the polish. If it is, widen the top of the cone so that the point sits higher. If the point gets wet, trim it down, or the powder will get caught in it instead of going into the polish.
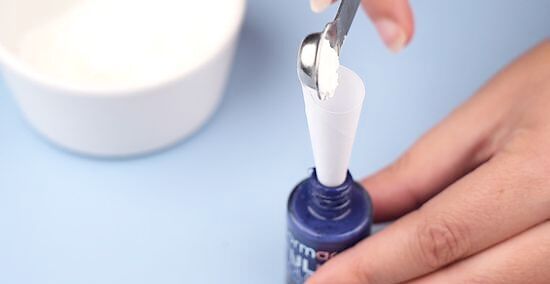
Add in a few pinches of your powder. Use a tiny scoop or teaspoon. You can use your fingers, but you may end up wasting some of the powder if it sticks to your skin. Avoid adding in too much powder at one time, or you will make your polish too thick. You can always add more powder later. If you are using eyeshadow, mica powder, or cosmetic pigment powder, consider adding in a little bit of cornstarch or cornflour. This will help make the polish even more matte, especially if the powder is shimmery or opalescent.
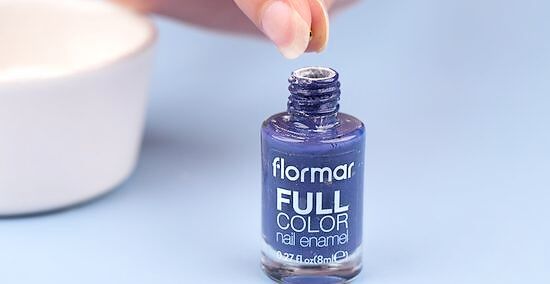
Consider adding in two to three ball bearings. This will make your polish easier to mix, especially if you are starting out with a clear nail polish base. If you are using a solid-colored nail polish, you probably won't need them, as most solid-colored polishes already have them inside. The diameter of each mixing ball should be about 1/8 inches (3.175 mm). Choose mixing balls made of stainless steel for the best effect.
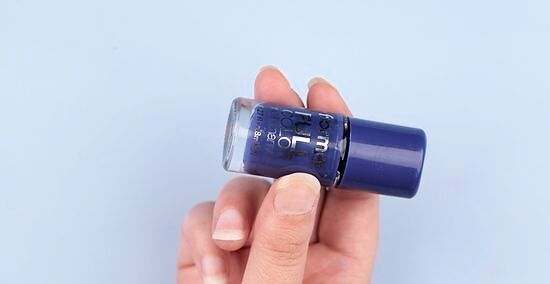
Close the bottle tightly and shake for a few minutes. Stop shaking once the color is even and uniform. If you are using ball bearings, stop shaking once you can't hear the balls rattling anymore.
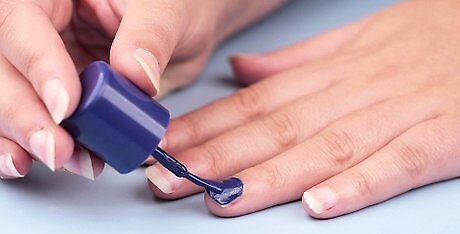
Test your polish and make any necessary adjustments. Once the polish is mixed, open the bottle and brush on some of the polish onto your nail or a scrap of paper. Let the nail polish dry so that you can see what it truly looks like. If the polish is too thick, you can try thinning it with a drop or two of nail polish thinner. If the polish is not matte enough, add in some more cornstarch or cornflour. If you are using clear nail polish and it is too sheer, add in some more of the eyeshadow, mica powder, or pigment powder that you were using.
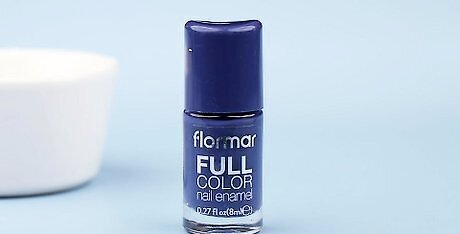
Let the nail polish sit for 24 hours before you use it. This will give the pigments and powders you used to dissolve into the polish and make it more smooth and less clumpy.
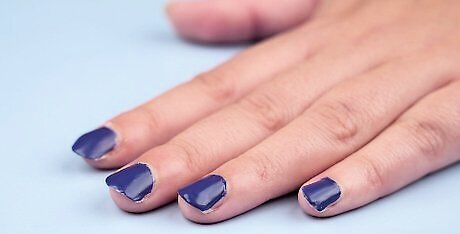
Be careful of what topcoat your use. Topcoats are typically glossy, so using one over your matte manicure will take away the effect. Try and see if you can find a matte one to match your polish.
Using Eye Shadow
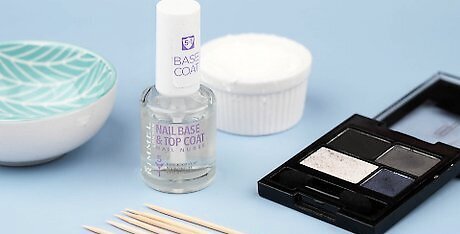
Gather your supplies Sometimes it is difficult to find nail polish in the right color. Fortunately, it is possible to use matte eyeshadow to turn some clear nail polish into matte nail polish. If you just want a matte topcoat, then you can use cornstarch instead. Here's a list of what you will need: Clear nail polish Matte eyeshadow Cornstarch (optional) Toothpick Small cup or dish
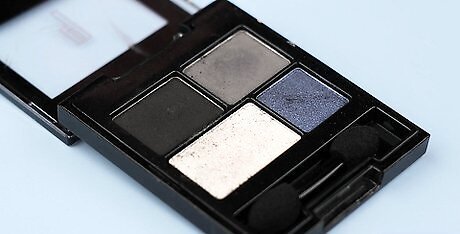
Choose your eyeshadow. You can use whatever color you want, but it has to be matte. You can also use some cosmetic pigment powder instead. This will already come in powder form, so you won't have to crush the eyeshadow into a powder later one. If you want to make a clear, matte topcoat, then use cornstarch instead.
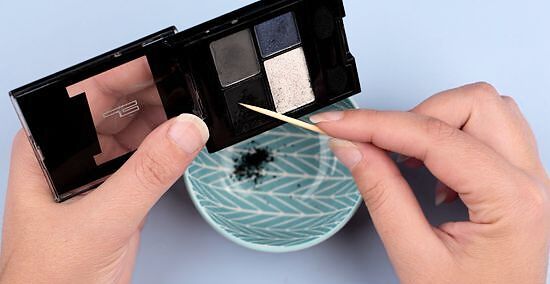
Use a toothpick to scrape off some matte eyeshadow into a small container. You can use a paper or plastic cup, a small dish, or even a cupcake or muffin liner. Your nails will be whatever color of eyeshadow you used. Plan on using a little more eyeshadow than nail polish.
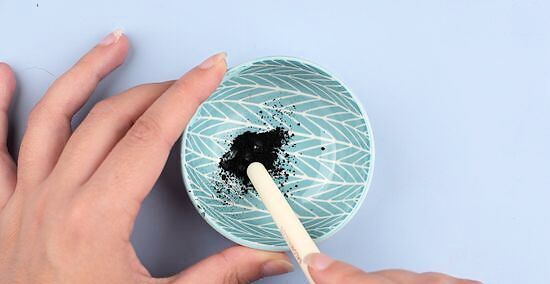
Make sure that the eyeshadow is ground into a fine powder. If there are any clumps, break them us using the end of a brush or pencil. Keep crushing the eyeshadow until it is fine and powdery. If you have any clumps in your eyeshadow, your manicure will look grainy.
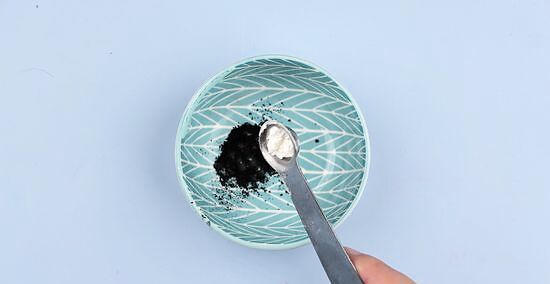
Consider making your polish extra matte by adding some cornstarch. You will need to use equal parts of cornstarch and eyeshadow. Stir the two powders together with a toothpick until they are blended together and the color is even.
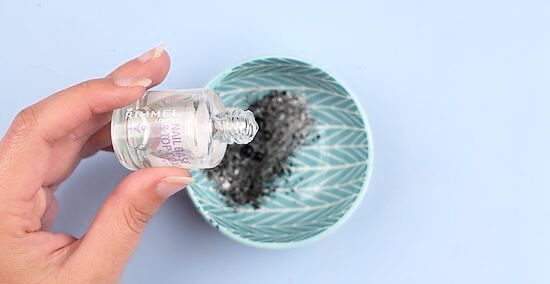
Add in a few drops of clear nail polish and stir with a toothpick until there are no lumps. Keep stirring until you get an even color and consistency. If the color too sheer, add some more eyeshadow. Make sure that there are no clumps in the polish. If there are any clumps, break them up with the toothpick. If you don't do this, they will show up on your manicure and make it look lumpy.
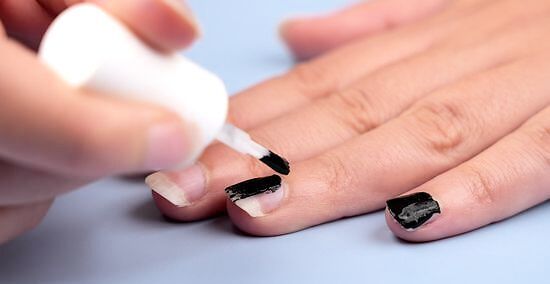
Use the nail polish quickly. The polish will dry fast. Simply apply a basecoat, then paint your nails as you normally would. If there is extra matte polish afterward, you can pour it into an empty nail polish bottle or another small, glass bottle.
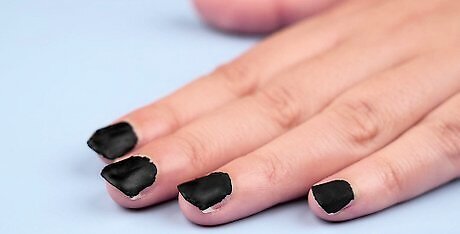
Let the nail polish dry. You won't see the true effect of the eyeshadow until the polish dries. Also, avoid using a topcoat; most topcoats are glossy and will reverse the matte effect. If you can find a matte topcoat, then that is fine.
Using Steam on a Regular Manicure
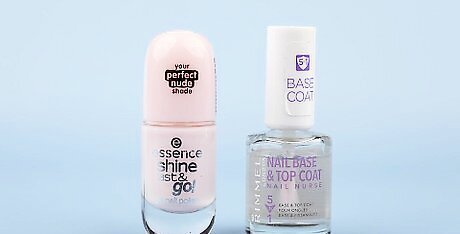
Gather your supplies. Once you apply the nail polish, you will need to work quickly. This method only works on wet nail polish. If you let the nail polish dry, it will be too late. Here's a list of that you will need: Nail Polish and basecoat Water Pot or saucepan
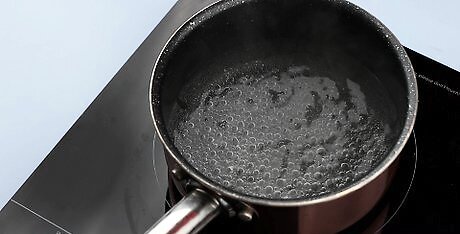
Begin by boiling some water. Fill a cooking pot or saucepan with water and place it on the stove. Turn the stove on and let the water heat up. You will be using the steam to make the nail polish matte.
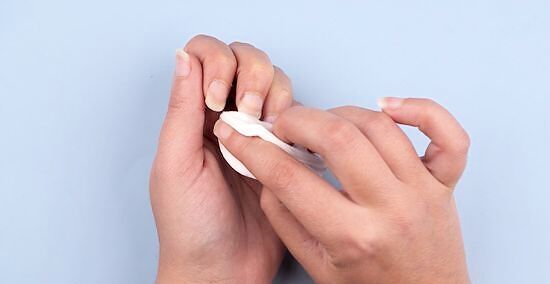
Make sure your nails are clean and oil-free. Nail polish won't stick very well to nails that even have the slightest hint of oil on them. Wipe your nails down with some nail polish remover to remove any residue from lotions and creams.
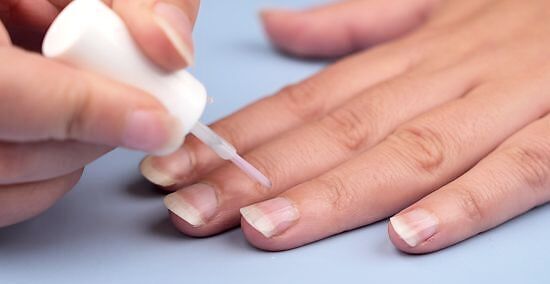
Start applying your basecoat. The basecoat will protect your nails and keep them from getting stained, especially if you plan on using a darker color of nail polish. The basecoat will also give the nail polish something to hold onto.
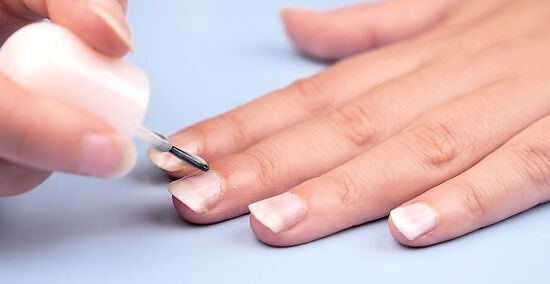
Apply the nail polish. It is better to apply one thin coat, let it dry, and then apply a second thin coat. If you apply one thick coat, you will risk the nail polish forming tiny bubbles or chipping later on.
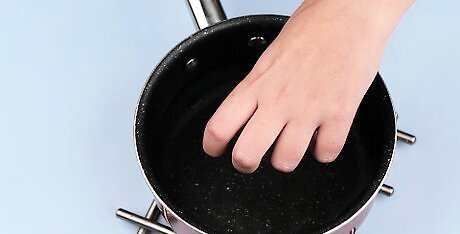
Hold your wet nails over the steaming water for three to five seconds. Make sure that the steam is hitting the wet nail polish. Be careful not to get the nails themselves wet, however. The nail polish must be wet, or this will not work. Be sure to move your hands about and wiggle your fingers from time to time. This will allow the steam to cover every bit of your nails.
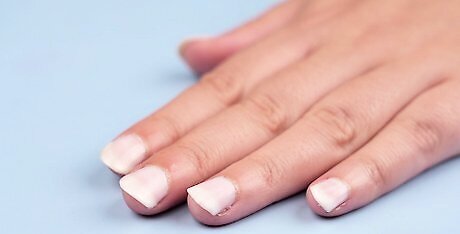
Step away from the pot. After a few seconds, the nail polish should be matte. You can step away from the pot and let the nail polish dry on its own the rest of the way.
Using Matte Topcoat on a Regular Manicure
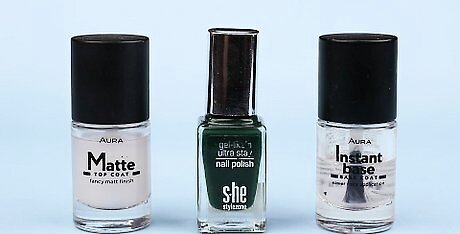
Gather your supplies. If you cannot find a matte nail polish in a color you like, you can always use a matte topcoat on top of a regular nail polish that you do like. Here's what you'll need: Basecoat Nail polish Matte topcoat
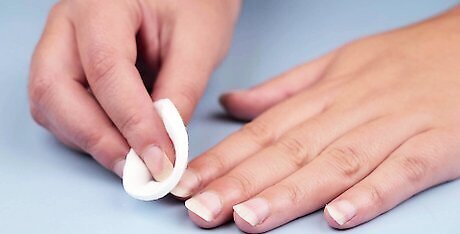
Wipe your nails down with nail polish remover if you aren't wearing any nail polish. Nail polish won't stick to even the slightest bit of oil. Soak a cotton ball with some nail polish remover, and wipe down your nails with it.
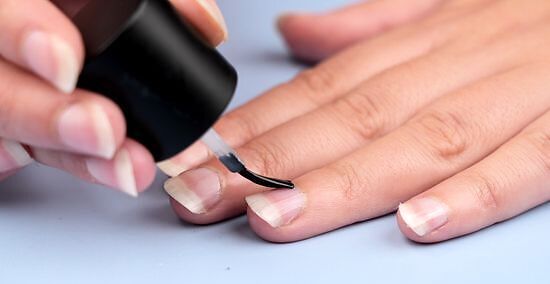
Apply a basecoat. This will protect your nails and keep them from getting stained, especially if you are going to use a darker nail polish color.
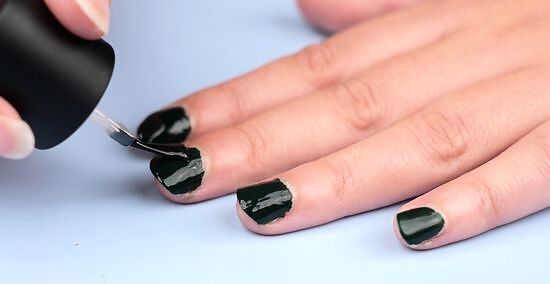
Apply two thin coats of nail polish. Be sure to let each coat dry before applying the next one. You can use any nail polish color you want, but a solid color may look better than metallic, pearlescent, iridescent, or glittery one.
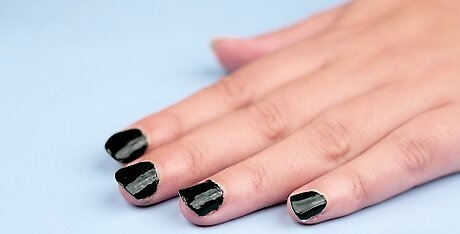
Make sure that you are happy with the finish of your manicure. Matte topcoats tend to bring out all imperfections, including streaks and unevenness. Make sure that your manicure is just the way you like it; the matte topcoat won't conceal imperfections like a glossy one might.
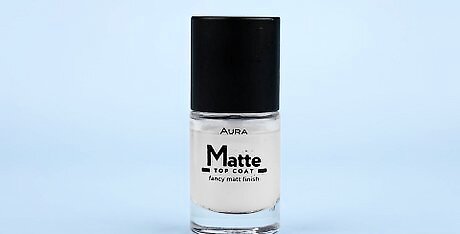
Choose a high-quality matte topcoat. The bottle must say "matte" on it, or else this will not work. Keep in mind that some matte topcoats may lighten or alter the color of your manicure. If the topcoat looks milky or foggy in the bottle, then it will most likely lighten/alter the color of your manicure.
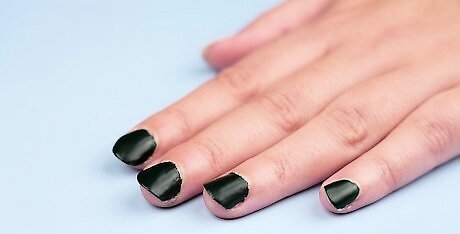
Apply the topcoat to your nails and let it dry. Some topcoats can a very long time to dry. Even if the nail polish looks dry to the touch, it may still be wet underneath. Try to be careful with your nails for the next hour or two. Be aware that matte topcoats tend to be more visual than protective. Not all matte topcoats will protect your manicure against chipping.


Comments
0 comment