views
Using Tape
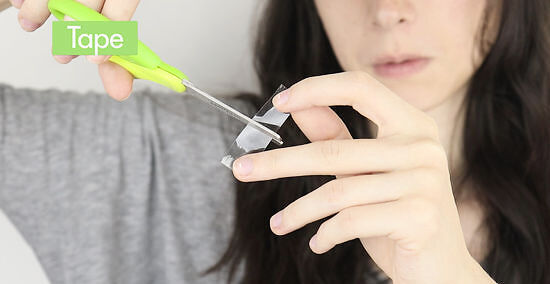
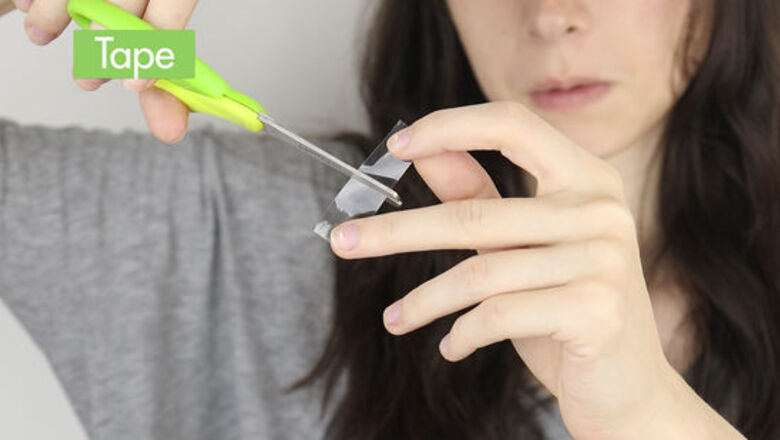
Cut off two small pieces of tape. You can use household Scotch tape, or you can use surgical tape if your skin is a bit more sensitive. You will need one small piece for each eye. Fold one corner of the tape down, so that it creates a little flap that will make it easier to peel the tape off of your skin.
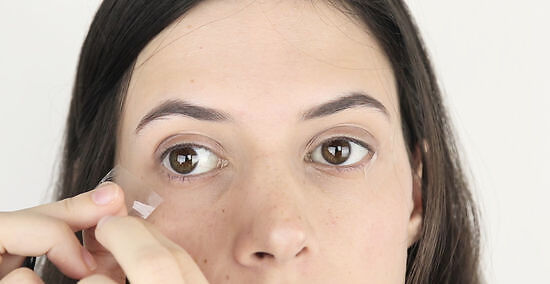
Place the tape on the corners of your eyes. The tape will go at an angle on each side of the eye, diagonal from the cheek to the temple. The tape should be placed where you want your eyeliner wings to go. To determine where that should be, imagine two lines extending from the corners of your nose up to the corners of your eyes. The tape should follow that trajectory. If you are unsure where the tape needs to go, grab an eyeliner pencil or a long straight edge and hold it from the side of your nostril to the corner of your eye. That is the line that the tape should line up with. Press the tape onto your skin firmly enough that no makeup product can get underneath it.
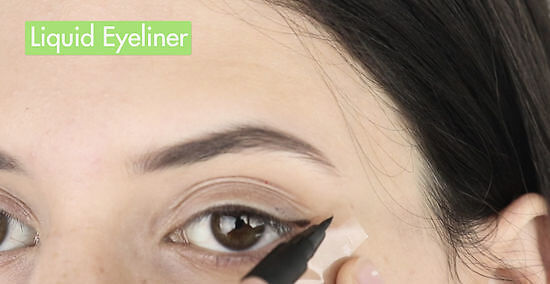
Draw your eyeliner wings. Once you are happy with the tape placement, grab your liquid or gel eyeliner. Using a tiny eyeliner brush, paint the product along the edge of the tape. The tape will ensure that the line of the wing is perfectly straight, and also guarantee that your wings are even on both sides.
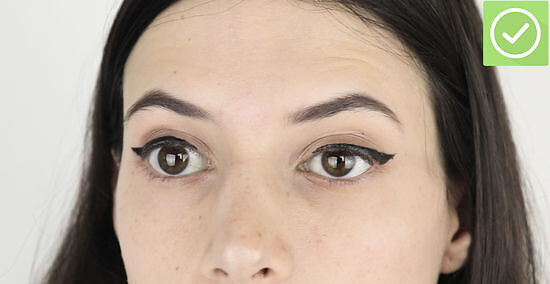
Remove the tape gently. Once you’ve created your wings, gently peel away the tape. You should be left with two even eyeliner wings with crisp, straight edges where the tape was. If necessary, you can use your small eyeliner brush to add product anywhere necessary.
Creating a Rough Draft
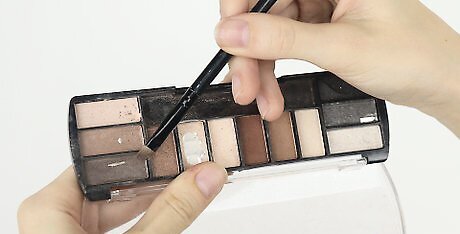
Find an eyeshadow in a neutral color. This technique works best if you choose an eyeshadow in the same color as the eyeliner you plan to use for the wings. Otherwise, any neutral color like gray, black, or brown will work for this. Ditch your regular eyeshadow brush, and grab an eyeliner brush.
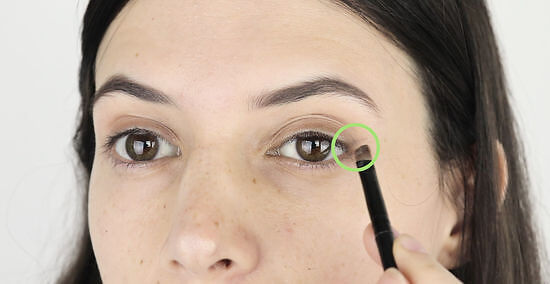
Create an outline of your wing with your shadow. Using the eyeliner brush, flick the powder from the outer corner of your eye upwards. To make sure that both wings extend along the same angle, follow the angle of your bottom lash line. In other words, imagine your lash line continued outside the outer corner of your eye. Draw your shadow along that imaginary line, and ensure that they look even. This is a perfect trick for beginners, because eyeshadow is easier to remove from skin than liquid or gel eyeliner. You can easily erase your eyeshadow wing if you’re unhappy with it, and simply start over.
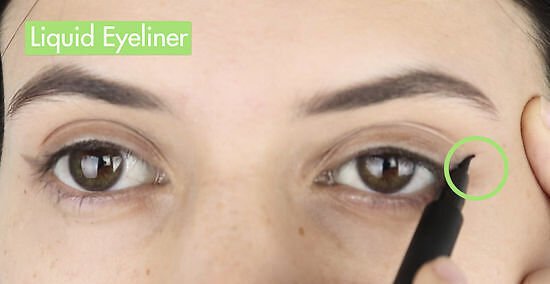
Trace your shadow with eyeliner. Once you're satisfied with your eyeliner wing, trace over it with your liquid or gel eyeliner of choice. This step is much less scary if you have a pre-approved shadow outline to trace. Fill in the wing with your eyeliner, and make sure once again that everything looks even. The shadow will also act as a primer of sorts, giving your eyeliner something to adhere to and ensuring it stays in place all day.
Working Backwards
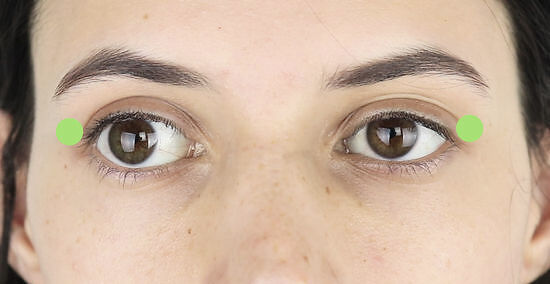
Place dots where your eyeliner wing should end. Most people have an idea about where exactly the wings should extend to on either side, but then they get the eyeliner brush in their hands and that plan goes out the window. Instead, work backwards and place the point of the eyeliner first, before attempting to draw any sort of line.
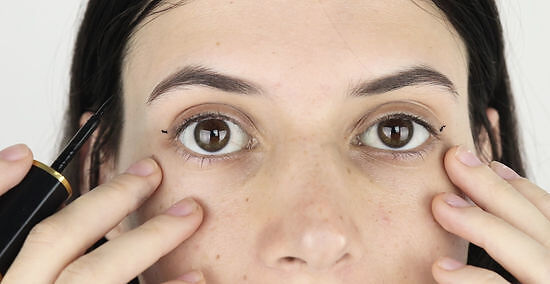
Ensure your dots are even. Once you’ve placed dots on either side of your eyes where you want the wings to extend to, look straight ahead in the mirror. Double-check that the dots are symmetrical and at the same distance from the outer corners of the eyes. If the points are symmetrical, the wings will be even.
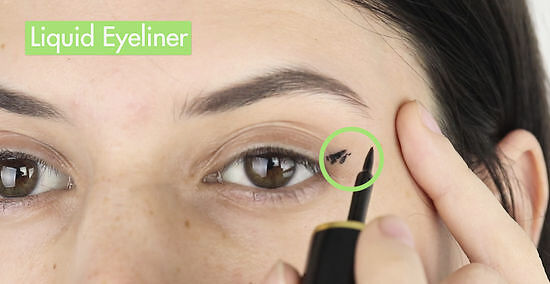
Apply your eyeliner from the points inward. Once you’ve ensured that the dots are evenly placed, you can use your liquid or gel eyeliner to create the wing. Start at the points and move inwards to the outer corners of your eyes. With a defined point already created, the guesswork has been taken care of. Connecting those dots to the corners of your eyes is the easy part!
Hiding Imperfections
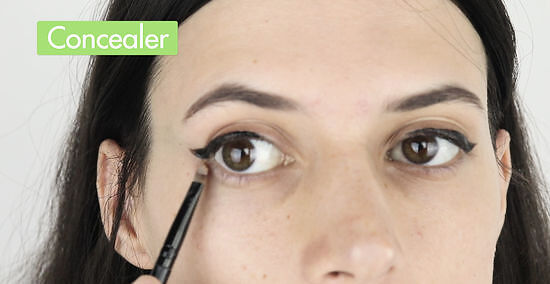
Use concealer to even out eyeliner wings. It’s a major bummer when you use one of these techniques to create beautiful winged eyeliner, only to examine them in the mirror and notice a small flaw. If you don’t want to remove your eyeliner and start over, you can use foundation instead. Using a clean eyeliner brush, crisp up the borders of your winged liner. With this technique, you can conceal any jagged edges or overly thick lines.
Perfect your wings with makeup remover. This step can be tricky for beginners, but done correctly and it can improve your winged eyeliner game immensely. Imagine that you’ve created wings on both sides of your eyes only to discover that one line is a bit thicker than the other, or extends a bit too far out from the eye. Dip a small Q-tip into makeup remover, and carefully erase any extra eyeliner. Once you’ve removed a bit of liner, check again to see if your wings are even. You can do a quick stroke along the side of your wing to thin out the line, or you can carefully shorten your wing as well. Once you’ve removed the “wonky” parts of the wing, you may need to grab your eyeliner and perfect it a bit more. EXPERT TIP Daniel Vann Daniel Vann Licensed Aesthetician Daniel Vann is the Creative Director for Daredevil Cosmetics, a makeup studio in the Seattle Area. He has been working in the cosmetics industry for over 15 years and is currently a licensed aesthetician and makeup educator. Daniel Vann Daniel Vann Licensed Aesthetician Follow the natural shape of your eye with the cotton swab. Makeup artist Daniel Vann says: "Most accomplished makeup artists get perfect eyeliner wings by erasing. After you draw the liner at the edge, take a cotton swab dipped in makeup remover, and follow the shape of your undereye up toward your eyebrow. That cleans up the eyeliner and leaves you with a perfect line."
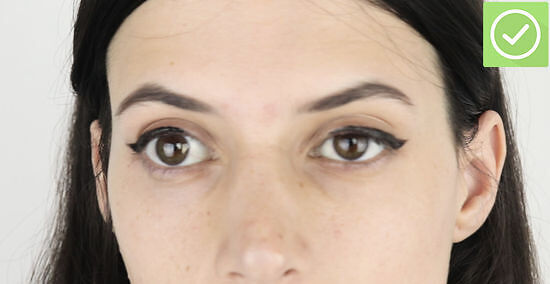
Smudge your liner. This is a perfect tip for anyone in a hurry, with no time to sit in front of the mirror drawing and redrawing their winged eyeliner. If you’ve drawn your wings and they’re a bit uneven or shaky, grab an eyeliner brush and smudge them out a bit. Instead of adding more product, you can drag the product you’ve already placed, adjusting the sides to make them even or smoothing jagged skinny lines into thicker wings. You may not get the super skinny wings you were originally going for, but at least they’ll be even! Ariana Grande rocks the thick eyeliner wings, so you can always say that’s what you were going for as well.




Comments
0 comment