views
Constructing Your Kite with Dowels
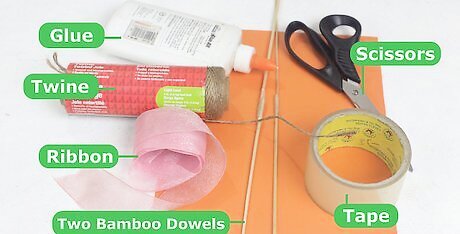
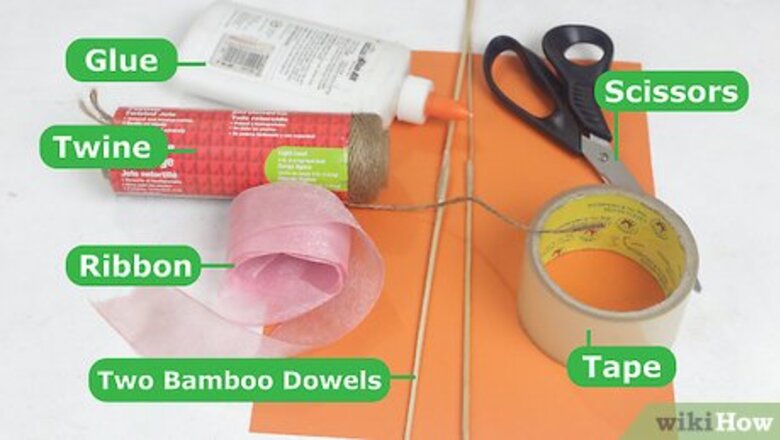
Gather your materials. You may have many of these materials on hand at home. Otherwise, try a craft store. Paper (square/diamond shape) You can glue 4 8.5"x11" pieces of paper together for a bigger kite Card stock is thicker and better than standard paper Tape Glue Scissors Ribbon Twine Two bamboo dowels (one the size of your paper diagonally, and one with an extra inch)
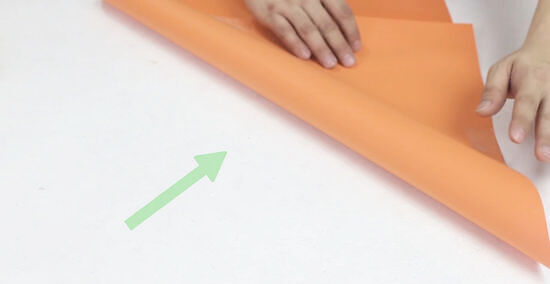
Fold your paper in half diagonally. Crease the paper well and open it up again.
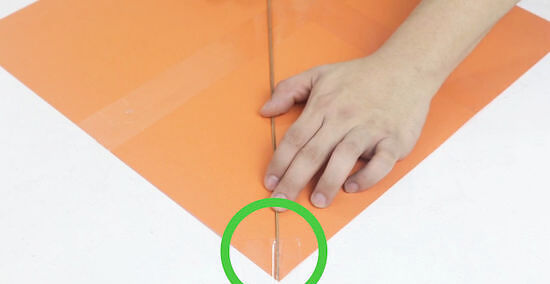
Create your structure. Place the shorter one of your dowels in this crease and tape it. You want it to be flush with the corners of your paper.
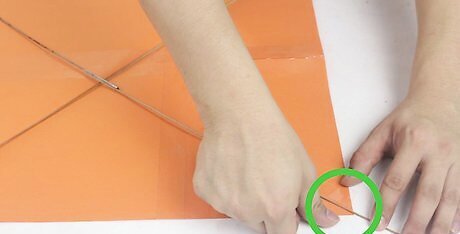
Use your other dowel. Take your longer dowel and tape one end to a corner of your paper that doesn’t have the first dowel taped down. Although you taped the entire smaller dowel, only tape the end of this one.
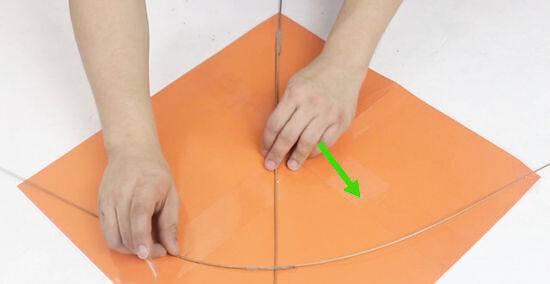
Arc your dowel. Now that one side is taped down, arc your longer dowel and tape the other side to the opposite corner. Use two small pieces of tape to keep this arc in place.
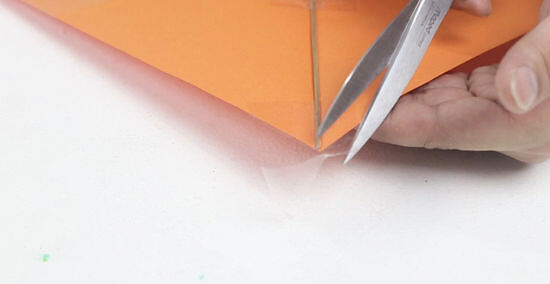
Cut excess tape. If you have excess tape on your edges, cut it away to prevent your kite from flying without control.
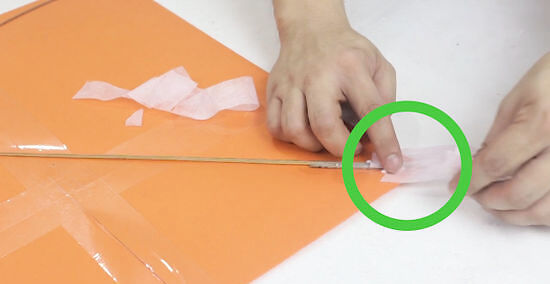
Cut your ribbon. Glue your ribbon to your kite. You want it to follow the same line as your shorter dowel. It will make a colorful tail to help your kite stay in flight.
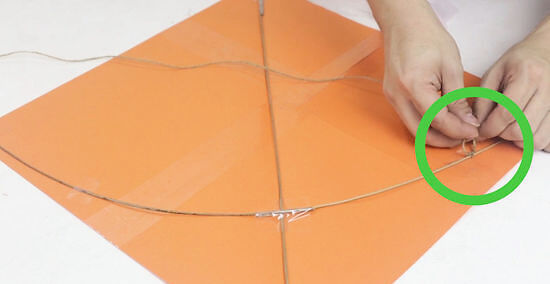
Attach your twine. Tie your twine onto the sides of the arched dowel. As soon as the glue on your ribbon dries, you’re kite is ready to fly. Wrap your twine around a toilet paper roll if it makes it easier for you to reel in and out.
Constructing Your Kite Without Dowels
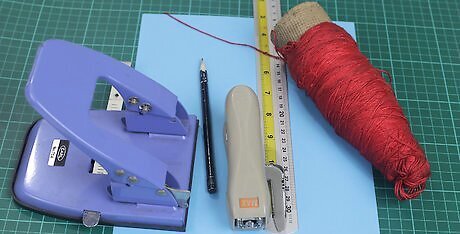
Gather your materials. For your kite, you’ll only need a few things. You can choose any color you want, and decorate it however you’d like. 8.5”x11” piece of card stock (Standard paper works too, but card stock is stronger) Twine Stapler Pencil Ruler Hole punch
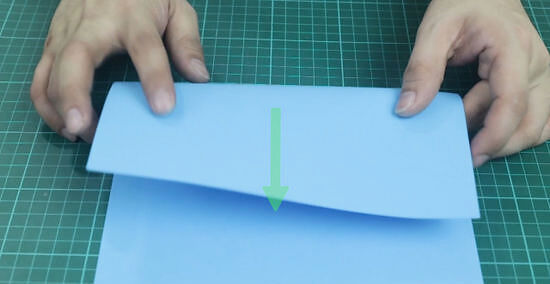
Fold your piece of paper in half. The shorter sides of your paper should meet (hamburger style). Fold with your decorations on the outside of the paper and turn the paper so that the fold is closest to you.
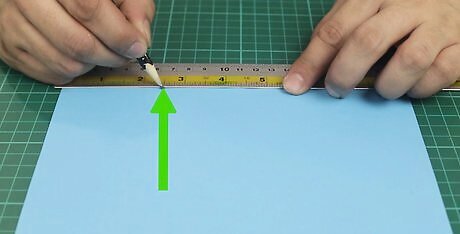
Make a pencil mark 2.5in (6.35cm) in from the left corner. Find the edge of your folded paper that’s closest to you. Measure 2.5” in from the left side and mark it with your pencil.
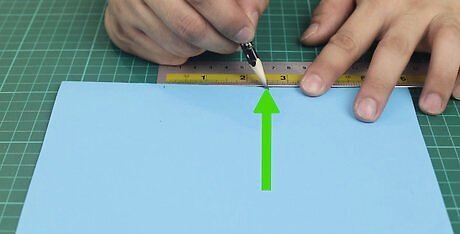
Repeat your measurement. From the mark that you just made, measure 2.5” again and mark it with your pencil.
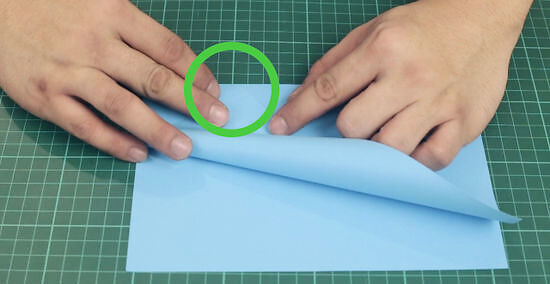
Find the top left corner. Fold the top layer of paper to your first pencil mark, but don’t crease it.
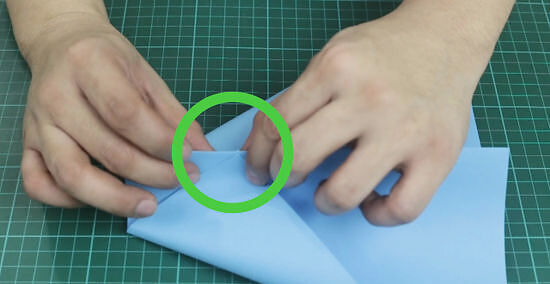
Match the other corner. Pick up your paper carefully while holding the first corner in place on your pencil mark. Grab the other side of the paper and fold it down to mirror the first fold. They should line up on the first pencil mark.
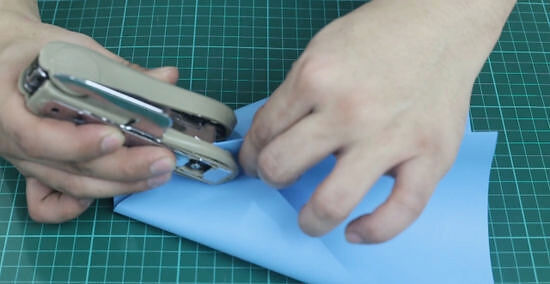
Staple these corners in place. This is going to be what holds your kite in the air. Attach a tail to the other end of your kite if you wish; this will add stability.
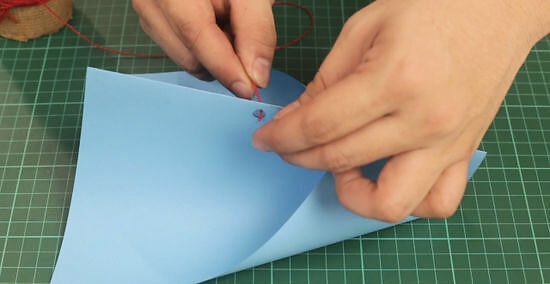
Punch a hole where you made the second pencil mark. Loop one end of your kite string though the hole and knot it. Your kite is ready to fly! Wrap the string around an empty toilet paper roll to make it easier to reel in and out.


Comments
0 comment