views
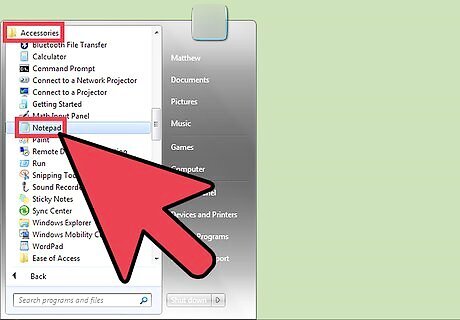
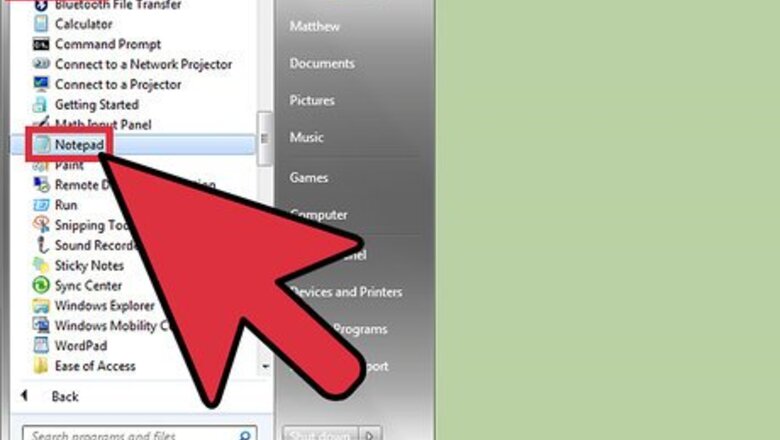
Open Windows Notepad. To begin making an autorun CD, click open the start menu followed by a folder named "Accessories." Open Windows Notepad, which will be located within that folder. Alternatively, you can also type "Notepad" into the search or run bars on your Start menu in order to launch it directly.
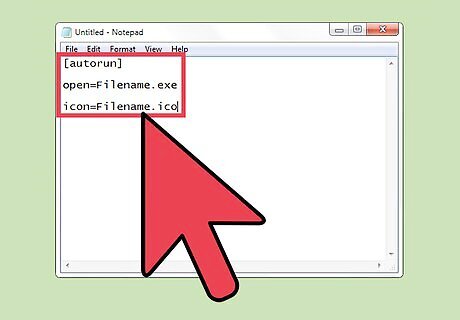
Create an Autorun.inf file, which is a text file that Windows automatically looks for when a CD-Rom is placed into your system. Type the following into Notepad:[autorun] open=Filename.exeicon=Filename.ico
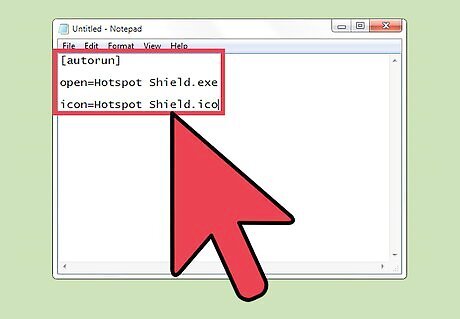
Replace both 'filenames' with the actual name of the program's .exe and .ico that you are trying to burn to the autorun CD. After finishing that, save the file. However, instead of saving it as a .txt file, choose "All Files" from the "Save As" drop down menu. Name the file Autorun.inf and save it to your desktop. If the program you are trying to make an autorun CD out of doesn't have an .exe file, it may have a .msi file instead. If this is the case, replace the open=Filename.exe with open=Filename.msi.
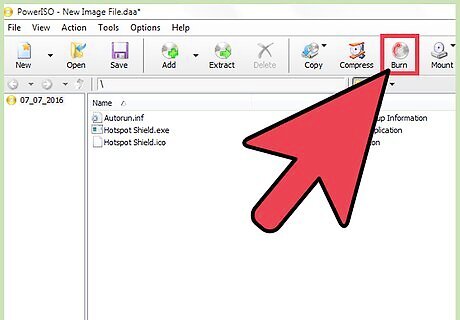
Burn the Autorun CD. Start your CD burning program and follow the instructions for burning the type of disc you are trying to make. Now that you have the Autorun.inf saved to your desktop, find it and add it to your CD. Place it in the main directory of the CD itself, as this is where Windows will look for the file. Check the burning software's options thoroughly. Some types of CD burning software have an option to make the disc autorun capable or bootable automatically. If you are using this tutorial in order to make an installable copy of a computer operating system, you need to find the option to make your CD bootable, as just making it an Autorun CD will not fulfill that on its own.
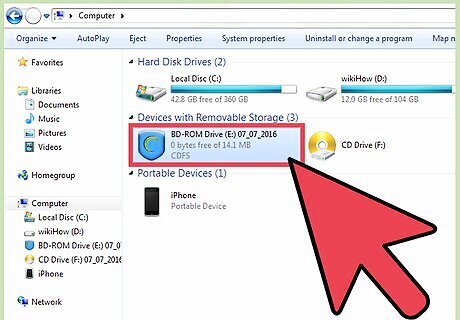
Place the CD in your disc tray. Make sure to test your newly made Autorun CD before you delete any of the program materials. The CD will launch automatically if the steps were followed correctly and the burning process completed without errors.


Comments
0 comment