views
Using a Plastic Bottle
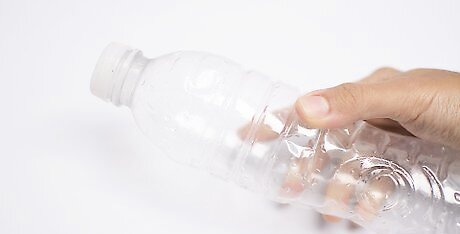
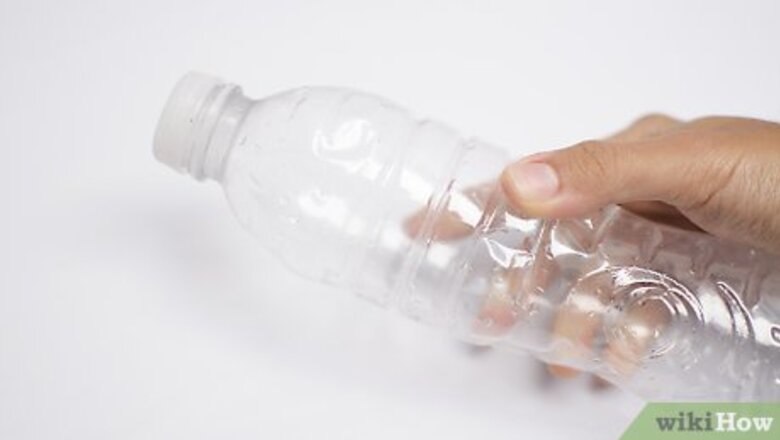
Wash out your plastic bottle with regular tap water. There's no set limit to how big or small your piggy bank should be, but you should aim for a plastic bottle that's between 500–1,000 millilitres (17–34 fl oz). Wash it out with water and let it sit for 10 minutes so it can dry. Keep the bottle cap on the bottle. It will serve as the pig’s snout.
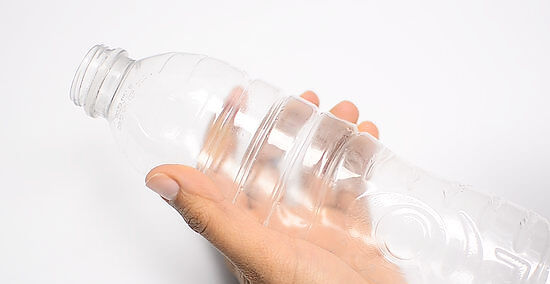
Cut out a 1 inch (2.5 cm)-long coin slot with a box cutter. Have an adult slice a coin slot into the middle of 1 of the long sides of the bottle. Make the coin slot a little bigger than the biggest coin you plan on putting in the piggy bank. The coin slot will need to be at least 1 inch (2.5 cm) long to fit a standard US quarter.
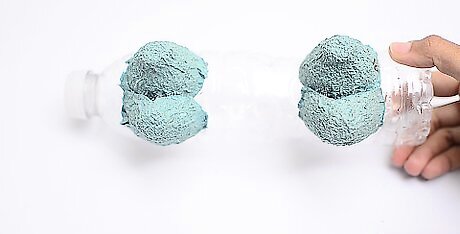
Attach the legs to the side of the bottle opposite the coin slot. Cut out 4 egg-holders from the carton using scissors. Then, have an adult use a low-heat hot glue gun to attach them to the bottle by applying the glue around the edges of the egg-holders. Finally, paste the legs on the side opposite the coin slot. When the pig is standing on its new legs, the coin slot should be facing up.
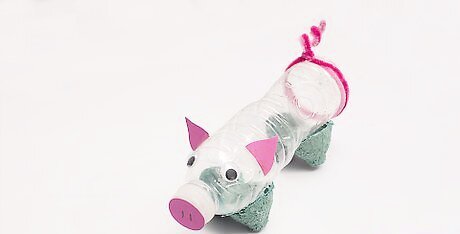
Decorate your pig with the remaining materials. Now that you’ve got a basic pig shape, it’s time to get artistic with your creation! Make a tail by twisting a pink pipe cleaner into a spiral. Draw nostrils onto the pig’s snout with a black marker. Cut 2 triangles out of pink paper or felt and glue them on as ears. You can give the pig eyes by hot gluing googly eyes onto its face, or by drawing, cutting out, and gluing on eyes yourself.Warning: Adding many of these touches will require a hot glue gun, so make sure you have an adult around to help you with this part.
Making a Mason Jar Piggy Bank
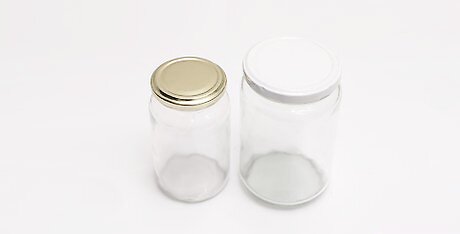
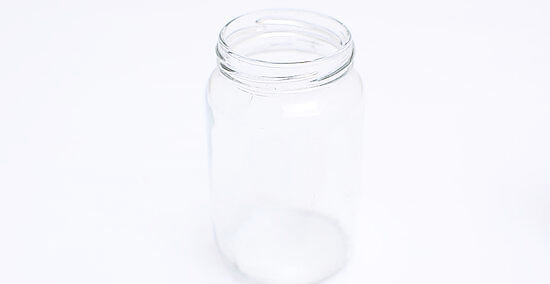
Pick a 1 US pint (470 mL) mason jar if you’re just starting out. For larger savings goals, choose a mason jar that’s 0.5 gallons (1.9 L) or 1 gallon (3.8 L). If you do not have any mason jars at home, you can order some online or purchase a jar at a local crafts store. Any jar that you get needs a lid to go with it. Use a spaghetti sauce jar if you don’t have a mason jar handy. Make sure to wash out the jar thoroughly before you convert it into a piggy bank. You can just run it through the dishwasher.
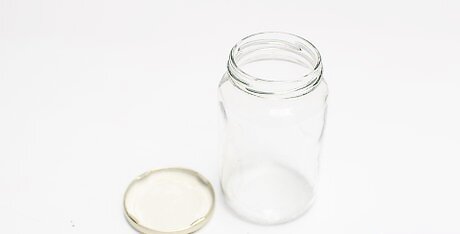
Remove any labels from your jar with soap and water. You want your new piggy bank to be free of labels before you start putting coins in it. To do this, first peel off as much of the label as you can with your fingers. Then, squeeze a few drops of soap onto a sponge and run the jar under some hot water. As the water hits the label, scrub the paper away with the sponge to completely remove the label. Let the jar sit for 15-20 minutes so it can dry. Once the jar is dry, you can start using it as a piggy bank!
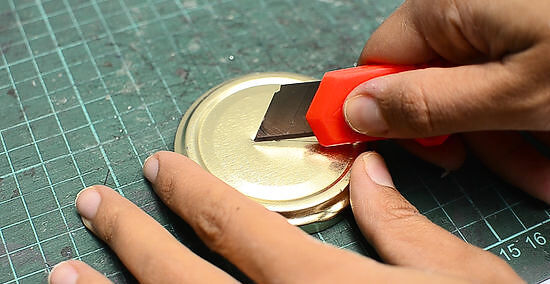
Cut a 1 inch (2.5 cm) coin slot into the middle of the lid. Use a box cutter to make an incision into the lid that is large enough to fit the biggest coin you want to slot into your jar. To fit a regular US quarter, the slot will need to be at least 1 inch (2.5 cm) long. If you don’t feel comfortable using a box cutter, you can actually go out and buy a lid with a pre-cut slot. These lids are available at your local crafts store.
Attach a label to the side of the jar. Write “piggy bank” or something along those lines on the jar and keep it in a safe location. The great part about using a mason jar is that you can constantly track how much money you’re saving without opening the jar. You want your jar to be safe, but be sure to keep it in a part of your home that’s easy to access.Tip: Tape the lid shut to discourage people from opening the jar before it’s full
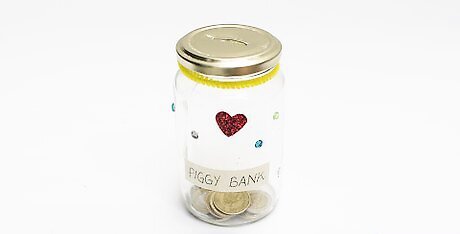
Decorate your jar any way you’d like. There are a number of ways to go about this step, as it’s completely up to you how you want your piggy bank to look! One fun idea is to wrap a colorful, decorative tape called washi tape around your jar and then add stickers to the parts of the jar that aren’t covered. Then, take some puffy paint and draw your name or other designs onto the glass jar. You can buy washi tape, stickers, and puffy paint at your local crafts store or get order some online. Add the tape and stickers onto the jar before the puffy paint. Then, once you’ve painted, let the jar sit for 6 hours so it can dry completely.
Working with Papier-Mâché
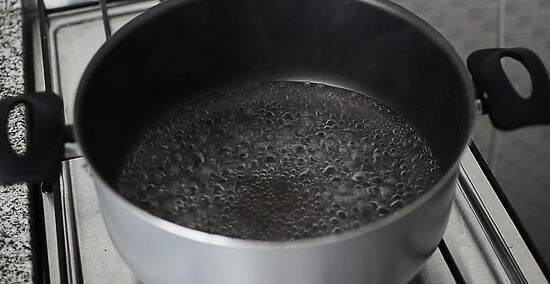
Mix flour and glue together in a pot. Get a small pot that holds around 0.5 gallons (1.9 L) to boil water. Then, get a medium-sized pot that can hold at least 1 gallon (3.8 L) of water and is about 8 inches (20 cm) in diameter. This is your paste-mixing pot. Whisk together 1 cup (240 mL) of flour and 1 cup (240 mL) of water thoroughly in your paste-mixing pot. Boil 4 cups (950 mL) of water on the stove in your smaller pot and stir the flour and water mixture into it. Let it simmer for about 3 minutes, and then let it cool for 15 minutes. Ask an adult to help you use the stove. You can purchase mixable papier-mâché paste at arts and crafts supply stores, but it’s easy to make your own at home. You’ll also save some money in the process!
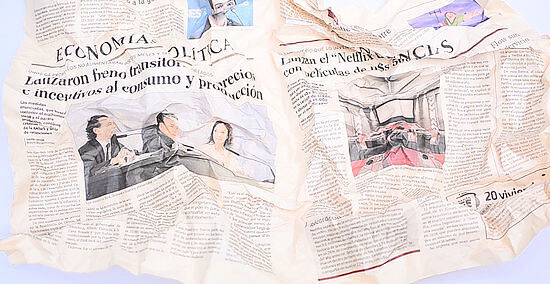
Crumple newspaper twice to prepare it for papier-mâché. Get a few sheets of newspaper and some brown paper bags. Crumple them up into tight balls, uncrumple them, and then do the same thing again. This helps the glue soak into the paper more thoroughly. Once that's done, tear the paper into 1 inch (2.5 cm) squares. You can also use butcher paper, which you can order online.
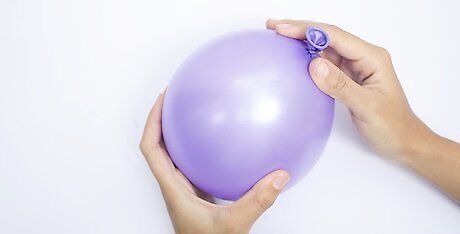
Blow a balloon up. Make it the size you want your piggy bank to be. Tie the balloon off when it reaches your desired size. It doesn’t matter what color the balloon is, as it’s just providing a structure to papier-mâché on top of and won’t actually be visible.
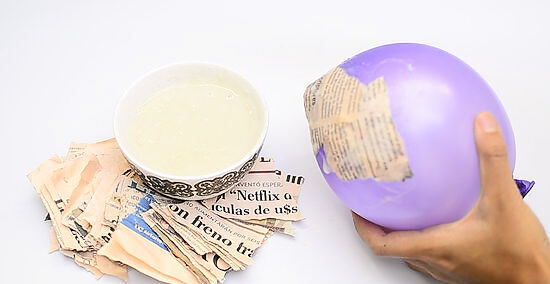
Papier-mâché the balloon. Wet both sides of the pieces of paper with the flour paste you mixed earlier and apply them to the pig. Get just enough paste on the paper to have it stick, but not so much that it's dripping. Smooth the paper onto the pig as you apply it and cover the space evenly. The paper will dry in about 15 minutes. Add 3 layers of papier-mâché onto the pig. Once you add the layers, let the balloon sit for 2 days in a well-lit, well-ventilated area of your home so it can dry fully.Tip: Your piggy bank will be stronger if you allow each layer to dry before adding another. This is why you should wait about 15 minutes in between adding layers.
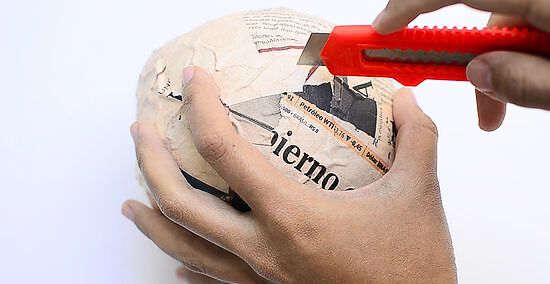
Slice out a 1 inch (2.5 cm)-long coin slot. Have an adult use a box cutter to make a coin slot that’s at least 1 inch (2.5 cm) long so you can fit standard US quarters in it. If you want to put bigger coins in the piggy bank, you’ll have to make the slot about 1.5 inches (3.8 cm) long. Since papier-mâché can be delicate, measure out your cut with a pen before you commit to it. You can also use this hole to pull the balloon out from the inside of the piggy bank. Feel free to throw the balloon away when you’re done with it.
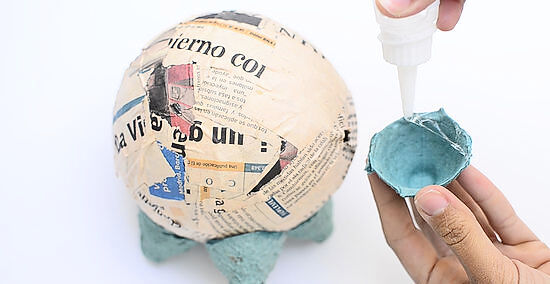
Attach legs and a nose. Cut out 5 sections from a paper egg carton using scissors. Have an adult use a low-heat hot glue gun to attach them to the appropriate places on the balloon. Line the edges of the egg-holders with hot glue and place 4 of them on the side of the papier-mâché balloon opposite the coin slot. Put the nose in the middle of whichever side you’ve picked to be the front of the piggy bank. Place the piggy bank on its legs so the glue can set and let it sit for 30 minutes before you begin decorating.
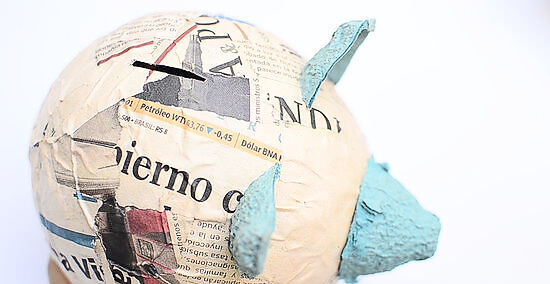
Decorate your piggy bank with paint and accessories. Paint the body of the piggy bank with spray or acrylic paint, evenly coating the surface as you go. Then, make a tail by twisting a pink pipe cleaner into a spiral and having an adult help you hot glue it to the pig’s bottom. You can also give the pig eyes by gluing googly eyes onto its face, or by drawing, cutting out, and gluing on eyes. Ultimately, the design is your choice. Other decoration ideas include drawing nostrils onto the pig’s snout with a black marker and cutting 2 triangles out of pink paper or felt to glue them on as ears. If you do not want to use paint, you can color the body of the piggy bank with markers.




Comments
0 comment