
Preparing Paste and Paper
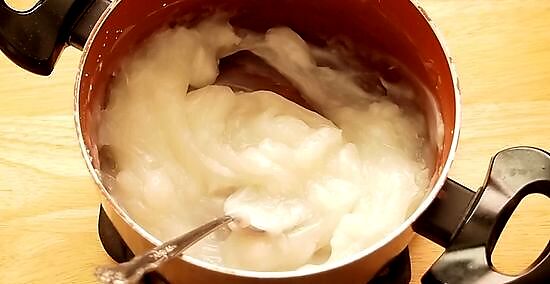
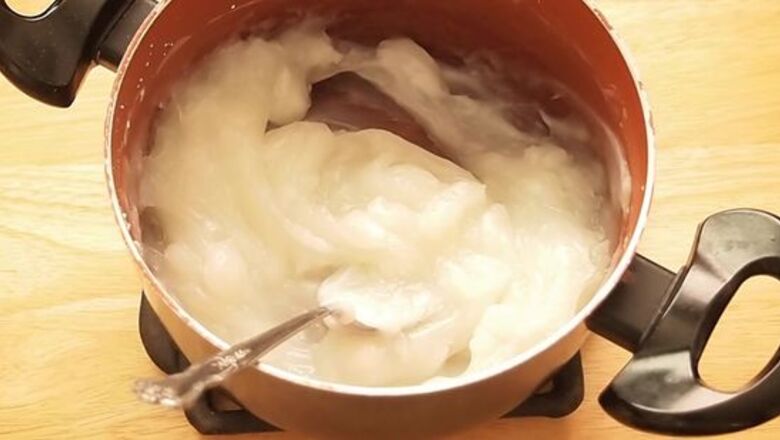
Select a suitable paste. You can either make your own paste or use a ready-made paste. Plain flour and water makes an ideal paste and is non-toxic and made in a jiffy. See below for the recipe. Alternatively, you can use wallpaper paste as a ready-made solution - just follow the instructions on the package for making it. To make your own flour and water paste: Add 1/2 a cup of flour and then a cup full of water. Mix until smooth. Create a thin paste that is about the consistency of double cream. Some recipe variants suggest adding one tablespoon of sugar to the mixture, though if you're going to do this, make sure to use plain (all purpose) flour.
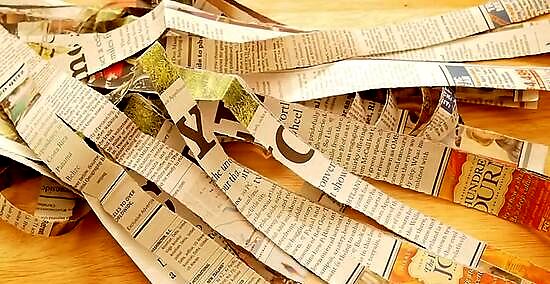
Tear up thin strips of paper. Follow the grain of the paper if you can. The thinner that you can make the strips, the better. It is recommended that you aim for strips that are about 2-3cm (.78" x 1.1") wide.
Adding Paper to the Mould
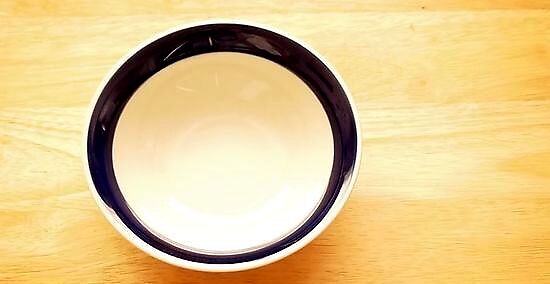
Select a suitable mould. Beginners are better off starting with a typical bowl shape. For the more advanced, you may like to vary the shape according to your imagination.
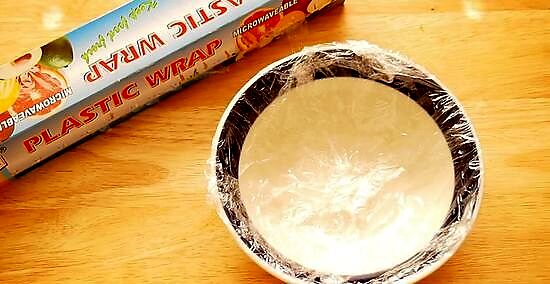
Cover the mould in Vaseline. Be sure to cover it thickly. This is important because it helps to get your project off the mould. If you don't have enough covering the mould, the project may break as you try to remove it. (Or if the shape affords it, cover with plastic wrap, making sure it is covered completely, securing it with tape, if necessary, in a place that won't be covered by the paper strips). If using wallpaper paste, it will not stick to the plastic wrap.
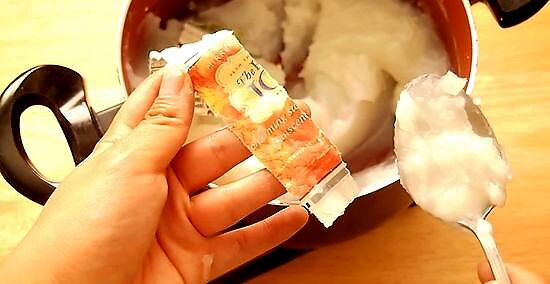
Dip a strip of paper into the paste. Wipe off the excess - whilst it should be covered in paste, do not have it dripping. Place the strip onto the mould and smooth it out. Repeat with each strip until the bowl is entirely covered with a single layer.
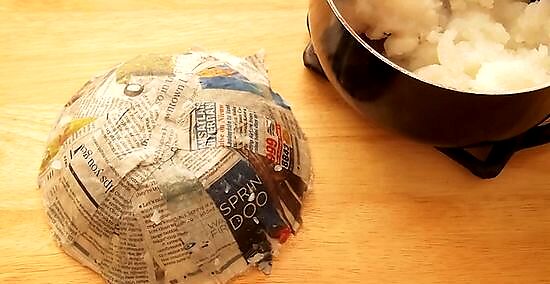
Leave the first layer to dry for an hour or two. After the mould is completely covered, prepare a second layer. Leave the double layered project overnight to dry. This will allow the base of the bowl to harden thoroughly. Keep in a warm, dry spot.
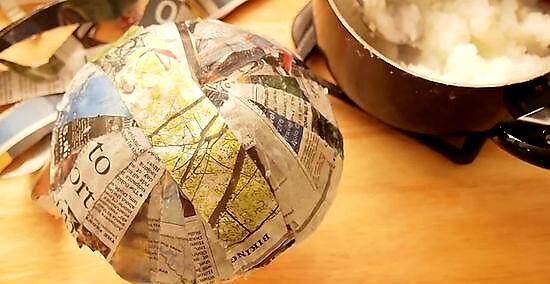
Put on another few layers the following day. This will strengthen the bowl and thicken it. Leave to dry. Repeat until the mould is covered with paper to about the depth of 1 - 2 cm (.39" - .78 "). This may take many days for drying but it is an important step to ensure that the bowl retains it shape, strength and is not at risk of getting mildew from poor drying. Keep testing with your finger during the drying stages to check for any moist spots.
Unmoulding the Bowl
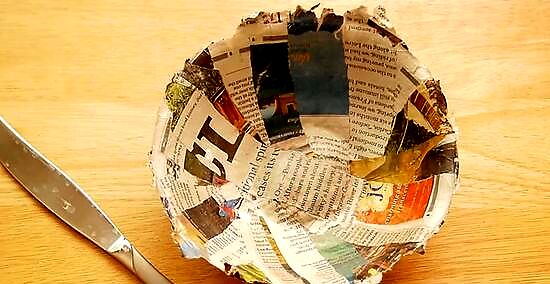
Remove the mould from the project once it is fully dried. Slip a spatula between the paper and the mould. Gently separate the two items and lever the mould out.
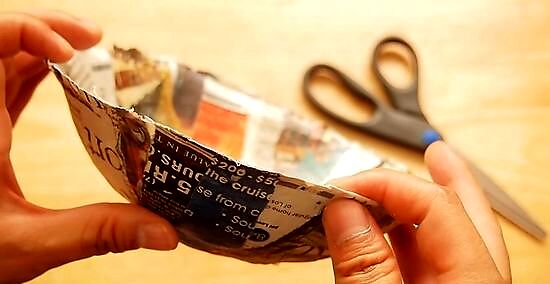
Trim the rim of the bowl to get rid of the jagged edges.
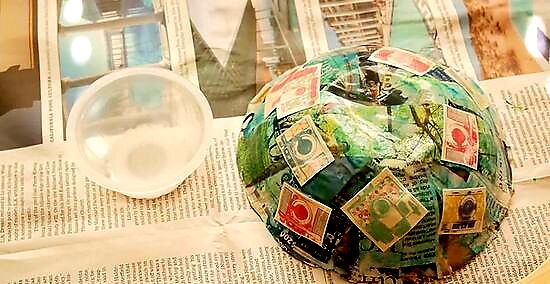
Decorate. The bowl is now ready for any type of decoration that fits with your needs. Suggestions for decorating include using collage or découpage, painting, wrapping paper, etc. Ensure that the decoration method is dry before proceeding to the next step. If wished, apply a coat of emulsion and paint with acrylic paints.
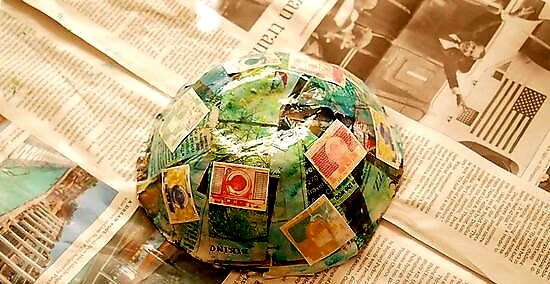
Varnish the new masterpiece. This will protect the bowl from dust and spills. The bowl is not suitable for use as a food serving item - it is only a decorative object. However, such an object can have many uses, including display, a place to keep things in, a coffee table talking piece etc.
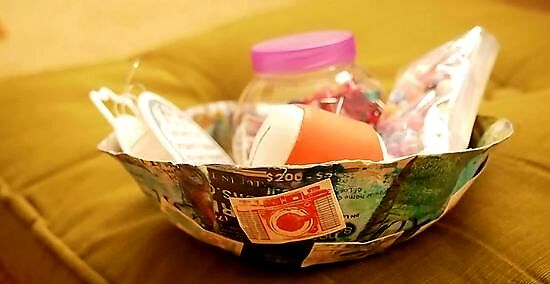
Finished!


Comments
0 comment