views
Creating the Foundation
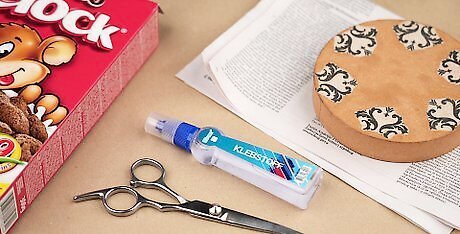
Gather your materials. As with any craft, there are things you'll need to get in order to make your newspaper basket a reality. Fortunately, they're all probably lying around your home. If not, the materials are inexpensive. Here are the main things you'll need for this craft: A cardboard box, such as a cereal box or cracker box. Anything with thin cardboard will work for this craft. A newspaper. It's preferable that you get a bigger newspaper for this. That will maximize the material you get to use. Scissors and glue. Crafts glue like Elmer's glue will be perfect. A circular template. Any solid circle shape should work. You will use this to trace the foundation of your basket. Make sure the template is as big as you'll want your basket to be.
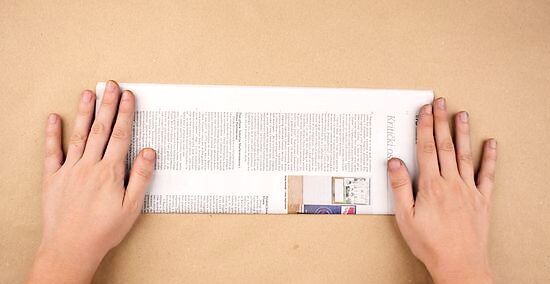
Fold a section of newspaper in half. Take a number of sheets and fold them horizontally. Following a fold, each sheet should be half the width it originally was. Folding these sheets as such will prepare them for cutting into strips.
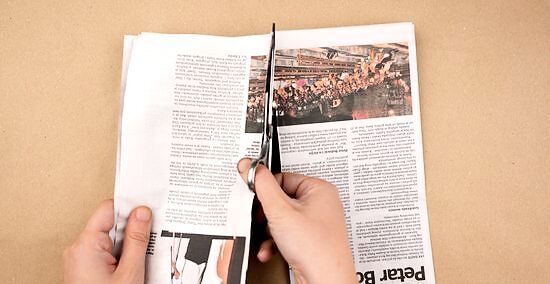
Cut newspaper along the fold into strips. It saves time to cut the newspaper multiple sheets at a time. Because they're all the same size and very thin, you can line them up and cut them into equal-sized pieces. You will need approximately 30-40 of these strips to create a basket, although more may be needed for larger crafts. Approximately, these strips will be about 10cm wide. The cuts don't need to be perfect. You won't be able to see the exact measurements in the resulting basket.
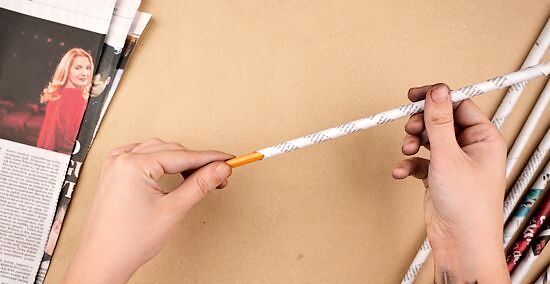
Roll individual strips up. By rolling up your strips of newspaper, you can make the pieces your basket will need to come together. Place a pencil on a strip lengthwise and roll the newspaper strip around it to make a tight roll. Roll Watch TV or something while your make your rolls. Leave your pencil slightly protruding so you'll be able to take it out afterwards. This will make it easier to pull out when the roll is complete.
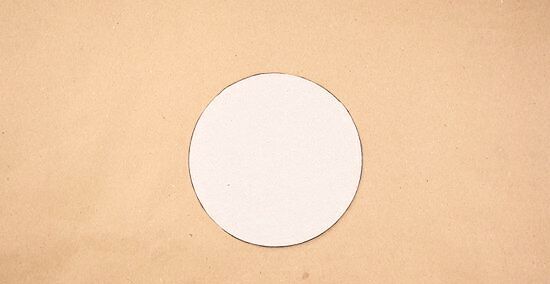
Trace the foundation on cardboard. Thin cardboard will give you a solid foundation for your newspaper basket. Take a round shape (like a plastic lid for butter) and trace around it. Cut it out with scissors once you've traced the circle. You should make a second cardboard of the same size to act as an overlying piece for your foundation. If you want to give your basket a lid, make a slightly bigger cardboard circle cutout.
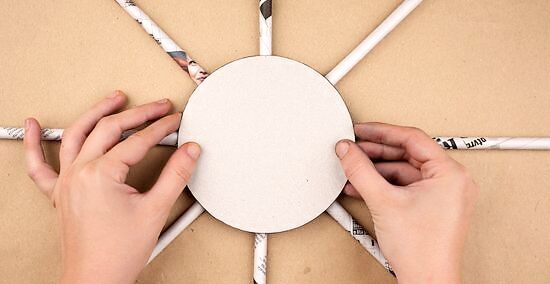
Set stripped rolls on the foundation. Now that you have a foundation and rolls, it's time to put the two together. Place strips of newspaper crossing through the centre of the foundation. Place them like spokes of a wagon wheel, then glue them down. Once this is complete, set another identical cardboard layer of foundation on top of the glued spokes and glue it down. It's important that these "spokes" are evenly centered. The protruding lengths of either side will make up the pillars of your basket, and having them uncentered at this stage will make your basket's walls uneven. You need an odd number of strips to make the basket work.
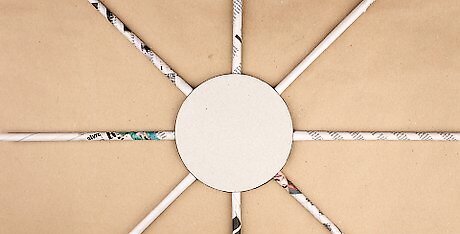
Allow your basket foundation time to sit. Whether you're using craft glue or hot glue, it's a good idea to give your craft some time to sit. With regular craft glue, at least an hour should be enough time to resume. Because hot glue dries a lot faster, waiting may not be necessary. Place a book atop the foundation to allow the glue to set properly.
Crafting the Basket
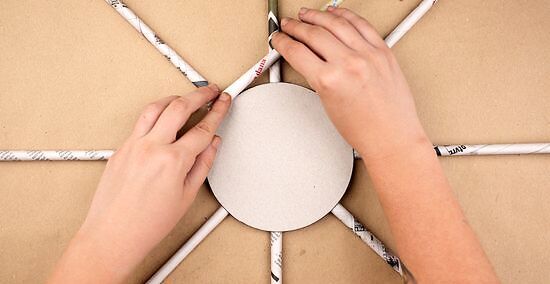
Glue a strip the base of a spoke. The "walls" of your basket will be made by weaving the same type of strips you used for the spokes around the spokes in a knitted format. Take the end of a strip and glue it to the base of a spoke where it meets the cardboard foundation. Take a paperclip to further secure it.
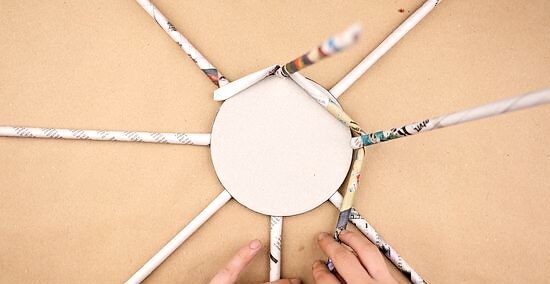
Weave the strip through the foundation spokes. Prop the spokes up and move the strip back and forth on alternating sides of each following spoke. In this fashion, the a strip should hug the bottom running around the circumference of the foundation. Continue to weave it around until the strip is done. This step may seem difficult at first, but it gets quite a bit easier once you get the basic hang of it.
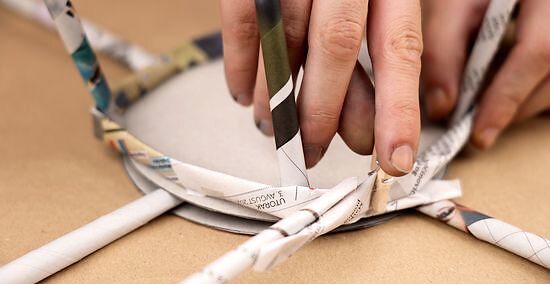
Glue and secure a new strip onto the end of the next. With most baskets, a strip should last approximately one lap around the foundation. When a strip is done, glue on another strip to the end of the one you just used, thereby extending it. Use the clip you used on the first strip and spoke to keep the new pairing intact as you move forward. Once it's secured, continue weaving between the following spokes.
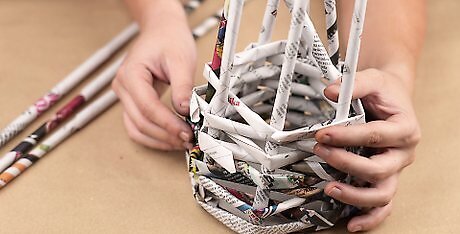
Weave your way up the spokes. Once you get a few rows up, the spokes will stand up on their own. This will make it easier to keep going. Continue the process of gluing and clipping until you've reached near the top of your basket.
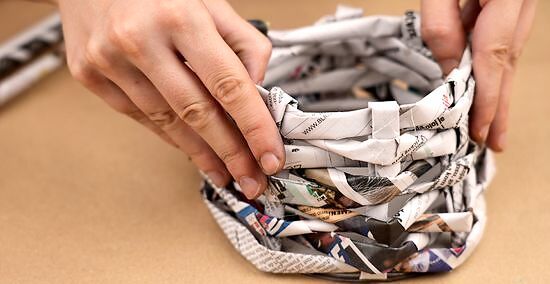
Tuck the top of the spokes into the basket. For the sake of stability, it's a good idea to leave at least an inch of spoke unwoven. Instead, fold it in inside the basket. You can either secure it with glue, or lace them through the existing weave.
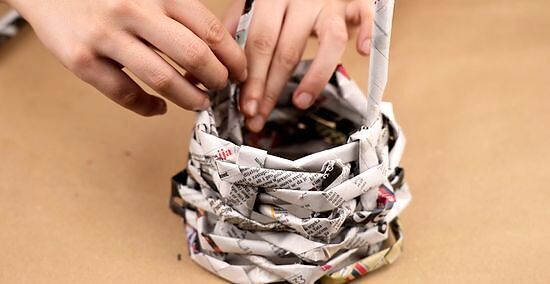
Make a handle. A handle can be made from take a strip and gluing it to opposing ends of the basket rim. This should be done before you take to decorating it, as a handle should be coloured in the same as the rest of your craft.
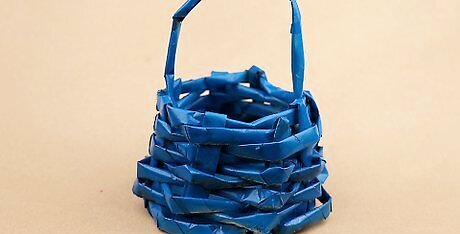
Decorate your basket. Decorating a basket isn't necessary, but some people like the extra colour that decoration provides. Acrylic paints will allow you to pain vibrant designs and patterns over the basket's surface. You can use a variety of other art products, from markers to pens and pencil crayons. If you're looking to do an elaborate pattern on the basket, you might consider using the existing text on the newspaper to your advantage. For instance, drawing speech bubbles around headlines is one way of taking advantage of the material's news-related origins. Watercolours will allow the newspaper text to show through.

Consider uses for your basket. Newspaper baskets may be used like any other basket. Because they're homemade, they're perfect as a gift. They're also useful as wastebaskets or gift baskets. Depending on how much time you've put into decorating it, you may even put it on display as a work of art in your home. Looking at other newspaper basket crafts by others may even give you inspiration to try new variations on it. Because it's a homemade craft, there are virtually endless ways you can go about it.





Comments
0 comment