views
Making a Mask
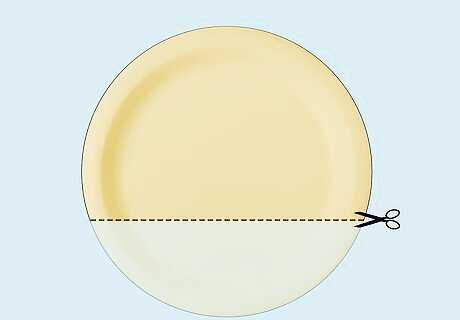
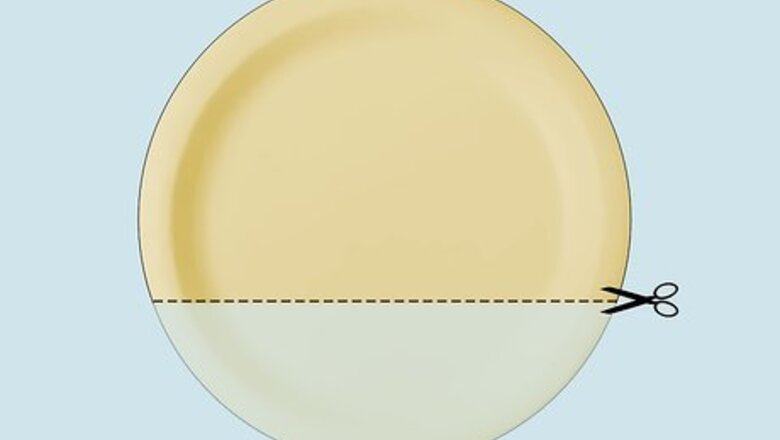
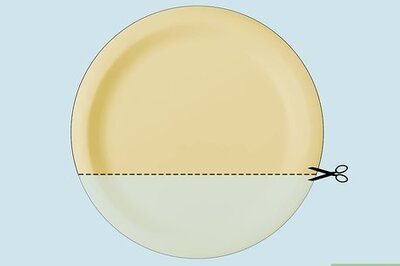
Cut of the bottom ⅓ off a yellow paper plate. Choose a paper plate that is approximately the size of your face. Use a pair of sharp scissors to trim a straight line across the bottom of your plate. If you have trouble cutting straight, use a ruler to draw a straight line and then cut it. Avoid using a plastic plate, as later on, you will need to use hot glue and this will cause it to melt. Purchase paper plates from a homeware or party store.
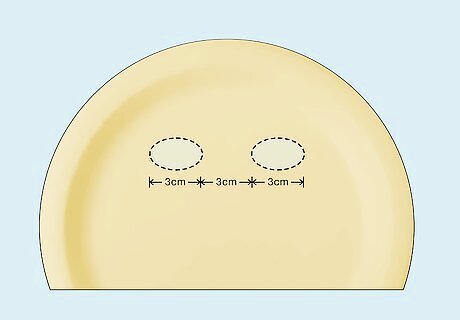
Use a craft knife to cut out eye holes in the plate. Put the plate over your face to help you estimate where the eye holes should be. Then, place the mask on a cutting board and cut out 2 circles that are approximately 3 centimetres (1.2 in) wide and 3 centimetres (1.2 in) apart. Always ask an adult to help you to use a craft knife to avoid cuts. Once you’ve made the cuts, hold the mask up to your face to check that they are in the correct spot. If necessary, make the holes a little larger so that you can see through them easily.
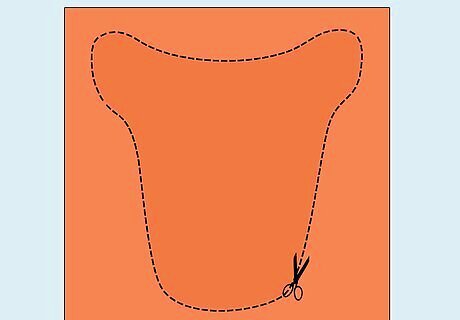
Cut out a 15 centimetres (5.9 in) duckbill out of orange or black cardstock. Draw a duckbill onto a piece of cardstock. An oval shape is an easy option for the bill. Then, use a pair of scissors to cut it out. If you’re not confident drawing a duckbill, print out a template from online. If you don’t have cardstock, use paper instead. This isn’t as sturdy, but it will do the job.
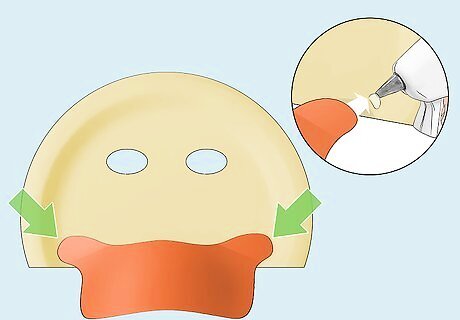
Stick the bill to the bottom of the paper plate with a hot glue gun. Squeeze a thin line of hot glue over the top 1 centimetre (0.39 in) of the bill. Then, carefully place it onto the bottom of the paper plate where you cut the line. Ask an adult to help you use the hot glue gun to avoid burns. Place a sheet of paper under you while you use the hot glue to avoid it accidentally sticking to the floor or table.
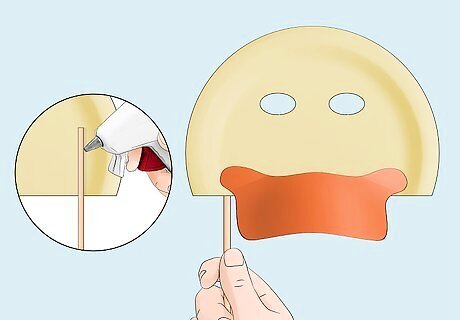
Attach a wooden dowel to the back right side of the plate. The dowel acts as a hand-hold so that you can hold the mask over your face. Use a hot glue gun to squeeze glue over the top half of the dowel. Then, place the glued section vertically onto the back of the plate. Leave the hot glue to dry for 1 hour before moving or wearing the mask. Any length dowel will work for this mask. Most dowel sticks from craft stores are about 30 centimetres (12 in), which is a great length.
Assembling Your Duck Body
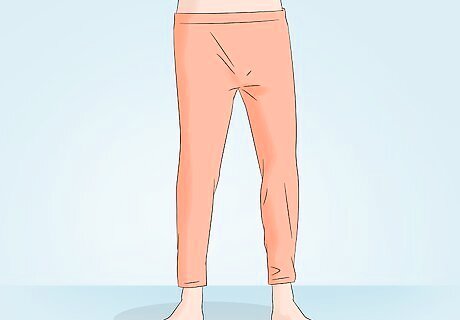
Get orange or yellow leggings to create the bottom half of your duck. This is an easy way to colour the bottom half of your body. Leggings that are a solid colour or have feather patterns work best, as they look more realistic than multi-coloured leggings. If you don’t have leggings, wear trousers or a skirt instead. If you want to be a different coloured duck or want to impersonate a cartoon duck, feel free to use different coloured leggings.
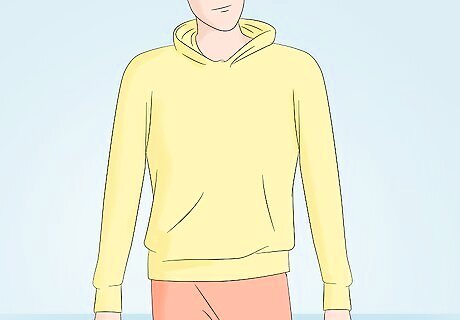
Wear a yellow hoodie to create the top half of your duck. A hoodie is an ideal choice because it covers the back of your head as well as your upper body. Hoodies with sleeves are the best option, as it allows you to stick feathers to the sleeves to create wings. Purchase a yellow hoodie online or from a clothing store.
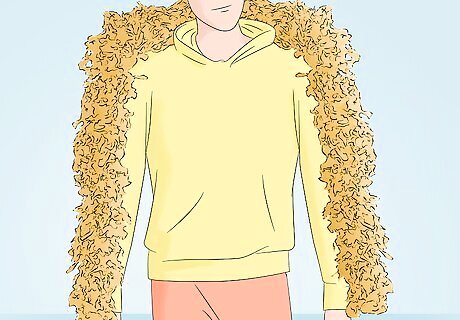
Stick feather boas on the sleeves of your hoodie to look like wings. This helps to make your upper body look feathered like a duck. Take the hoodie off and lay it flat on the ground. Place feathers over the arms and waist in any pattern you like. Then, carefully squeeze hot glue onto 1 side of the boas and place them onto the hoodie. You will need at least 4 boas to make the body look feathered. If there are any parts of the boa hanging off the edge of the garment, simply trim them off with scissors. Leave the hot glue to dry for 1 hour before you wear the hoodie.
Creating Duck Feet
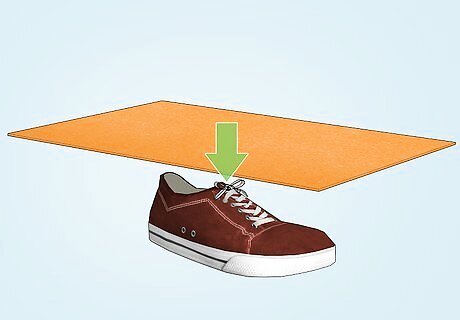
Place a black or orange piece of felt over each shoe. Chose a piece of felt that is larger than your shoes. Place your shoes flat on the ground and then rest the felt on top of them. Sneakers and canvas shoes work well for this task. Avoid using sandals, as the felt won’t stay on as well. Orange or black felt works best if you are trying to create a realistic duck look; otherwise, opt for a different colour.
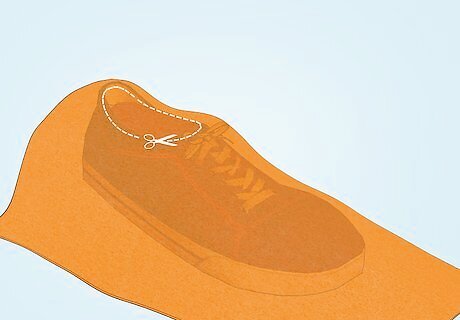
Cut a hole over the opening of the shoe. Use a permanent marker to mark where the opening of the shoe is. Then, take the felt off the shoes and use the scissors to cut the hole out. To make the initial cut, poke the scissors through the middle of the hole you drew to create an opening and then start cutting. Repeat this process for each piece of felt.
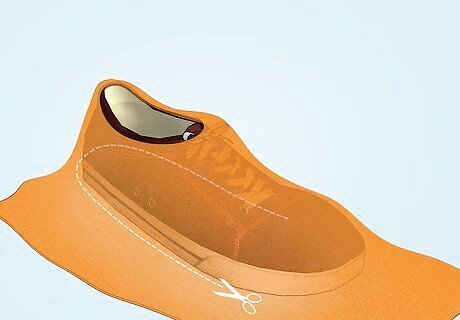
Smooth the felt around the shoe and trim around the base. Place the felt back on the shoe and make sure that the hole you cut sits over the foot opening. Then, wrap the felt around the shoes and use scissors to trim off any felt that hangs below the shoes. Fabric scissors work best for this task as they are extra sharp.
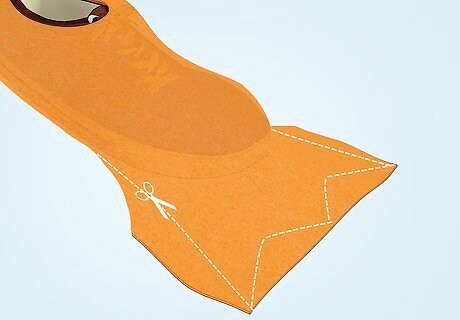
Cut webbed feet into the end of the felt. Take the felt off the shoes and draw webbing on the toe end with a permanent marker. If you’re not sure what webbing looks like, simply draw zig-zag lines at the end of the felt. Then, cut the along the zig-zag line with scissors. Draw small zig-zags to make the feet look small or draw large zig-zags to make them look big.
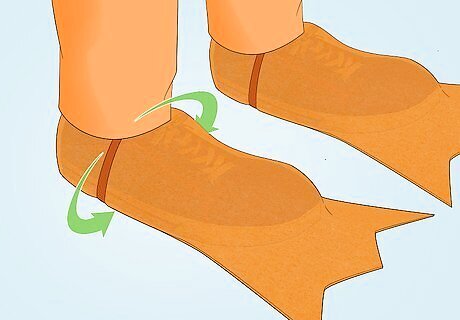
Wrap a piece of ribbon around the shoes to secure the felt. Rest the felt over your shoe and then put your foot in the shoe. Place a 20 centimetres (7.9 in) piece of ribbon or string horizontally over the middle of your shoe and then knot it under your foot. Cut off any excess string with a pair of scissors. To take the shoes off, cut the ribbon to release the felt.






Comments
0 comment