views
- Choose a pattern to follow, and measure your size. Then, choose your desired fabric and iron it.
- Pin the pattern to the fabric and cut the pieces out. Then, pin and sew them together.
- Add boning, binding, and busks, then finish your corset with grommets and lace it up.
Preparing Your Fabric
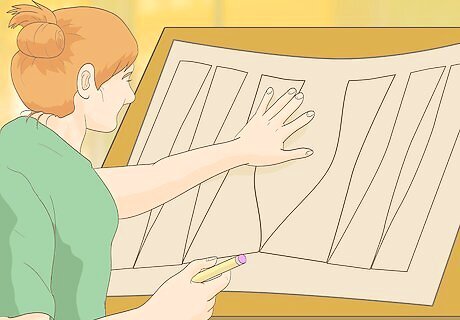
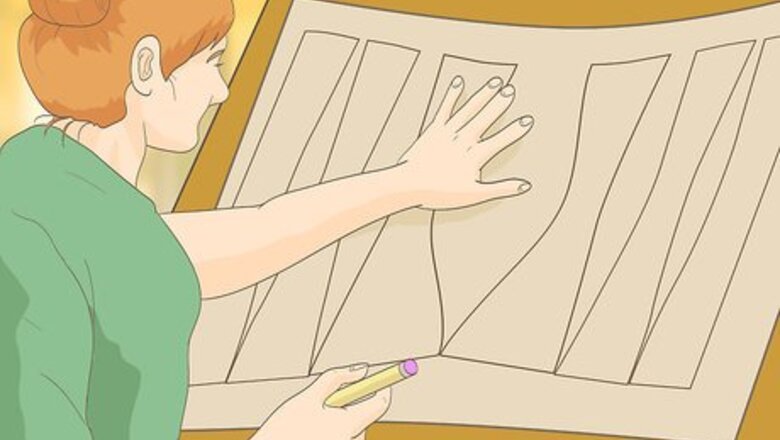
Find or make a pattern. For beginners, finding a corset pattern online or in a pattern catalog is recommended over trying to make a custom-fit pattern. A good pattern will be adjustable to fit your size and should provide perfectly satisfactory results. Keep in mind that a simple, basic corset pattern will usually be better for a novice than a complex one. Corsets can be difficult to make, so take it easy on yourself the first time or two around. You can find corset patterns for free and for sale, but the best kind usually fall into the latter category. You should be able to find an easy to follow corset pattern on the internet or in the sewing department of a craft store. Alternatively, you can also make a custom corset pattern, but the process involves intricately plotting out your measurements on graph paper.
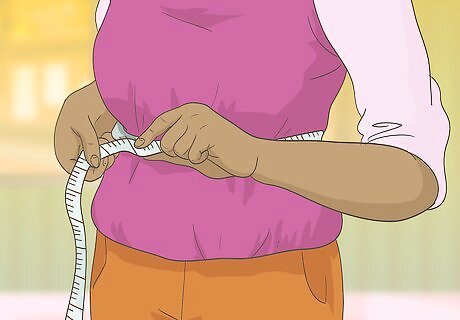
Determine your size. A good pattern has multiple sizes marked on it, ranging usually from 6 to 26. Most patterns allow for 2 inches of ease in the back for lacing up the corset, so don't be alarmed if the pattern seems especially small. Find your size by taking your bust, waist, and hip measurement. Once you have the appropriate size, cut out the pattern. Wrap a tape measure around the widest part of your bust while wearing a standard bra for your bust measurement. Find your waist measurement by wrapping a tape measure around the thinnest part of your waist, 2 inches (5 cm) above the navel. The corset is a garment worn to shape your body. Normally, you'll subtract 4 inches (10 cm) from your waist measurement. The hip measurement can be found by wrapping a tape measure around the widest part of your hips. This is roughly 8 inches (20 cm) below your waist measurement.
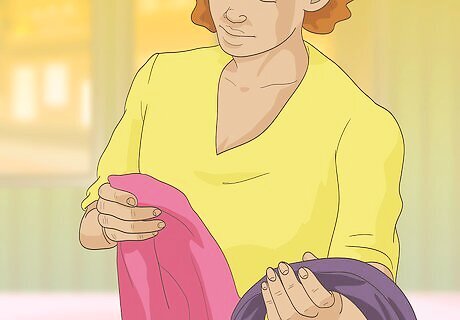
Choose your fabric. The best material to use for a corset is corset coutil, because it is specifically designed for corsets, 100% cotton so it's breathable, very strong for its weight, and has little give in any direction. If you don't have coutil you can use a sturdy cotton duck (canvas) or quality linen. If you use duck fabric or linen, know that your corset will have more give in the finished product and will likely fit a bit larger than if made from coutil. You can also add inner lining to your corset for extra comfort. Use a firmly woven cotton or cotton blend and cut and sew the lining following the pattern for the corset. When you choose thread for your corset, test it first to check the quality of the thread. All-purpose thread should be fine, but before you use it, unravel a length and try to snap it with your hands. If it doesn't break easily it is fine to use, but don't use thread that breaks easily because it will undergo a lot of tension in the corset and you want it to be sturdy.
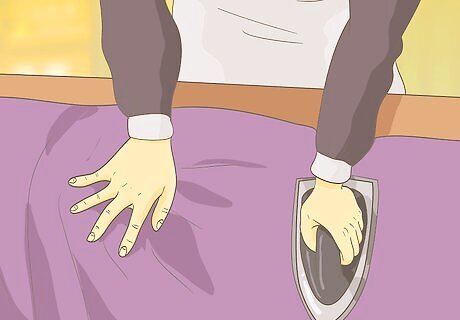
Prepare your fabric. Wash and dry the fabric before you use it and iron it flat to remove any wrinkles or folds before cutting the fabric. Check the grain. If you examine fabric closely you'll see that it has a "weft thread," which is the thread that is horizontal across the fabric, and a "warp thread" which intersects the waft thread at a right angle and is vertical across the fabric. These terms are also interchangeable with the terms "grain line" and "cross-grain." You'll want to cut the fabric along the stretchiest grain line, so stretch the fabric in both directions, determining which direction is more stretchy. Often times fabric will have a red line with arrows showing the grain line, and the perpendicular line to that is the cross-grain.
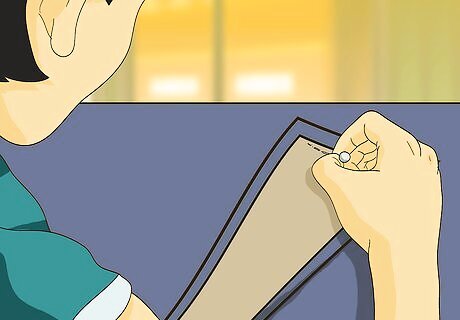
Pin the pattern to the fabric. Lay the pattern vertically over the fabric, following the grain line with the most amount of stretch, which is most likely the cross-grain. You should avoid excess stretch encircling your waist. Pin the pattern onto the fabric. You could also use pattern weights, which can be stones or weights that help hold the pattern in place. If you opt for this method, outline the pattern with chalk before cutting. Sometimes this is a better option because it prevents any distortion when cutting the fabric.
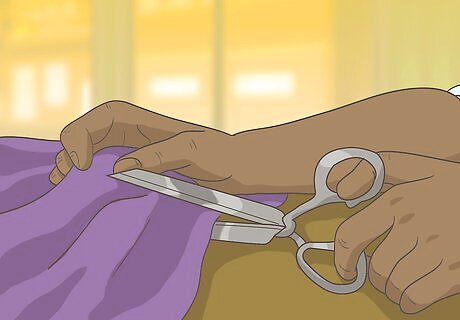
Cut the pieces out. Make sure that you cut the pieces out according to the pattern instructions. Be a perfectionist when doing this, because the fabric needs to be the exact measurements as the pattern, or your corset won't fit correctly. Depending on the fabric pattern you have, you may need to cut some of the pieces twice. Some patterns require you to cut the center-back pieces twice, the center-front piece once, and all other pieces twice, with all cuts on the fold and with no seam allowance at the back. Follow the pattern's instructions for how many cuts you need to make.
Stitching Your Pieces
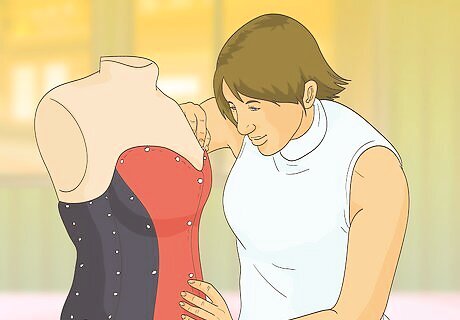
Pin your pieces together. Assemble all the pieces as directed according to your pattern's instructions. Pin the pieces in place to prevent them from moving around as you sew. You could also loosely baste (temporary stitches intended to be removed) the pieces together to accomplish the same result. If your seams are trued, meaning that they match properly, you might be able to match up the top edges and guide the machine as you form seams without using pins or basting.
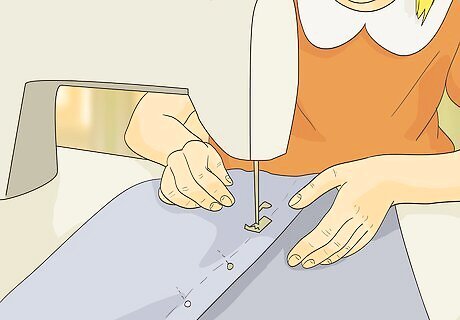
Sew the pieces together. Using a very small straight stitch, stitch your pieces together in order of the pattern. Start from top to bottom and go very slowly down the fabric, making sure the fabric doesn't shift or bunch. When you are finished, you should have two halves of your corset. Make sure when sewing pieces together that you are sewing the right pieces together. It could help to number the pieces on the back with a piece of white chalk.
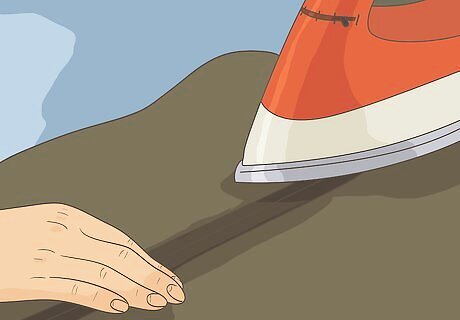
Press each seam open. Once all the seams have been stitched, you should press them open toward the back. They should lie flat when done. Trim off excess fabric if necessary to prevent bunching. Note that you could also press the seams open as you go along.
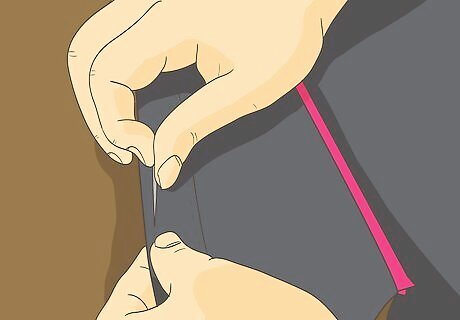
Sew sides of the fabric to prevent ragged edges. You won't be sewing your corset together past this point, you'll be using the busks and grommet area to attach it together, so you'll want all of the edges of your corset to have a nice clean seam. Make sure not to sew the top and bottom of your corset, as this will be sewn with binding.
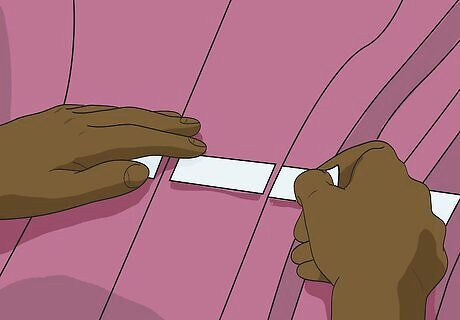
Stitch the waist tape in place. Cut two pieces of waist tape for the two halves of your corset, with no stretch. Lay the waist tape across the line of most tension in your corset (you can figure this out by pulling your corset to find the tension). Sew the waist tape to the seam allowance on the back of your corset, basting it in place along the line of the tape. Waist tape can be twill tape, a sturdy ribbon, or tailor's tape of 5/8 inch or 7/8 inch width. To find the measurements for your waist tape, use your desired waist measurement, add two inches and then divide by two, cutting the two pieces to equal the final measurement. When sewing your waist tape, make sure it lines up on both halves of your corset by lining up your corset on one side.
Adding the Boning, Binding, and Busks
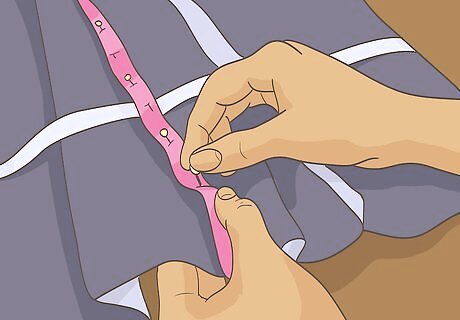
Create boning channels. Fold boning casing tape so that the long edges of the tape meet in the center of the backside of the tape. Then, stitch the tape to the center of each corset panel to create 3/8 inch wide boning channels, or if you want less seams on the front of your corset you can stitch it along the already made seams. You can also use 1 inch (2.5 cm) wide strips of fabric if you don't want to purchase casing tape.
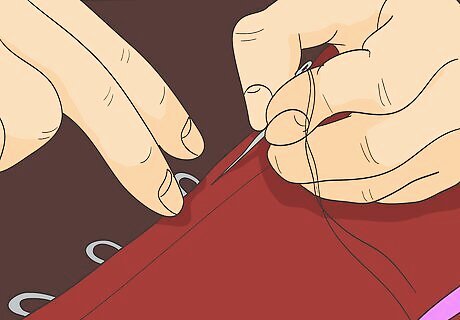
Sew on the right busk. Take the inside of the right side of your corset, draw a stitching line in chalk 5/8 inch from the edge of your corset. Then, line your eye busk (the side with the hooks) up with your sewing line, leaving 3/4 inch from the top edge of your corset, making sure you are looking at the back of the busk. Sew along the busk, attaching it to your corset. The busk is the piece with the "eyes or hooks" that the knobs or pins hook into on the front of your corset to attach it together (and will prevent you from having to untie the lacing on the grommet area each time you want to put on your corset). You can buy busks at a sewing or craft store.
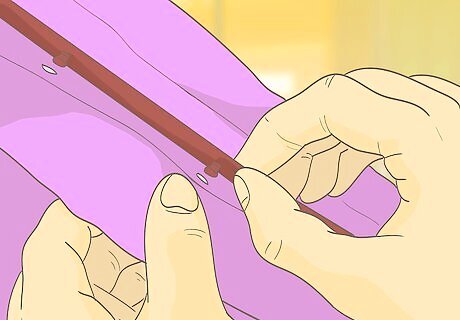
Sew on the knobs. Taking small metal knobs or pins that fit into your busk holes, line them up with the busk on the right. Then stick them through the left side of the fabric near the edge and connect them completely to the fabric by attaching them with a stitch on the back.
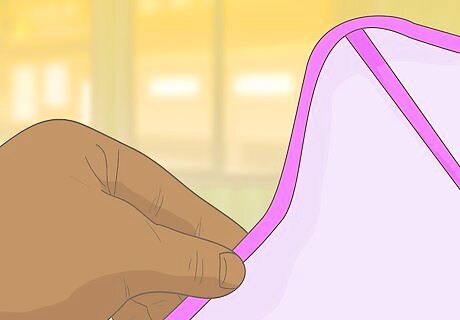
Attach the bottom binding. This is what will close up your corset and hide any ragged edges of the fabric. To use faux leather or real leather as your binding, place clear, water-soluble dressmaking tape along the bottom outside corner of one panel of your corset. Then, press the binding onto the tape, fold it over the edge, and tape to the inside of your corset as well. You can also use satin, cotton, or another type of pre-made bias binding.
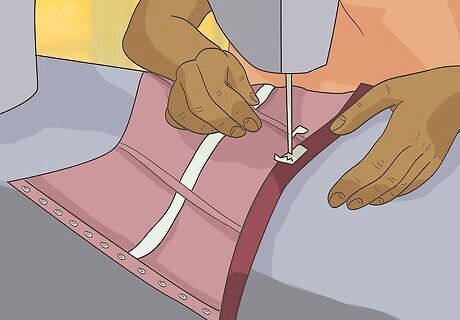
Stitch the binding on. Use your sewing machine to straight-stitch the taped binding into place. For now, you should only add binding to the bottom. You need to add your boning to the corset before you can finish the top.
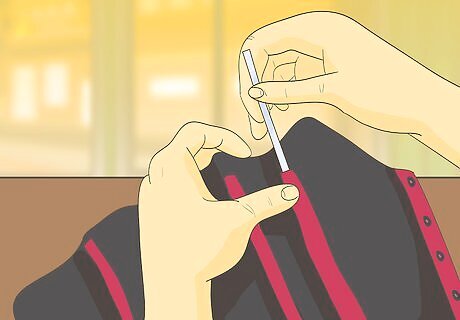
Add bones. Measure the length of the bone channels and cut spiral steel flats to the length of your corset leaving about 1/4 inch edge from the top and bottom of your corset, and insert bones into bone channels. You can cut these bones yourself or buy pre-cut bones (which is sometimes much easier). You can also use spring steel flats, but spiral steel flats will do a better job of following all of the curves of your corset. To prevent rough edges of the bones you can use durable hot glue or craft glue to tip the bones.
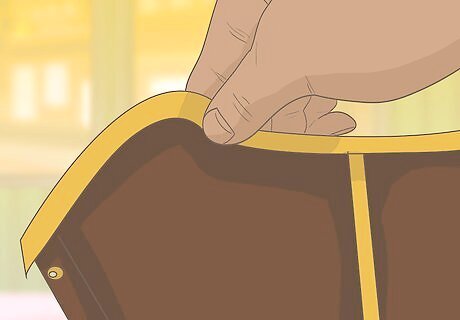
Bind the top edge. Use the same taping and sewing technique you applied to the bottom edge of the corset to bind the top of the corset with additional, matching binding.
Making the Final Touches
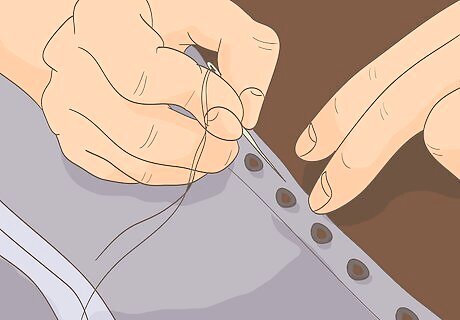
Insert your grommets. Space your eyelets/grommets roughly 1 inch (2.5 cm) apart along both sides of the back of your corset, near the edge. As you reach the waist, space four pairs of eyelets more closely together by about 1/4 inch (1/2 cm). You can buy these at a local craft or sewing store. Grommets are the holes in the back of your corset in which you lace up your corset. Use a fabric punch, leather punch, or awl to punch the holes out for your eyelets. Hammer the eyelets in place from both sides with a rubber hammer.
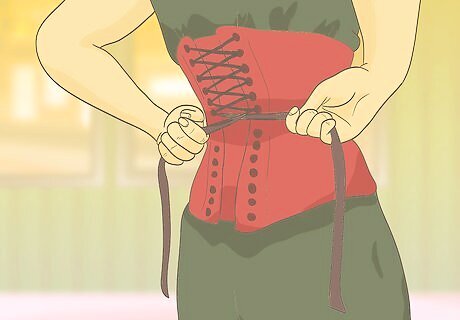
Lace the corset. Start at the top and lace the corset down to the waist using a crisscross pattern. Work from the bottom up in the same manner, again stopping at the waist. Tie your laces together at the waist in "bunny ear" or "tennis shoe" style. You need about 5 yards (5 m) (4.5 m) of lacing total. Ribbon and twill are the most historically accurate forms of lacing, but flat lacing and cable cord hold up better in the long-term.
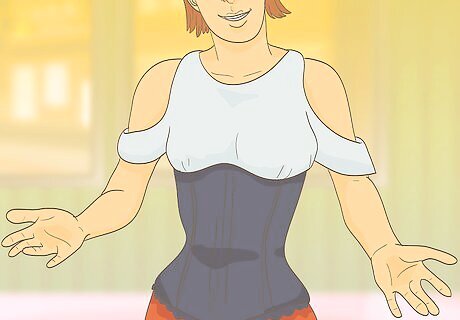
Put the corset on. The top of the corset should begin just above the nipple area, and the bottom should extend over your hips without riding up. Cinch the waist of the corset in by pulling the loops at the waist.


Comments
0 comment