
Getting started
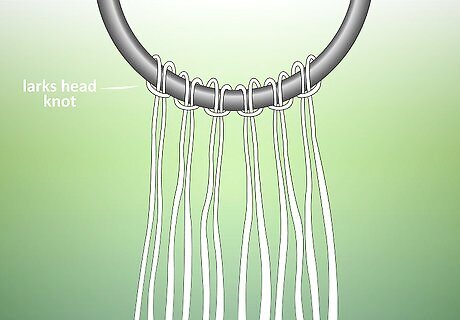
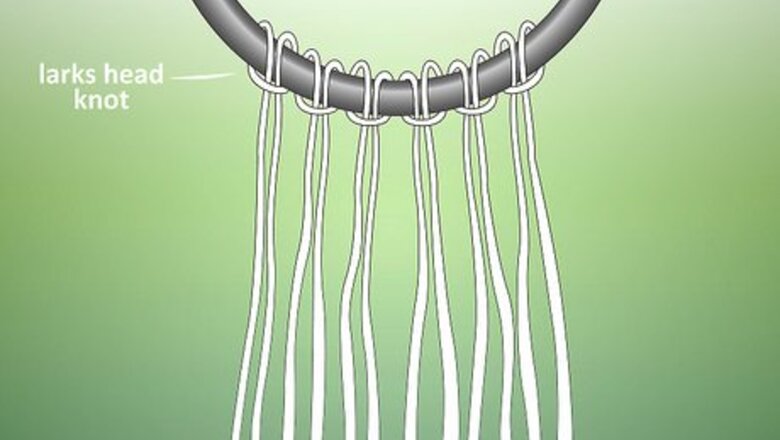
Fold six lengths of cord in half. Attach to a ring, rod, or other form of holder to keep in place. Secure with a larks head knot.
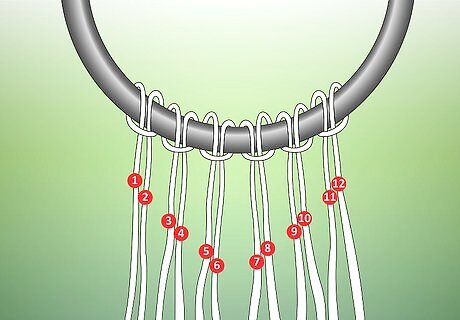
Number the cords in your head. Use numbers 1 to 12 and keep the numbering system steady in your mind as you work with the cords. If you can't remember the cord numbers very well, use markers such as small plastic bread tabs with the numbers written on them - slip these over the cords, then shift and remove these as needed,
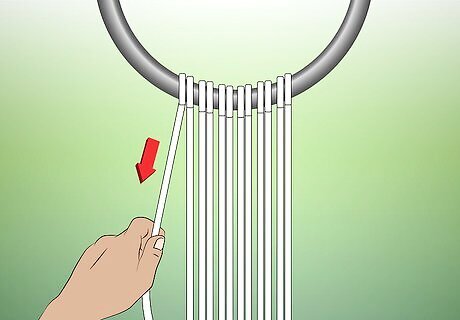
Pull the cords apart evenly. Pull them taut to straighten. As cords are done with, you'll be tucking them off to the side when they are no longer needed.
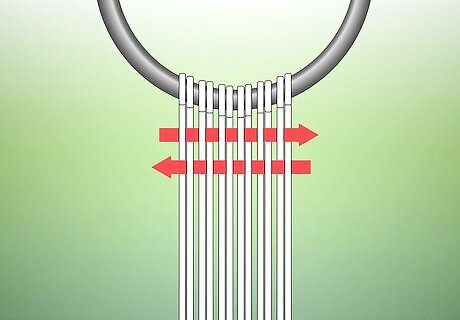
Get ready to weave. Weaving goes left-to-right, then right-to-left and each set of left-to-right/right-to-left must alternate between under/over and over/under. The instructions will make this clear.
Finishing up
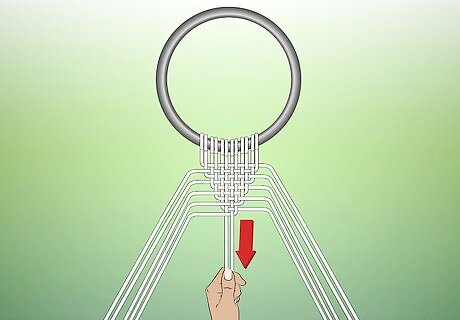
Do not weave cords #6 and #7. Pull the ends of both cords #6 and #7 to tighten the clew knot.
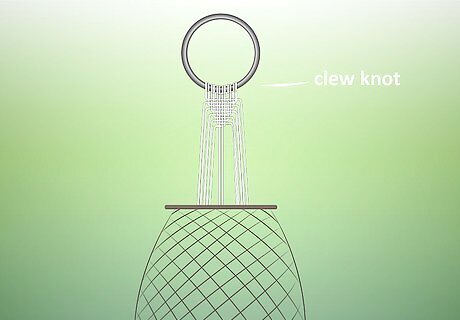
If attaching this knot as part of a hammock, the loose ends of the cords are attached in the opposite order to that in which they were woven. This means that cords #6 and #7 will be attached at the center of the hammock rod or ring. Attach cords #8 and #5, then cords #9 and #4. Attach cords #10 and #3, then cords #11 and #2. This leaves cords #12 and #1 to be attached last.


Comments
0 comment