
Making a Calendar from Paper

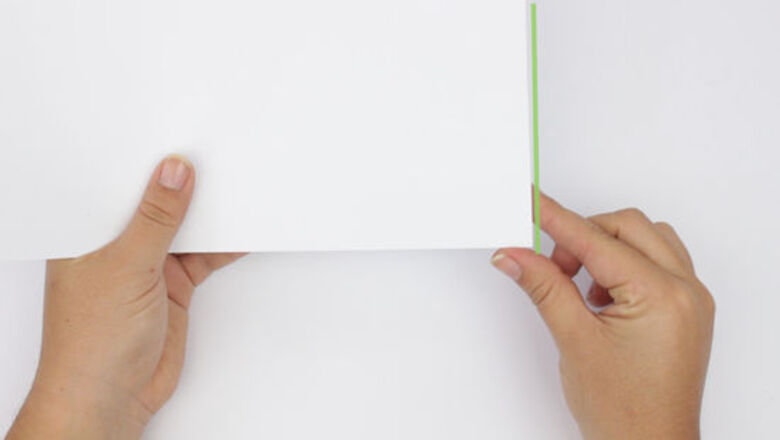
Bind 13 sheets of sturdy A4-sized paper or cardstock. With the sheets stacked neatly in a pile, punch 3 or 4 holes along one long edge. Run a piece of string or twine through the holes, allowing the pages to remain loose enough that they can be turned. Punch an additional hole, located directly opposite the central hole, through every page so that you can hang the calendar up later. White paper or cardstock is probably the best option, since it will allow for the most visibility, but you could also use yellow, light blue, or another color that enables good visibility. Alternately, you could use more than one color, so that each month the calendar pages is a different color.
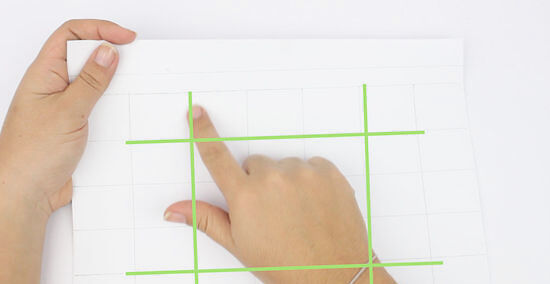
Line every other pages with a grid of 42 boxes. Position the calendar with the binding along the top edge, then open the cover page. The page below the binding should contain a grid with 7 squares going across and 6 squares arranged into rows. Each square should be about 1.2 square inches (7.7 cm). Draw the grids in such a way that the margin along the top and bottom and the one on the left and right is equal. Use a ruler when drawing the lines so that they're straight.
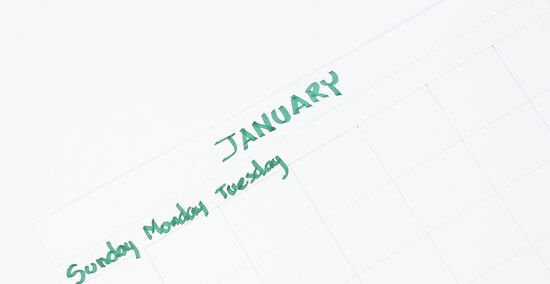
Fill in the days, months, and dates on your grids. Open the calendar to the first page and write “January” at the top, then turn to the second calendar page and write “February” at the top. Continue in this way until you've written all 12 months in order. At the top of each of the 7 columns, write the appropriate day, staring with Sunday and working your way through the week. Finally, copy the numbers from another calendar of the same year as the one you're making to fill in the dates.
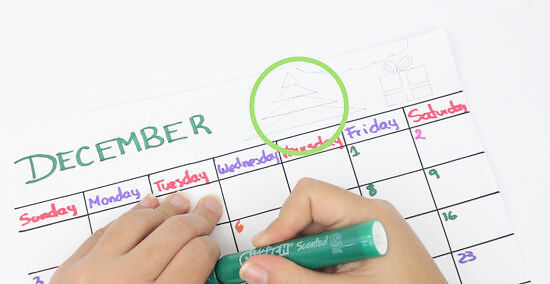
Decorate each page above the binding of the calendar. Use crayons, markers, or colored pencils to draw images in your calendar. If you want to get really decorative, you could use glue to add sequins, feathers, and glitter to your calendar. You could decorate the calendar with seasonal images (such as pumpkins in October, or a holiday scene in December), or you could draw something totally unrelated.

Mark important dates like birthdays, holidays, the first day of school, and so on. A cool way to do this is to cut out pictures relating to every special day and glue them onto the correct date. For example, if it's your sister's birthday on May 6th, cut out a photograph of her face and stick it to that date. Use a picture of a Christmas tree to mark December 25th, a cartoon of a witch or ghost for Halloween, and a picture of a fluffy bunny to represent Easter. You could also add famous or popular people's birthdays.
Ordering a Customized Calendar
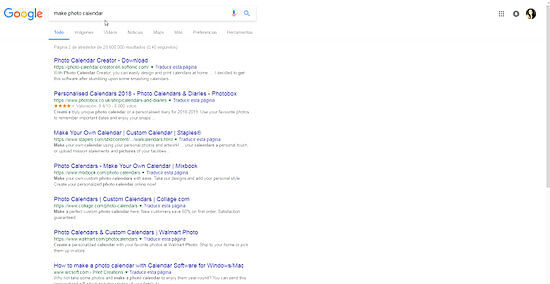
Choose a website that offers custom calendars. There are many sites that offer the opportunity to create beautiful, personalized calendars. If you already know the site you want to use, navigate there using your web browser. If you don't know which site you wish to use, run a word string like “make a photo calendar” through your preferred search engine. Some of the best sites for making photo calendars include Snapfish and Shutterfly. When you arrive at the site, navigate to the “Make a photo calendar” option.
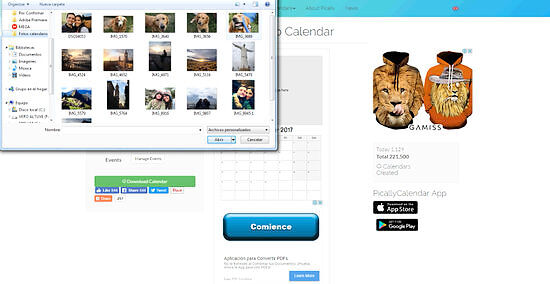
Import your images from your hard drive or scanner. If you have images on your computer that you know you want to use, upload them to the site using the site's “upload” feature. If you don't have any images on your computer, scan some photos in or download some images from elsewhere on the web. Most people like to use images of themselves, their friends, and their family, but you could use images that you find funny, images of great works of art, or any other image that you enjoy.
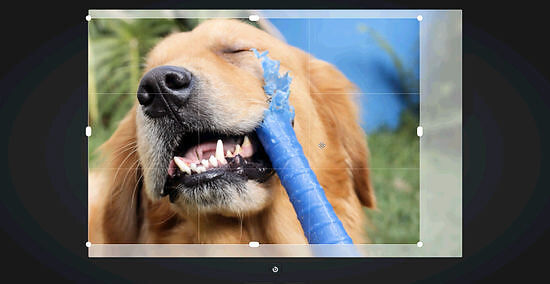
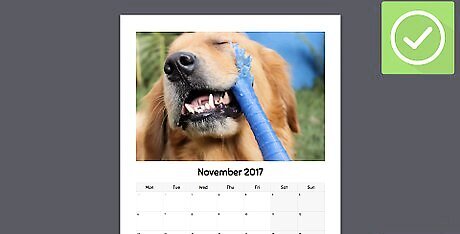
Decide where to put your images. Customizable calendars allow you to choose how to position your images in the calendar. Some calendars allow you to add more than one image per month. Working within the bounds of what the custom calendar template allows, arrange the images you've selected in an attractive way.
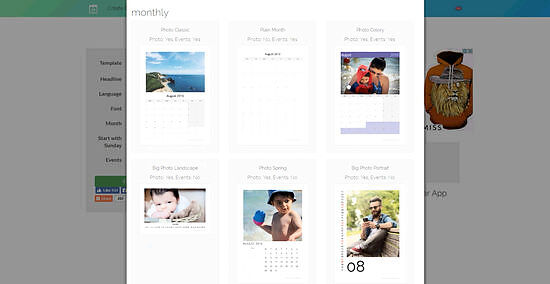
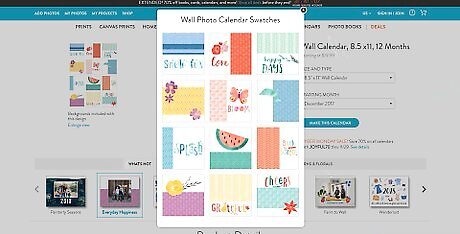
Choose your calendar style. Most calendar-making sites offer a variety of option for the color scheme and layout of your calendar. Browse the available styles and select one that is pleasing to the eye. There is no one “right” calendar style that you should choose. The calendar style you select should be one that appeals to your personal preferences.
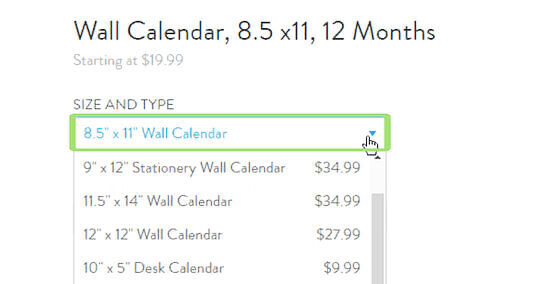
Decide the size of the calendar. Customizable calendars can often be ordered in a variety of sizes. You could choose a standard 8.5 by 11 inches (22 by 28 cm) size, or a smaller desktop size. Many sites also offer even larger sizes. Choose one that will best fill the wall or space you have designated for the calendar. Not every website that offers custom calendars offers the size you want. If the calendar size you want is not available from one site, check another. Remember, the larger the calendar, the more expensive it will be.
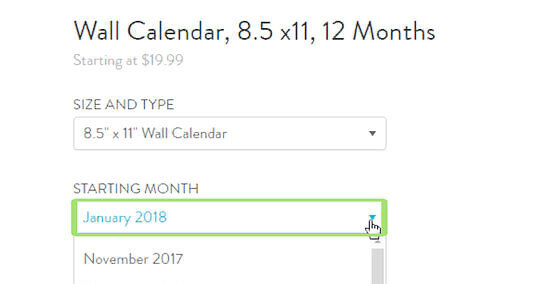
Determine the range of the calendar. Ensure that the calendar will be usable for as long a period as possible. The possible dates ranges allowed by different customizable calendars vary. However, if you're already halfway through the year, you should set the date range on your custom calendar to start from July or August of the current year.
Add additional graphics or details, if possible. Many calendars offer additional options that you might enjoy. For instance, some calendars offer the option to add cute graphics like birds, smiley faces, or stars. Some desktop calendars offer the option to bind the calendar pages in a leather case.
Print or ship your customized calendar. Once you've selected all your preferences, pay for it and decide if you want to print the calendar or have it shipped to you. If you have a high-quality printer, you might want to print it. Most people prefer to have the calendar shipped, even though there is an added cost associated with shipping. Having the calendar shipped to you is probably your best bet, since it reduces the potential frustrations of having to get paper that is correctly sized, running out of ink, or having the printout smudging.
Making an Online Calendar
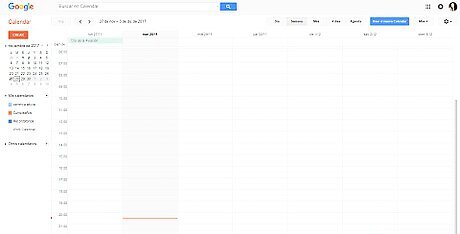
Choose your online format. The online format or program you choose to build your calendar in depends on your purpose. If you're trying to develop a calendar for your workplace, you might have no choice but to use employer-authorized software like MS Outlook or a similar program. Other common online formats include MS Excel, Apple Calendar, or Google Calendar. The best online formats will allow access via both a desktop and a mobile device. It can only be accessed when you are online, and printing them out is not typically possible.
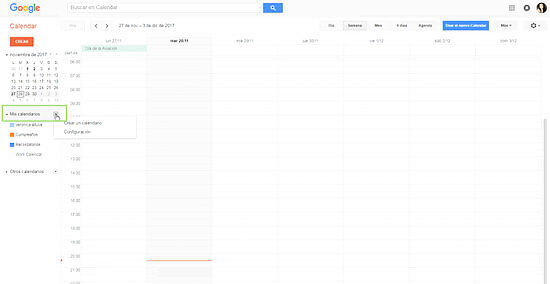
Create a new calendar. The exact process by which you create a new calendar will vary depending on the format you've selected. For instance, if you're using Google Calendar, you'll need to click My calendars, then click the down arrow and select the “Create new calendar” option. If you're using MS Office, navigate to File, New, Built-in, then Calendars, and click the style of calendar you want.
Add data to your calendar. Online calendars are great for organizing your schedule in a simple way. While the specific method by which you enter events and other data into your calendar depends on the program or format you're using, you can typically just click the date you want to add an event to, then type the information in.
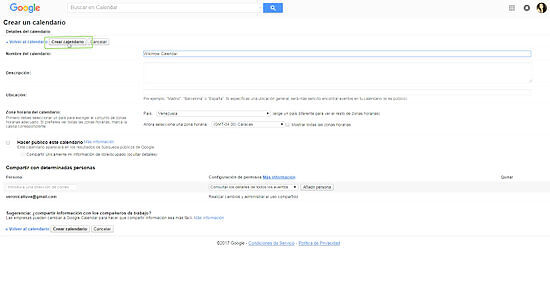
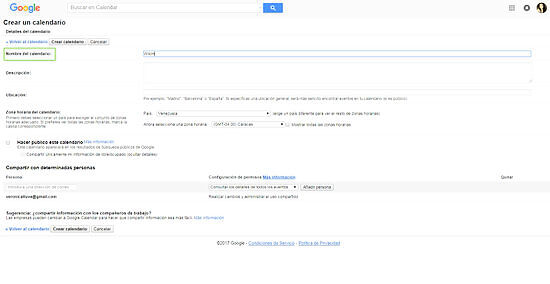
Save your calendar. Once you've created your calendar and entered important event information into it, you'll want to ensure that data is saved. In most cases, you can just exit the calendar, which will prompt the program to ask if you'd like to save your changes. Select “yes” to save the data. You'll usually be asked to choose a name for your calendar when you save it. The process by which you manually save without exiting varies from one format to the next. In Google Calendar, for instance, you can click My calendar, then Calendar settings, then after choosing a name, click Save. For information about how to save your calendar, check the help menu of the program or site you're using to create it.
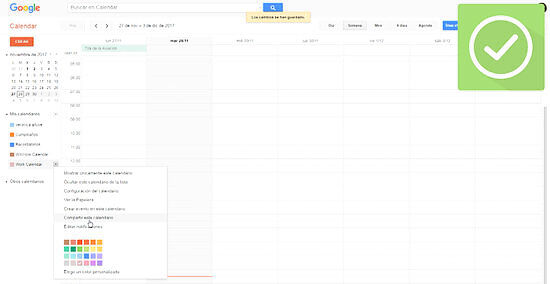
Share your calendar. Online calendars are perfect for coordinating departments or groups with many people. Everyone can use the calendar to schedule their events and add new information. First, however, you'll have to share the calendar with them. The precise process by which you share calendar information varies depending on which format you use. If you're using a program that everyone else in your business or department has, the calendar is often shared automatically. In other cases, you can simply enter the email address of anyone you want to see and use the calendar. Remind the people you're sharing the calendar with that they can probably access the calendar on their smartphone as well. For information about how to share your calendar, consult your online calendar's help menu.


Comments
0 comment