
WH.shared.addScrollLoadItem('bd1f52415debcf8c126083c73a61d19e')
Making a Simple Bottle Rocket
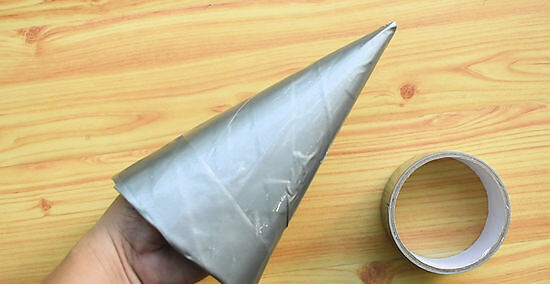
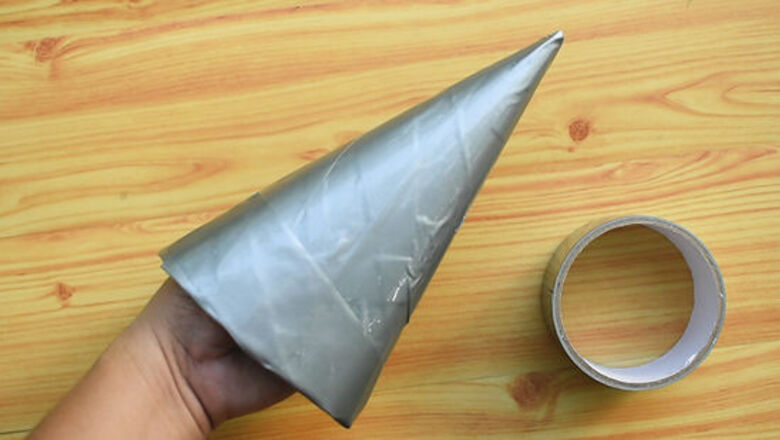
Roll a piece of construction paper into a cone and cover it with duct tape. Roll the construction paper along the long edge, overlapping the corners to form a cone shape. Use a piece of duct tape to secure the cone so that it doesn’t unroll. Then, cover the rest of the cone in duct tape to make it more durable. This is the nose of your rocket, which will make it more aerodynamic, helping it fly farther. To make your rocket a bit safer, tape one half of a plastic egg over the tip of the cone, which gives it a blunt tip that won’t hurt anyone when it falls.
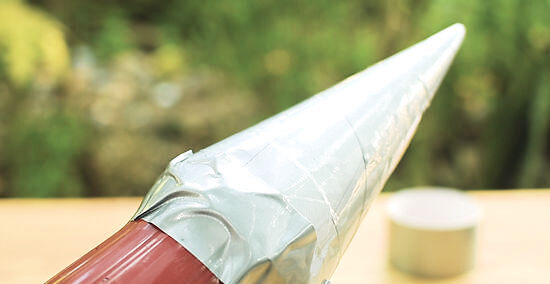
Tape the nose cone to the bottom of a 2-liter (68 fl oz) soda bottle. Position the cone over the base of the bottle, then use duct tape to fix it in place. Do your best to tape it onto the bottle as straight as possible, taking care not to make it crooked, which might make it so that the rocket doesn’t fly as straight.
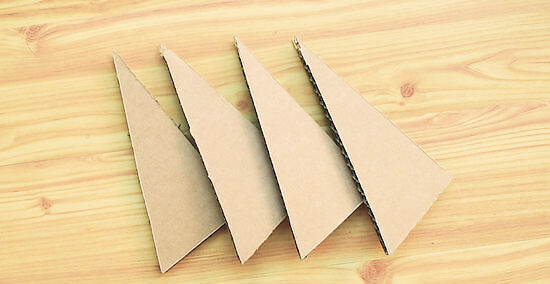
Cut out 4 cardboard triangles and tape them around the center of the bottle. Use scissors to cut triangles out of cardboard, making each triangle about 4 inches (10 cm) wide and 7 inches (18 cm) long. These are the fins of the rocket, which stabilize it in the air. Then, use duct tape to attach the fins around the nozzle of the bottle, so that they point toward the cone. Place a bit of duct tape on either side of each fin, and evenly space them around the bottle. To make sure your rocket can stand on its own when you launch it, attach the fins so that they extend about 2–3 inches (5.1–7.6 cm) past the nozzle of the bottle. To help you evenly space the fins, tape the first fin anywhere around the nozzle of the rocket. Then tape the second fin on the opposite side of the bottle. Tape your third fin between those two, and the fourth fin opposite the third fin.
Tape Play-Doh or clay around the nozzle of the bottle to add weight. Roll a bit of clay into a log about 1 inch (2.5 cm) thick, then wrap it around the bottle’s nozzle and use duct tape to secure it in place. This the is the “ballast” of the rocket, which adds weight that helps stabilize the rocket. Alternatively, tape 5-10 quarters or other coins around the nozzle of the bottle to add weight.
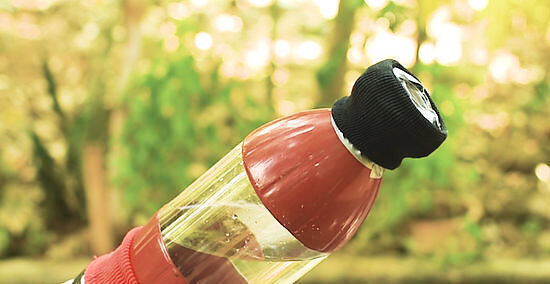
Fill the bottle halfway with water. Pour about 1 liter (0.26 US gal) of water into the bottle. When you launch your rocket, you’ll pump air into the inside with a bicycle pump. Then, the water will trap the air inside until the bottle can’t hold any more air. The pressure pushes all the water out the bottom, providing enough force to launch the rocket!
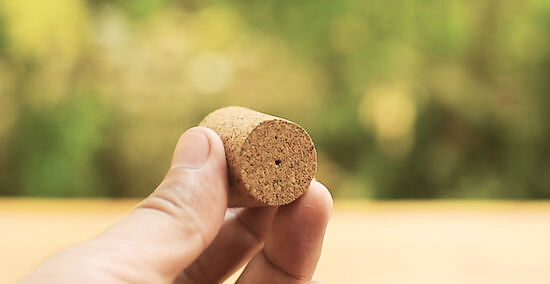
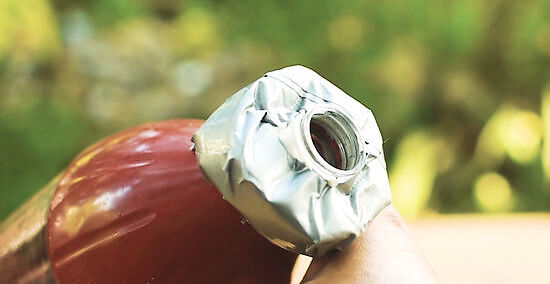
Poke a hole through a cork and place the cork in the bottle’s nozzle. Use a nail to make a small hole through the center of a cork. Hold the nail with pliers to avoid injuring yourself. Then, stuff the cork into the nozzle of the bottle. Make sure not to cover the cork’s hole with tape, though.
Launching Your Rocket
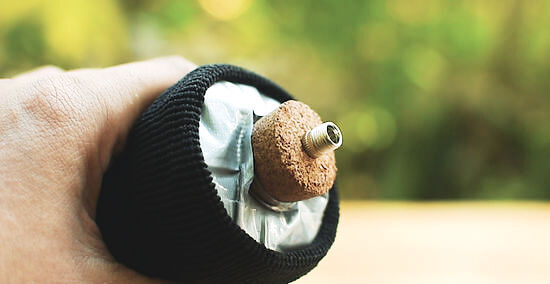
Insert the needle of a bicycle pump into the hole in the cork. Use a standing bicycle pump, the kind that has a lever you push down on to inflate a tire. Screw the needle attachment to the nozzle of the pump, then push the needle into the hole in the cork of your bottle rocket.
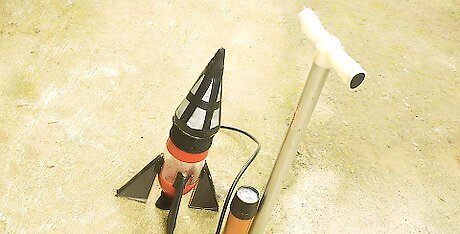
Stand the rocket on its fins on a flat surface. Find a level surface, like a sidewalk or the asphalt of a parking lot, to launch your rocket. Or, launch it in the center of a yard or a park, laying down a piece of cardboard for a flat surface. With the bike pump attached to the cork, stand the rocket upright, using its fins to keep it steady. Make sure there’s nobody else around when you launch the rocket to avoid hurting someone when it falls back down to earth. Also make sure there are no windows or breakable objects nearby.
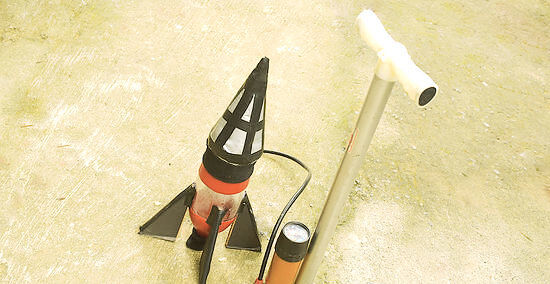
Quickly pump the lever of the bike pump to shoot your rocket. Stand next to the bike pump and work the lever up and down rapidly to fill the rocket with air. Watch the bubbles rise through the water inside the rocket, adding pressure to the inside. Keep pumping until the rocket gathers enough pressure and achieves liftoff! The water will shoot out everywhere when the bottle rocket takes off, so be prepared to get a bit wet. Your rocket blasts off because the force off the water and air exiting through the nozzle pushes it off the ground. Be cautious once you start pumping and do not approach the rocket, even if it appears that nothing is happening with the launch, as this can lead to injury.
Making a Double-Bottle Rocket
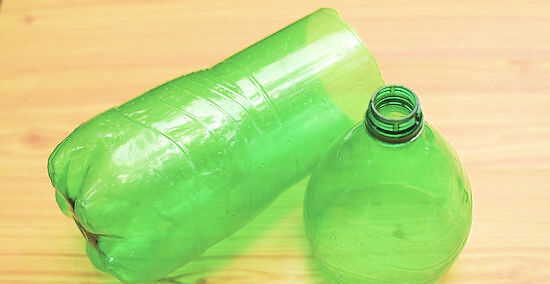
Grab two 2-liter (68 fl oz) bottles and cut off the cap end of one bottle. Use scissors or a box cutter to remove the top ⅓ of a plastic bottle. Work slowly and carefully to make sure you don’t hurt yourself, and that the cut is as neat as possible. Cut a soda bottle that’s slightly larger than the second, intact bottle so that you can tape them together later. Keep your second 2-liter (68 fl oz) bottle intact. Cutting off the cap end of the bottle will make the rocket more aerodynamic and durable. A rounded end is also softer so it will do less damage to any objects if the rocket hits something when it lands.
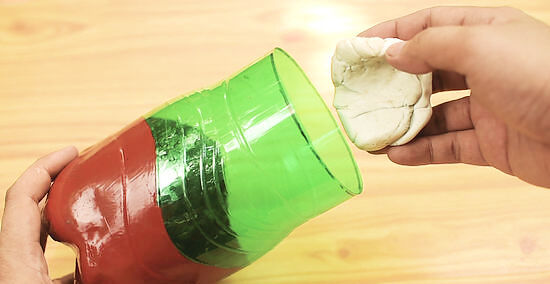
Stuff clay or newspaper into the cut bottle to add weight. Place a golf-ball sized wad of clay or Play-Doh into the bottom of the cut bottle. Or, wad up a few pages of newspaper and place it in the bottom of the bottle. This is the ballast of your rocket, which will add weight and help the rocket stay stable in the air. Secure the ballast inside the bottle with duct tape. Or, pour 10-12 pennies into the bottom of the cut bottle as your ballast, and hold them in place with duct tape.
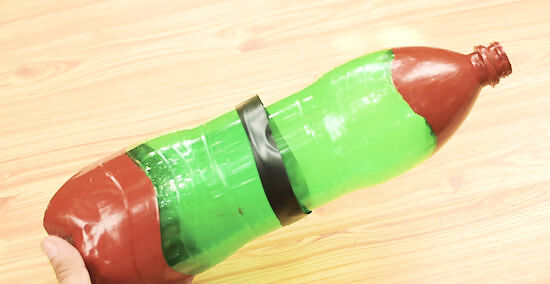
Place the intact bottle inside the cut bottle and tape them together. Insert the bottom of the intact bottle into the opening of the cut bottle that holds the ballast. Make sure the bottles overlap by about 2–3 inches (5.1–7.6 cm), then secure them together by wrapping a generous amount duct tape around where they meet.
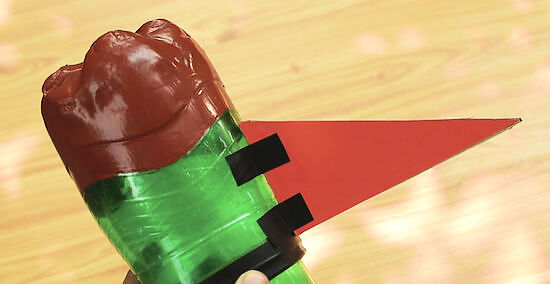
Cut 4 triangles out of cardboard and fix them to the bottles with duct tape. Use scissors to cut out 4 triangles that are 4 inches (10 cm) wide and 7 inches (18 cm) long. Then, secure them around the taped-together bottles, toward the nozzle, with duct tape, making sure they’re evenly spaced. These are the fins of your rocket, which will make it fly straighter through the air. To make sure your rocket can stand on its own when you launch it, attach the fins so that they extend about 2–3 inches (5.1–7.6 cm) past the nozzle of the rocket.

Fill the intact bottle halfway with water. Add 1 litre (34 fl oz) of water to the bottle. You’ll launch your rocket by pumping it full of air with a bike pump. The water will trap the air inside until the bottle can’t hold anymore air. The pressure will pop the cork off the end and shoot the water down at the ground, propelling the rocket into the air.

Poke a small hole in a cork and insert the cork into the bottle’s nozzle. Use a nail to make a hole through the center of a cork. Wear gloves or use pliers to hold the nail to avoid injuring yourself. Then, squeeze the cork into the nozzle of the bottle. Make sure it’s secure!


Comments
0 comment